Peeking at the URL of a link that you are about to open is a good way to make sure the URL is what you expect and not a trick by the website. Let’s explore how to preview Safari links for iPhone, iPad and Mac.
This is for iPhone, iPad, and Mac using Safari

How to Preview Safari Links on a Mac
Popular desktop web browsers have featured URL status bars for decades. But Safari for Mac does not enable one by default. If you want to quickly check the URL of a link, you can do so by enabling the status bar.
First, open the Safari app on your Mac. Click the View section in the menu bar and choose the Show Status Bar option. Refer to below image:

Now, with this enabled, when you hover over any link, you will see its full URL address in the status bar in the bottom-left corner of the page. See below image:

If you ever want to disable this link preview, click:
View > Hide Status Bar
in the menu bar at the top of the screen.
How to Preview Safari Links on iPhone and iPad
Unlike the Mac, Safari on iPhone and iPad does not have a status bar. But it does let you peek into the page that you want to open. You can tap and hold any link to load the page in a pop-up preview window. If you do not like the full preview, you can switch to only viewing the URL (Like Safari on Mac).
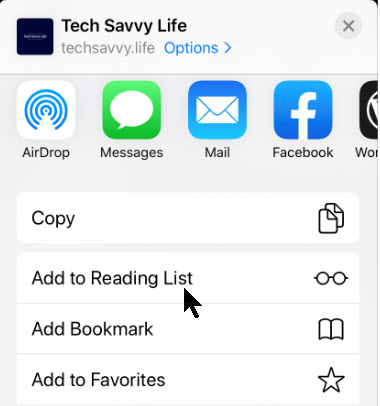
First, open a page in Safari on your iPhone or iPad. Next, tap and hold any link on the page. See following image:

Note! For this feature to work, you need to be running iOS 13, iPadOS 13, or higher. You will see a thumbnail preview of the page pop-up. To preview the URL instead, tap the Hide Preview button located at the top of the pop-up window. Refer to below image:

The thumbnail will disappear and you will see the URL listed in the box. If it looks safe and you want to open the page from this pop-up, tap the Open button in the menu list. See below image:

If you want to get the thumbnail peek back, just tap and hold a link again and select Tap to show preview at the top of the pop-up window.
Keeping an eye on URLs is one way that browsing with more knowledge will help you avoid web-based scams and keep you safer on the web.
Quote For the Day
Common sense and a sense of humor are the same thing, moving at different speeds. A sense of humor is just common sense, dancing.
Clive James
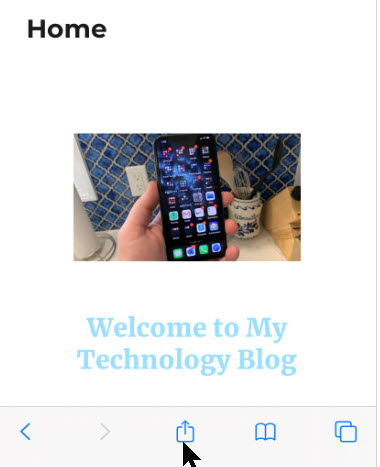
That’s it. Please feel free to share this post! One way to share is via Twitter.
Just click the Tweet icon below. This will launch Twitter where you click its icon to post the Tweet.
Check out TechSavvy.Life for blog posts on smartphones, PCs, and Macs! You may email us at contact@techsavvy.life for comments or questions.
Tweet
I Would Like to Hear From You
Please feel free to leave a comment. I would love hearing from you. Do you have a computer or smart device tech question? I will do my best to answer your inquiry. Just send an email to contact@techsavvy.life. Please mention the device, app and version that you are using. To help us out, you can send screenshots of your data related to your question.