If you love Dark Mode but your favorite iPhone or iPad app or website does not support it, you can force a simulated Dark Mode everywhere using Apple’s built-in Smart Invert accessibility feature.
This is for the iPhone

Defining Smart Invert
Smart Invert is an Apple accessibility feature that inverts the colors on your screen (like a negative image), but with a twist. It’s “smart” because it usually prevents images, videos, and some apps that are already dark-colored from getting inverted. It was designed for people with vision loss, low vision, or other vision issues that might benefit from an inverted screen but might not want to see inverted images.
How About Dark Mode
Apple’s system wide Dark Mode (first introduced in iOS 13) generally works well and is supported by a large number of iPhone and iPad apps, but some apps with largely white interfaces still do not support it. Also, if you want to browse the web at night without waking a sleeping buddy, Smart Invert keeps the light low.
Enabling Smart Invert
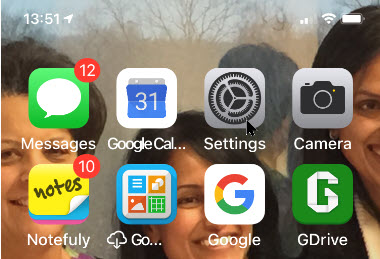
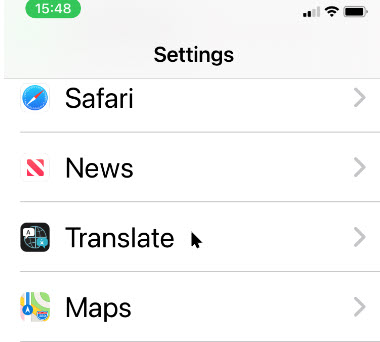
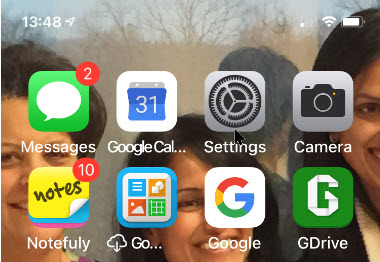
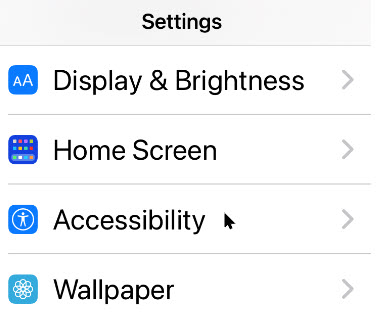
First, launch Settings (the gear icon). Refer to below image:

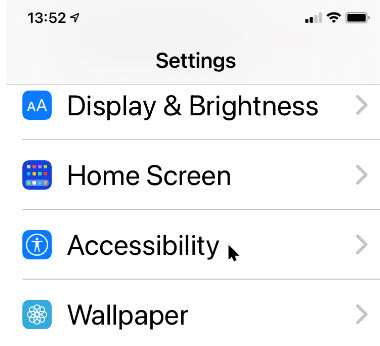
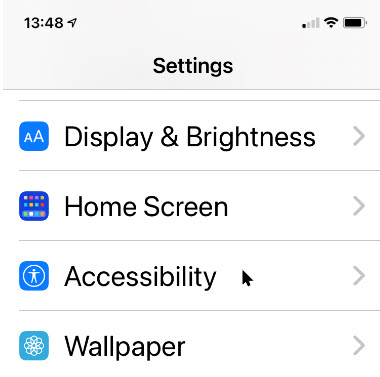
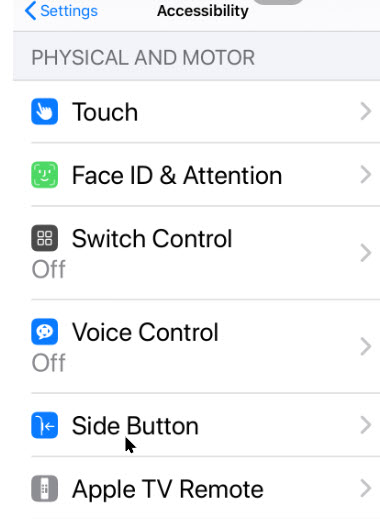
Now, navigate to the Accessibility option. See below image:
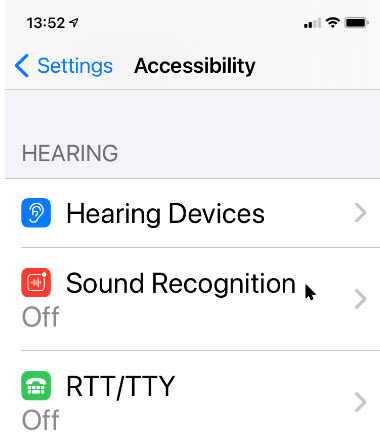
Next, tap the Display & Text Size option. See following image:

In its settings, scroll down until you see Smart Invert toggle. Tap it to turn it on. Your screen will immediately be inverted (a black screen). Refer to below image: (Note! This iPhone will not capture the inverted screen).

Now, exit Settings and use your apps as usual.
Disable Smart Invert
If you want to to turn it off, revisit
Settings > Accessibility > Display & Text Size > Smart Invert
and toggle off the switch. Or you can use a shortcut. Let’s see how to setup a shortcut.
Use a Shortcut
Using a built-in feature called Accessibility Shortcut on your iPhone, you can triple-click your Home button (on older iPhones or your Side button on newer models) to quickly launch an accessibility function such as Smart Invert.
To set it up, launch Settings and navigate to Accessibility. Next, scroll down and tap Accessibility Shortcut. See below image:

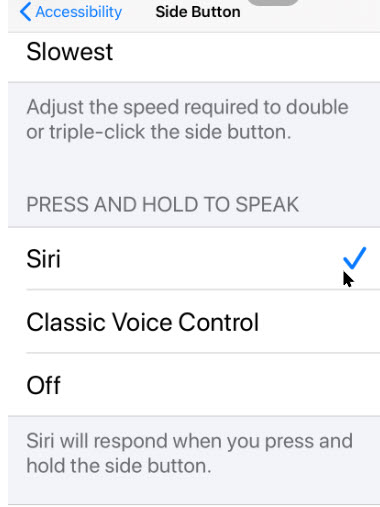
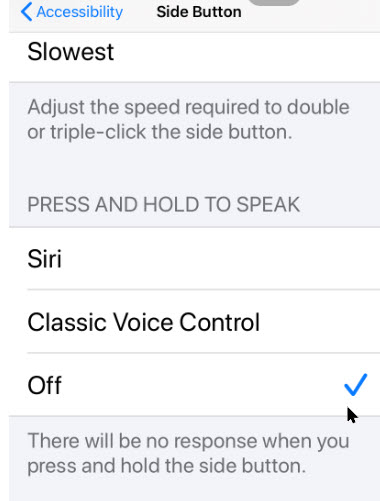
Now, you will see a list of Accessibility functions you can toggle with the shortcut. Tap Smart Invert then tap the Back button. See following image:

Now, whenever you triple-click your Home or Side button (depending on which iPhone model you have), you will launch Smart Invert. If you triple-click it again, Smart Invert will turn off.
Use a Back Tap
Starting with iOS 14 and higher, if you have an iPhone 8 or above, you can use the Back Tap feature to toggle Smart Invert. To do so, go to
Settings > Accessibility > Touch > Back Tap
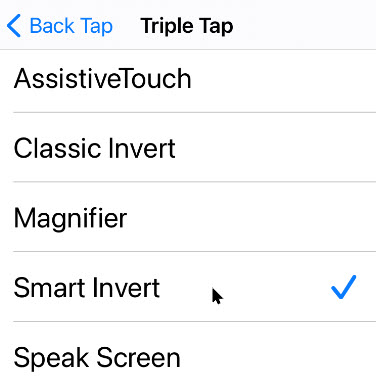
Now, select whether you want to trigger Smart Invert using a double-tap or triple-tap on the back of your iPhone. In the list of actions that appears, select Smart Invert. Refer to below image where we selected the triple-tap action:
Now, go back one screen and exit Settings. With Back Tap enabled, you can tap on the back of your iPhone two or three times to quickly turn Smart Invert on or off. That’s it. Please feel free to share this post! One way to share is via Twitter, as mentioned below.
I hope you have found this post helpful. If so, click the Tweet icon below. This will launch Twitter where you click its icon to post the Tweet.
Check out TechSavvy.Life for blog posts on smartphones, PCs, and Macs! You may email us at contact@techsavvy.life for comments or questions.
Tweet
I Would Like to Hear From You
Please feel free to leave a comment. I would love hearing from you. Do you have a computer or smart device tech question? I will do my best to answer your inquiry. Just send an email to contact@techsavvy.life. Please mention the device, app and version that you are using. To help us out, you can send screenshots of your data related to your question.