RAYMOND OGLESBY @RaymondOglesby2
July 7, 2026 – 4 minutes read time
Overview
Face ID can be used to unlock apps on the iPhone. For example, when we open our Messenger app, Face ID quickly identifies me and lets us in. This saves us from needing to enter the passcode.
Whether Face ID works with an app depends on the app’s developers and what they have programmed it to do. You will most often find Face ID as a login option for financial, banking, or password manager apps. Fortunately, by following the steps below, you can easily see which of your installed apps work with Face ID and enable Face ID for each app if you choose to. Keep in mind that you will need to enable Face ID in Settings before following these steps! Let’s explore how to enable Face ID for apps on iPhone to make logins easier.
Key Takeaways
- Save time by using Face ID instead of entering a passcode.
- Avoid having to remember a unique passcode each time you log in to a secure app.
System Requirements
This tip was performed on an iPhone 17 Pro running iOS 26.5.
Click here to learn how to update your iPhone to the latest iOS version.
Adding Face ID for an iPhone App
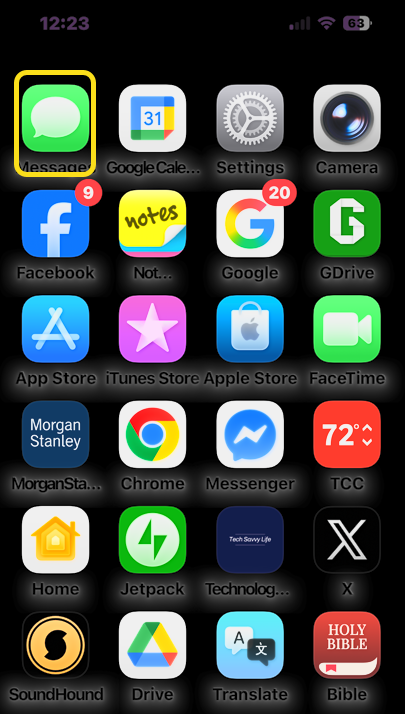
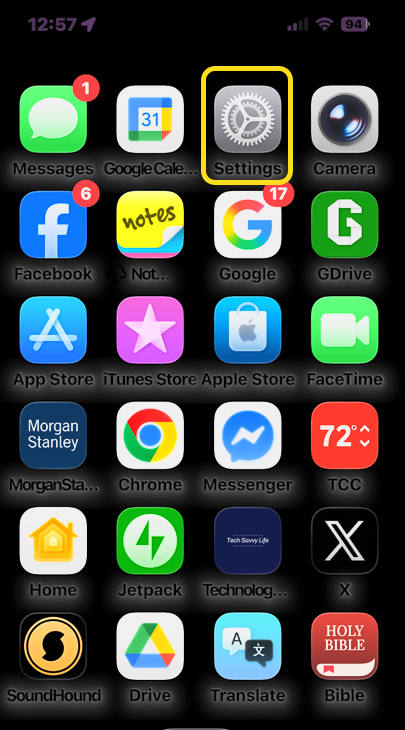
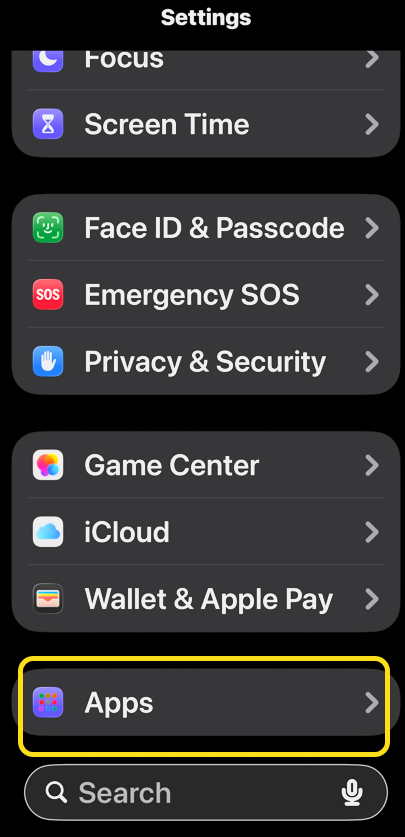
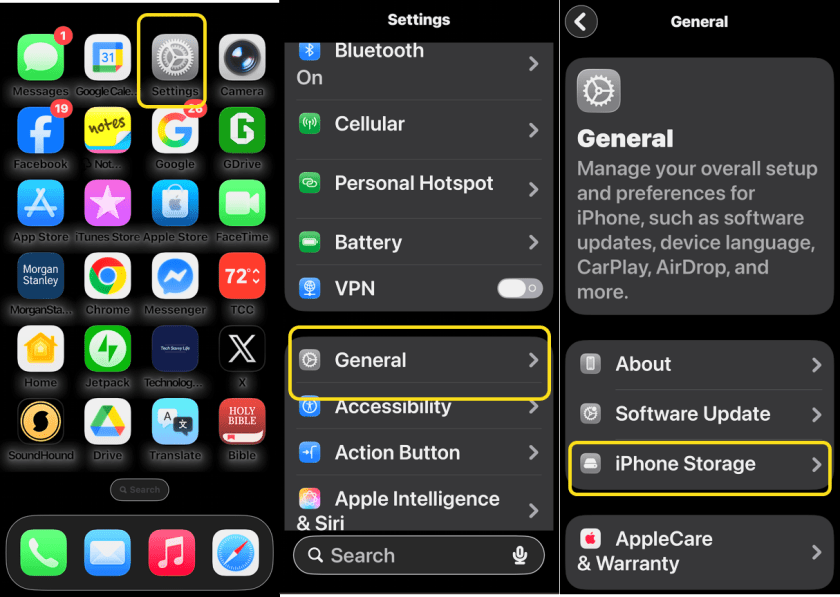
1. Open the Settings app, and select Face ID & Passcode. Refer to the image below:

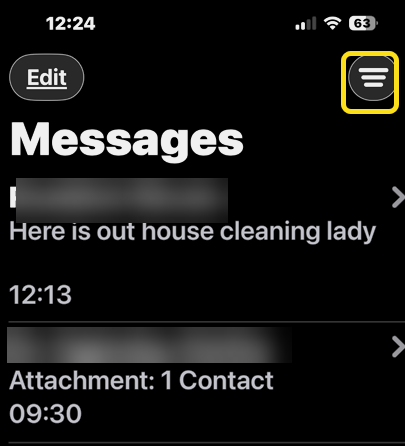
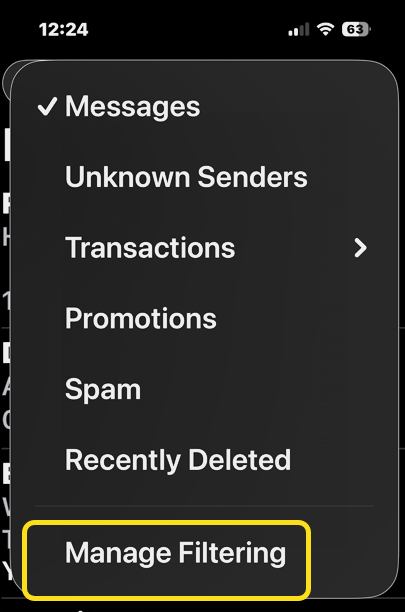
2, Enter your iPhone passcode and select Other Apps. See the below image:

3. Green toggles show you which apps have Face ID enabled. See the following image:

4. A gray toggle means Face ID is disabled. Tap the toggle to change it to green and enable Face ID for that app. Refer to the image below:

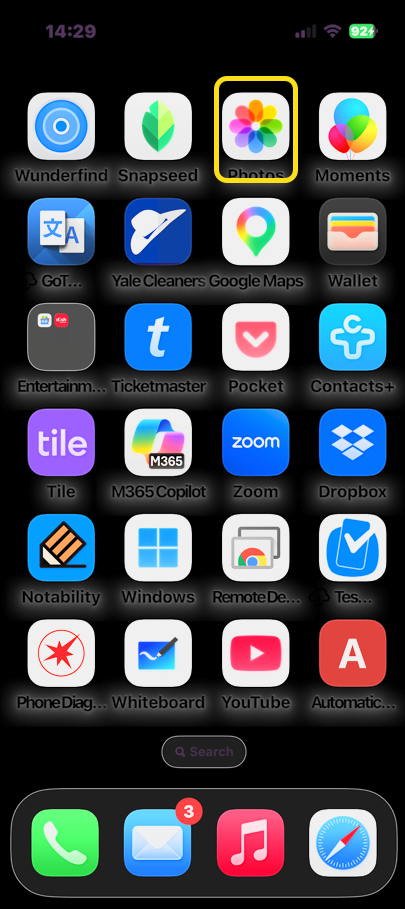
5.You can natively lock apps on your iPhone using Face ID. Just touch and hold an app icon, tap Require Face ID, and confirm. See the image below:
Note! This will not add the app to the Other Apps list.

6. To undo, touch and hold an app icon then tap Don’t Require Face ID.
Note! If you select your Photos app to require Face ID, your Camera app will not show your photos or videos.
That’s how to turn Face ID on for your apps. Now, when you open an enabled app, you can sign in with Face ID instead of entering a password or passcode each time. You can come back and add an app to Face ID if you download another Face ID available app.
Disclaimer
Technology is constantly evolving, and smartphone and desktop tech rarely remains static. Therefore, the information in this post is only accurate as of the date it was written. Blog posts that are older than six months may contain instructions that are no longer compatible with your device or operating system. We hope that the content from previous posts continues to function as intended. Thank you for reading TechSavvy.Life, where technology works for you.
Quote For the Day
Technology is dominated by two types of people: those who understand what they do not manage and those who manage what they do not understand.
– Archibald Putt
(X) Twitter Info
That’s it. Please feel free to share this post! One way to share is via Twitter.
Just click the Tweet icon below. This will launch Twitter where you click its icon to post the Tweet.
Checkout TechSavvy.Life for blog posts on smartphones, PCs, and Macs! You may email us at contact@techsavvy.life for comments or questions.
Tweet
I Would Like to Hear From You
We value your feedback! Was this post helpful? Please share your comments with us. If you have a tech question related to your computer or smart device, feel free to reach out. Just send an email to contact@techsavvy.life, and be sure to include the device, app, and version you are using. To assist us further, you can also attach screenshots related to your inquiry.
The author’s Vietnam eBook, “Battle for Tra Bong Vietnam: Events and Aftermath”, is available on Kindle devices and the Kindle App for desktop, laptop, and smartphone. The apps are free.