Some iPhone apps require camera/microphone access to function properly, and some do not. Apple has introduced new app privacy settings with iOS 14 and higher, which allow you to see what apps have camera/microphone access. This way, you can change camera/microphone settings for any app, all in the same place, so apps that do not need to see or hear you, can not.
Let’s explore how to allow camera/microphone access on your iPhone or turn it off.
This is for iPhone running iOS 14+

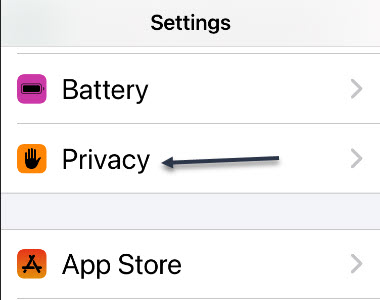
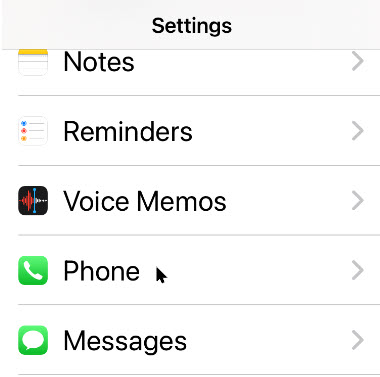
First, open Settings (the gear icon) on your iPhone. Refer to below image:

Next, scroll down and tap the Privacy option. See below image:

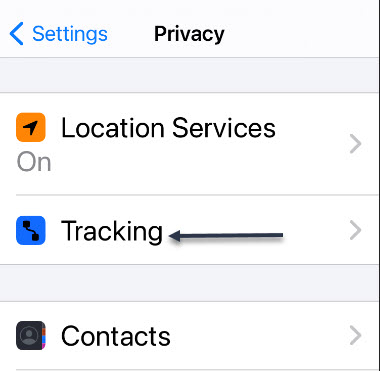
Now, scroll down and tap the Camera or Microphone option. See following image:

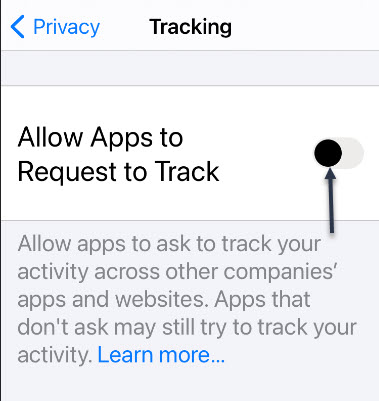
Here, you will see a list of apps that have asked you for camera or microphone access in the past. Apps that currently have access to your iPhone camera/microphone will have the switch turned On. Apps that do not have access will have its switch turned Off. Refer to below image:

If you.would like to remove iPhone camera/microphone access from an app, tap its switch to turn it off Off. Likewise, you can also grant camera/microphone access to a listed app by turning the switch On. See below image:

Now, exit Settings.
If you want to know if your camera/microphone is in use, look in the upper-right corner of your screen at the status bar. If you see a green dot there, then an app is using the camera. If there’s an orange dot, that means your microphone is in use. The color scheme depends on your display mode. See following image for microphone in use as a blue dot:

If an app is using your camera/microphone when you do not expect it to, revisit the above steps and flip its switch to Off.
You are finished setting your access to camera or microphone. Please feel free to share this post! One way to share is via Twitter.
Just click the Tweet icon below. This will launch Twitter where you click its icon to post the Tweet.
Check out TechSavvy.Life for blog posts on smartphones, PCs, and Macs! You may email us at contact@techsavvy.life for comments or questions.
Tweet
I Would Like to Hear From You
Please feel free to leave a comment. I would love hearing from you. Do you have a computer or smart device tech question? I will do my best to answer your inquiry. Just send an email to contact@techsavvy.life. Please mention the device, app and version that you are using. To help us out, you can send screenshots of your data related to your question.