

RAYMOND OGLESBY @RaymondOglesby2
November 9, 2021
With the introduction of iOS 15, Apple revamped its paid iCloud plans to “iCloud+” to reflect the fact that subscribers now get access to additional privacy features like Hide My Email.
This feature builds on the idea of Sign in With Apple by providing you with unique, random email addresses that forward to your personal inbox whenever you want to keep your personal email address private. Let’s explore how to set up Hide my Email feature.
This is for the iPhone and iPad running iOS 15 or higher

The Requirements
To use the Hide My Email feature, you need an iCloud+ or Apple One subscription. (Even the $0.99 per month subscription works.) You will also need an email address. Additionally, your iPhone or iPad must be running iOS 15 or iPadOS 15 (or higher.
It’s worth noting that Hide My Email originally debuted as part of the Sign in With Apple service that shipped with iOS 13 in 2019. If you do not have a paid iCloud+ account, you can still use Hide My Email as part of Sign in With Apple for free.
Privacy Breches
Is your email being comprised? If you are like millions of others, your email is comprised. Most major carriers have a mobile security app. We are using AT&T Mobile Security where we have comprised emails. Refer to the below image:

To find out if you have comprised passwords, head to:
Settings > Passwords > Security Recommendations
and tap an entry to see additional information. See the below image where our email address has been comprised for time.com:

Create “Hide my Email”
To use Hide My Email, you will need to access your iCloud options in the Settings app. First, open Settings on your iPhone or iPad by tapping the grey gear icon, usually on your Home screen. See the following image:

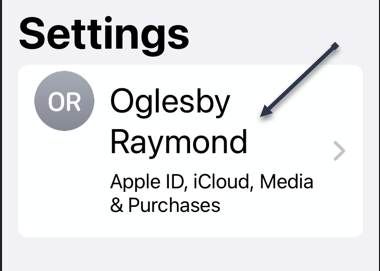
Next, tap your Apple ID name at the very top of Settings. Refer to the below image:
Now, in Apple ID settings, tap iCloud. See the below image:

Next, in iCloud settings, tap Hide My Email. If you do not see it listed, then you are not subscribed to iCloud+ or Apple One. See the following image:

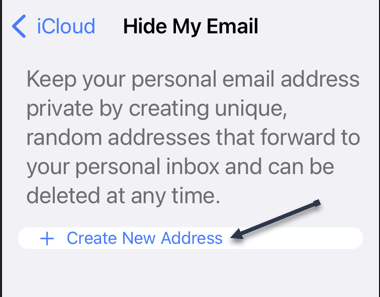
Now, tap the Create New Address link. Refer to the below image:
Next, tap Continue if you have yet to create an address. See the below image:

A potential email address will be randomly generated.
Now, type in a label for the address you just generated. We suggest using the name of the service you will be providing the random email address to (“Outlook,” for example). You can also make a note in a text box below the label. When you are done, tap Next in the upper right-hand corner of the window. See the following image:

Next, on the All Set screen, you will confirm that a unique random email address has been created. Tap Done to continue.
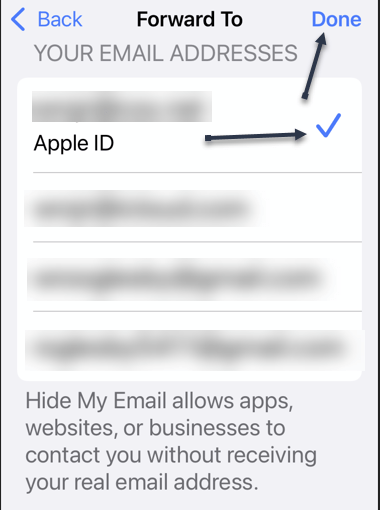
Now, tap the Forward To to view a list of email addresses. Refer to the below image:

Next, select one from the list. When finished, tap Done in the upper right-hand corner. See the below image:
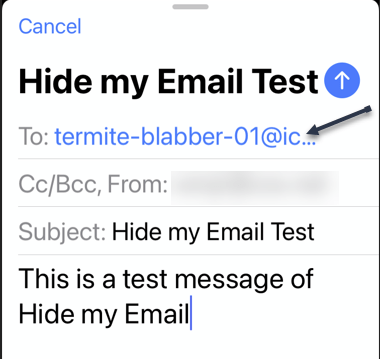
Now, you are ready to use your new email address. When a service asks for your email address, just type in the random one provided by Apple. You will receive emails from it as you normally would, but with one exception: It will have Hide My Email listed in the To field. From here, exit Settings.
Next, open your email service and create an email. See the following image:
The new email will be displayed in your Inbox. Note! We created an email to ourselves. Refer to the below image:

Now, navigate back to:
Settings > Apple ID > iCloud > Hide My Email
If you want to create another address, tap Create New Address. Or if you need to adjust which email address your Hide My Email addresses will forward to, tap Forward To.
Next, you will see the address you just created listed (alone with other addresses) on the Hide my Email screen.
Now, tap on your newly created entry. In our example, we are using Outlook. See the below image:

Please note, if you reply to an email forwarded from Hide My Email, the recipient will see your regular email address, not the random one, so you can not use it to hide your identity in a two-way conversation. Apple-designed Hide My Email as a one-way system, mostly for protection from commercial spam.
Deactivate/Delete “Hide my Email”
If you need to remove or delete a Hide My Email address on your iPhone or iPad, you can either deactivate it or delete it completely.
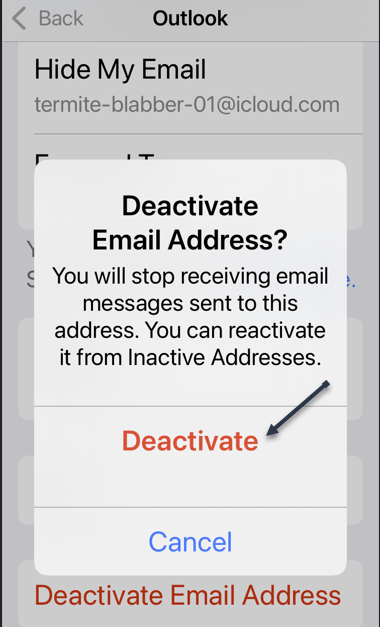
Next, on the detail screen for the email address, scroll down to the bottom and select Deactivate Email Address. See the following image:

Now, confirm again in the pop-up by tapping Deactivate. Refer to the below image:
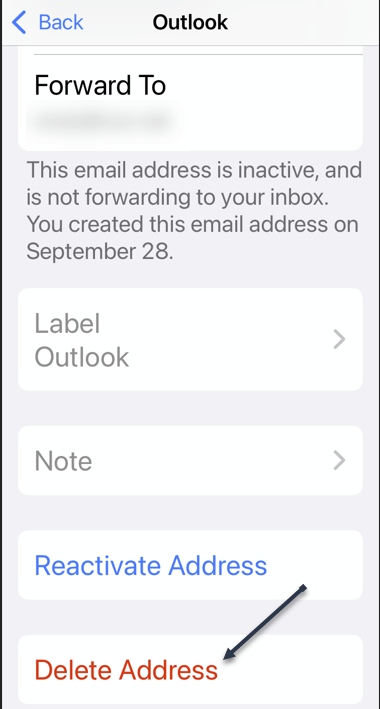
Next, the deactivated email address will move into an Inactive Addresses section on the:
Settings > Apple ID > iCloud > Hide My Email
screen. To reactivate the address later, tap its name in that list, then select Reactivate Address. To delete the Hide My Email address permanently, tap Delete Address. See the below image:
After confirming, that particular Hide My Email address will be deleted. It will not affect any emails you have in your Inbox or any of your other email accounts or addresses. If you need to delete another Hide My Email address, repeat the process above.
Quote For the Day
Technology is nothing. What’s important is that you have a faith in people, that they’re basically good and smart, and if you give them tools, they’ll do wonderful things with them.
Steve Jobs
That’s it. It’s somewhat daunting to set up this Hide my Email feature, but worth your time. Please feel free to share this post! One way to share is via Twitter.
Just click the Tweet icon below. This will launch Twitter where you click its icon to post the Tweet.
Check out TechSavvy.Life for blog posts on smartphones, PCs, and Macs! You may email us at contact@techsavvy.life for comments or questions.
Tweet
I Would Like to Hear From You
Please feel free to leave a comment. I would love to hear from you. Do you have a computer or smart device tech question? I will do my best to answer your inquiry. Just send an email to contact@techsavvy.life. Please mention the device, app, and version that you are using. To help us out, you can send screenshots of your data related to your question.
