RAYMOND OGLESBY @RaymondOglesby2
June 25, 2024 – 4 minutes read time
This is for the iPhone/iPad using iOS or iPadOS 17 or greater. Screenshots are from iPhone 14 Pro running iOS 17.5.1
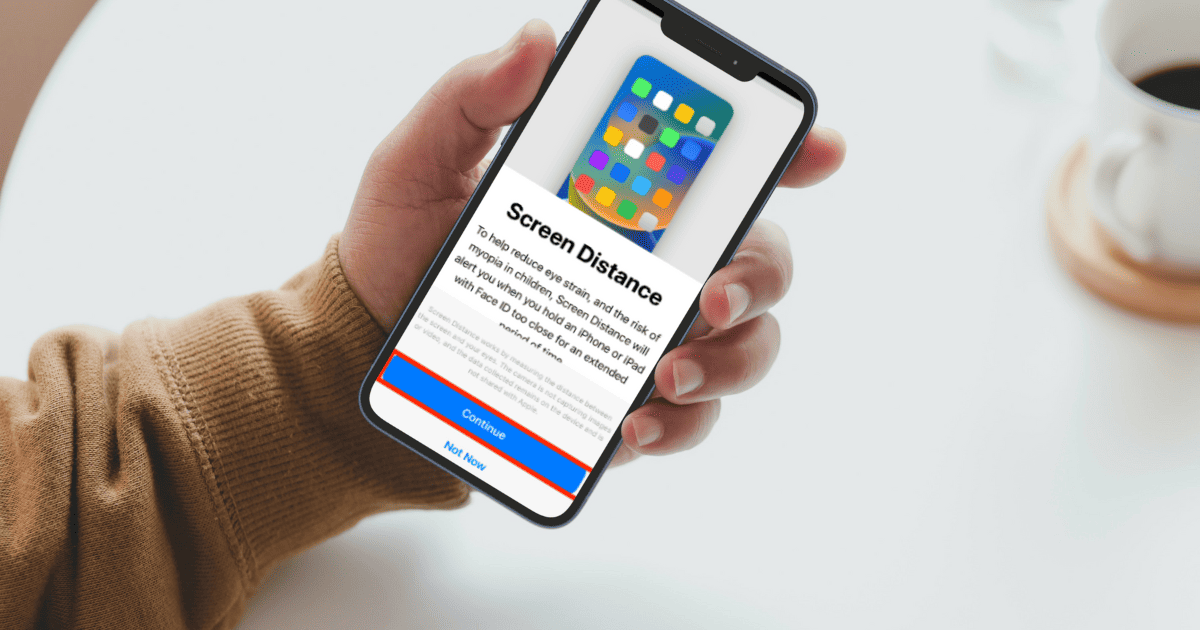
The iPhone/iPad has a hidden display feature introduced in iOS/iPadOS 17 that everyone with an iPhone/iPad should start using. Screen Distance is designed to help reduce eye strain caused by holding your phone too close to your face. Let’s explore this feature.
What is Screen Distance
Viewing something like a device or book too closely for an extended period can increase eye strain and the risk of myopia. The Screen Distance feature in Screen Time uses the TrueDepth camera to detect when you hold your iPhone/iPad closer than 12 inches for an extended period and encourages you to move it farther away. Screen Distance can help children engage in healthy viewing habits that can lower their risk of myopia and can give people of all ages the opportunity to reduce digital eyestrain.
Enable Screen Distance
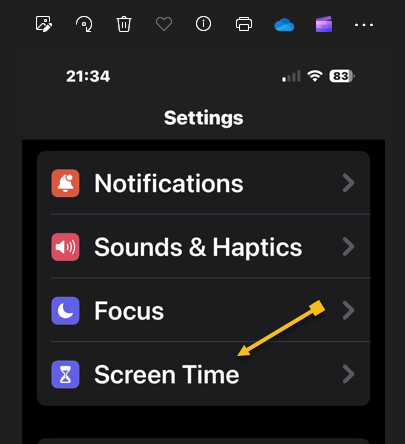
First, open Settings. Refer to the below image:

Next, tap the Screen Time option. See the below image:
Now, tap the Screen Distance option. See the following image:

Next, an informational screen will be displayed about Screen Distance. Just tap the Continue button. Refer to the below image:

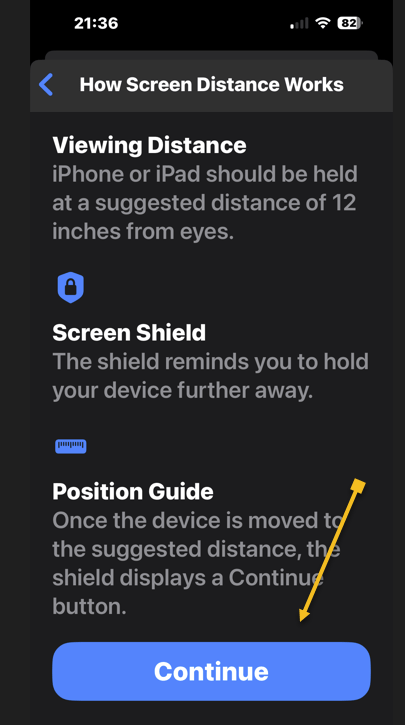
Now, another informational screen about “How Screen Distance Works” will be shown. Once again, tap the Continue button. See the below image:
Next, toggle the Screen Distance to ON. See the following image:

If you are too close to your iPhone/iPad, it will pop up a notification splash screen interrupting whatever you are doing at the moment. Refer to the below image:

To readjust the Screen Distance feature, move your iPhone/iPad at least 12 inches from your face. A new notification splash screen will appear allowing you to proceed by tapping the Continue button. See the below image:

Once you activate this feature, your iPhone/iPad Face ID sensors take about five minutes to work.
Considering how easy it is to hold your phone up to your face without thinking about it, this feature can be really handy for people who want to help reduce the strain on their eyes.
Of course, if you have trouble reading, you may find that Screen Distance is more annoying than helpful, especially if you prefer to keep your phone close to your face. If so, go back and toggle the Screen Distance feature to OFF.
Disclaimer
Technology is always changing. Rarely is there static tech for smartphones and desktops. Thus, the contents of this post are only valid at the time of writing. Blog posts older than six months may have directions incompatible with your device or OS. Hopefully, older post content will continue to work as advertised. Thank you for reading TechSavvy.Life for Technology at Work For You.
Quote For the Day
Being realistic is the most common path to mediocrity.
-Will Smith
Tweet Info
Congratulations, you are finished. Please feel free to share this post! One way to share is via Twitter.
Just click the Tweet icon below. This will launch Twitter where you click its icon to post the Tweet.
Checkout TechSavvy.Life for blog posts on smartphones, PCs, and Macs! You may email us at contact@techsavvy.life for comments or questions.
Tweet
I Would Like to Hear From You
Was this post helpful? We would love to hear your comments. Do you have a computer or smart device tech question? I will do my best to answer your inquiry. Just send an email to contact@techsavvy.life. Please mention the device, app, and version you are using. To help us out, you can send screenshots of your data related to your question.
You can access the E-book from a Kindle device, or the Kindle App for a desktop or smartphone. The apps are free.