RAYMOND OGLESBY @RaymondOglesby2
September 5, 2023
This is for the iPhones and Tablets. Screenshots are from iPhone 14 Pro running iOS 16+
Scanners had their moment, but nowadays it’s not as necessary to own one. However, that does not mean you never need to scan a document or photo. Thankfully, you probably have some tools to do it without a scanner.
If you find yourself scanning a lot of documents and photos, it’s a good idea to invest in an actual scanner. Most people only need to scan a few things a year, so we will show you some good alternatives.
Scan Photos and Documents
A scanner is essentially just a camera that takes a photo of your document in a specific way. Well, you carry a camera with you every day, so why not use that as a scanner?
A smartphone camera is usually perfectly fine for getting the job done as a scanner. The results will not be as crisp and clear as an actual scanner, but it will get the point across. Here are some suggestions for taking photos of a document.
- Lighting: Place the document on a flat surface with good lighting. Try to avoid casting a shadow on the document with your hand and phone.
- Placement: Take the photo straight on to avoid any weird angles. This can be done directly above or at a right angle by propping up the document. Do whichever results in the best lighting with the fewest shadows.
- Framing: Make sure to take the photo from far enough away so the entire document is in view. After you take the photo, crop it to the document so you do not see any of the surroundings.
The camera on your phone will suffice in many situations, but sometimes a more professional-looking scan is necessary. For that, you will want to turn to a document scanner app. You already have one installed on your iPhone, iPad, or Android phone.
Scan Using the Files App on iPhone
Phones and iPads have a built-in Document Scanner feature. This tool is not its own app, but you will find it both in Apple’s Files app and the Apple Notes app. Many websites suggest using the Notes app to scan a document, and that works fine; but you can also use the Files app, which is convenient if you just want to scan the document to a file.
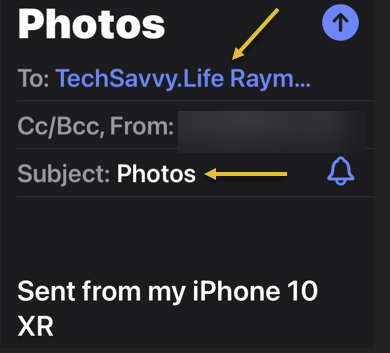
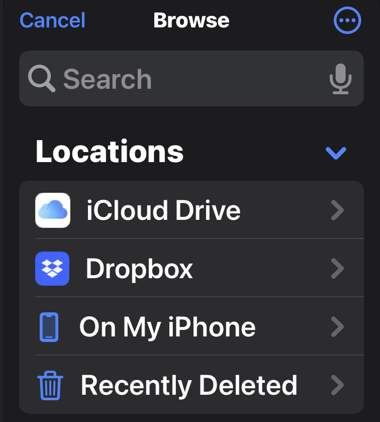
To scan a document on an iPhone or iPad with the Files app, first, open the Files app and go to the location you want to save your scanned document to. For example, to keep it in your iCloud Drive, open the iCloud Drive location. To save it in your iPhone’s Downloads folder, open Downloads.
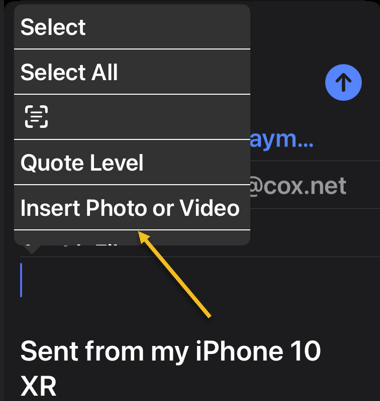
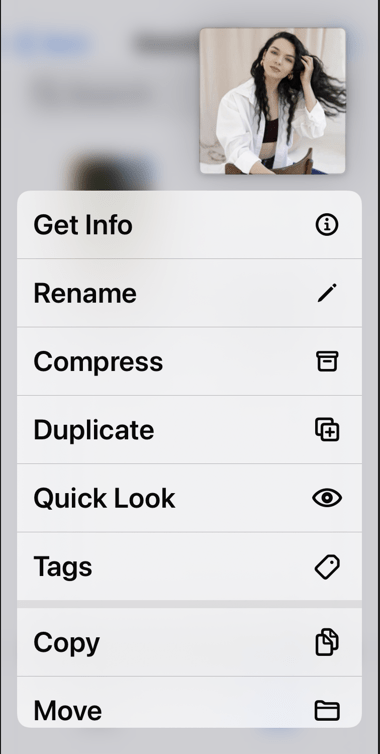
Next, tap the Menu button (it looks like a “…”) at the top-right corner of the screen and tap Scan Documents to get started. Refer to the below image:

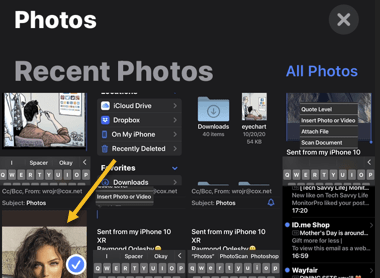
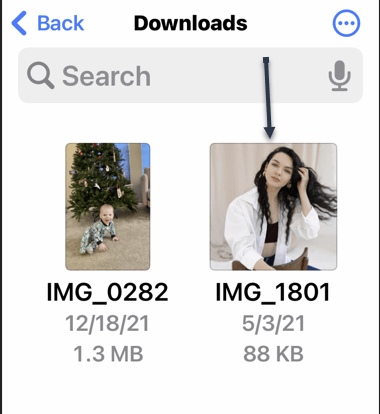
Now, position the document in view of your iPhone or iPad’s camera and hold it still. Your device will automatically capture an image of the document, and you will see it flash on the screen. See the below image:

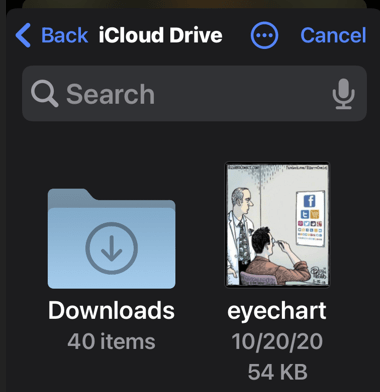
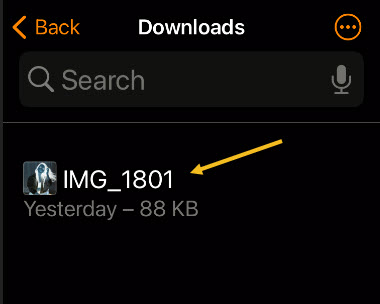
Next, to scan a multi-page document, position the second page in view of your iPhone or iPad’s camera. Continue this process to capture as many pages as you like. When you are done, tap Save, and you will get a combined PDF file containing each page. See the following image:

Scan Using the Notes App on iPhone
You can also use the Notes app to scan documents. First, open the Notes app on your iPhone or iPad, open an existing note or create a new note, tap the camera icon, and tap Scan Documents. The Notes app will then save your scanned documents as notes rather than files Refer to the below image:

Next, your saved document is in the Notes app. See the below image:

Disclaimer
Technology is always changing and rarely is there static tech for smartphones and desktops. Thus, the contents of this post are only valid at the time of writing. Blog posts older than six months may have directions incompatible with your device or OS. Hopefully, older post content will continue to work as advertised. Thank you for reading TechSavvy.Life for Technology at Work For You.
Quote For the Day
Whatever you’re thinking, think bigger.
Tony Hsieh
Tweet Info
That’s it. Please feel free to share this post! One way to share is via Twitter.
Just click the Tweet icon below. This will launch Twitter where you click its icon to post the Tweet.
Checkout TechSavvy.Life for blog posts on smartphones, PCs, and Macs! You may email us at contact@techsavvy.life for comments or questions.
Tweet
I Would Like to Hear From You
Please feel free to leave a comment. I would love to hear from you. Do you have a computer or smart device tech question? I will do my best to answer your inquiry. Just send an email to contact@techsavvy.life. Please mention the device, app, and version you are using. To help us out, you can send screenshots of your data related to your question.
Author’s E-Book
You can access the e-book from a Kindle device, the Kindle App for the desktop or smartphone, which is a free app.