RAYMOND OGLESBY @RaymondOglesby2
September 3, 2024 – 3 minutes read
This is for iPhone 14 Pro, iPhone 14 Max, and iPhone 15 running iOS 17+. Screenshots are from iPhone 14 Pro running iOS 17.5.1.
Click here to learn how to update your iPhone to the latest iOS version.
Overview
Did you know you can use the Dynamic Island to control your iPhone’s flashlight? The Dynamic Island is one of the most useful features, thanks to shortcuts like this.
There are many different ways to turn off the flashlight on your iPhone. The iPhone 14 Pro and any iPhone 15 models introduced an extra option for switching off your flashlight with Dynamic Island. Let’s explore this feature.
What is Dynamic Island
The Dynamic Island is a relatively new interactive iOS 16 feature housing the TrueDepth front camera notch.
Dynamic Island is a pill-shaped zone on the upper side of the iPhone display. It adapts the camera hardware and is a shape-shifting hub for vital iPhone alerts or your ongoing activity. Since the feature is triggered automatically, you can view a multitasking bar within seconds without additional actions.
This UI area displays;
- Alerts and Notifications
- Background Activity
- Access to Controls
- Real-Time Updates
Turning On/Off the Flashlight
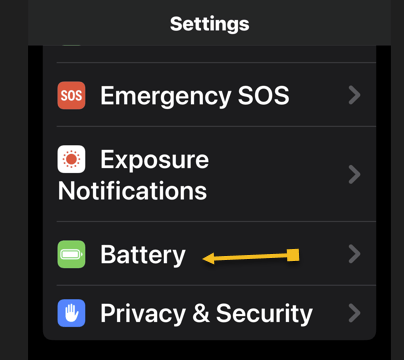
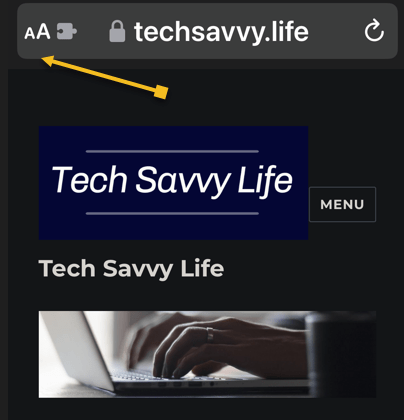
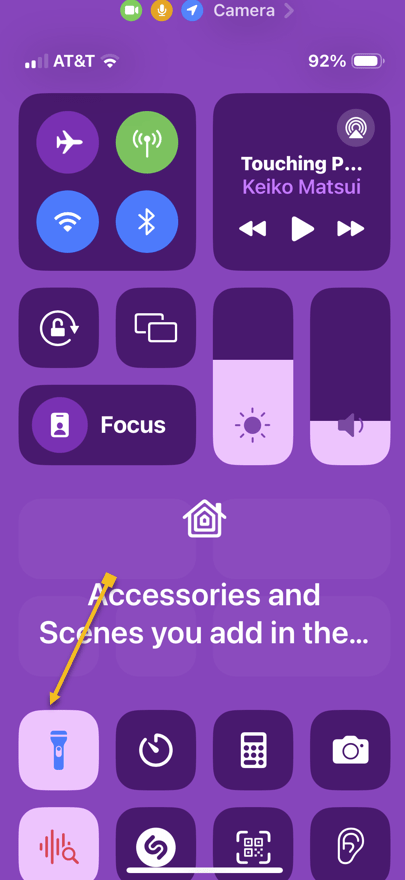
First, access the Flashlight by swiping down on your Home Screen from the upper right. Refer to the below image:

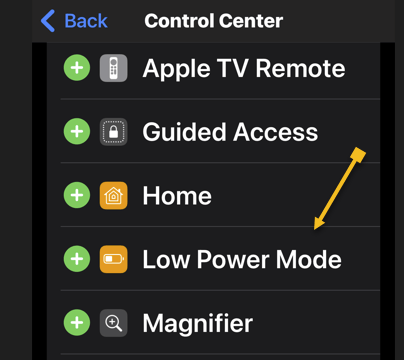
Now, the Control Center will be displayed. See the below image:

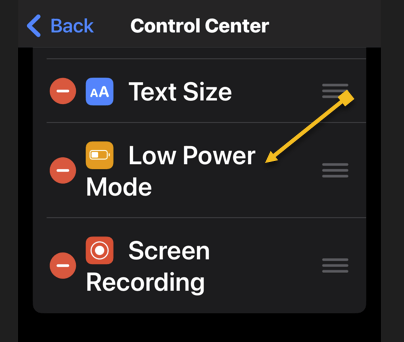
Next, tap the Flashlight icon. See the following image:
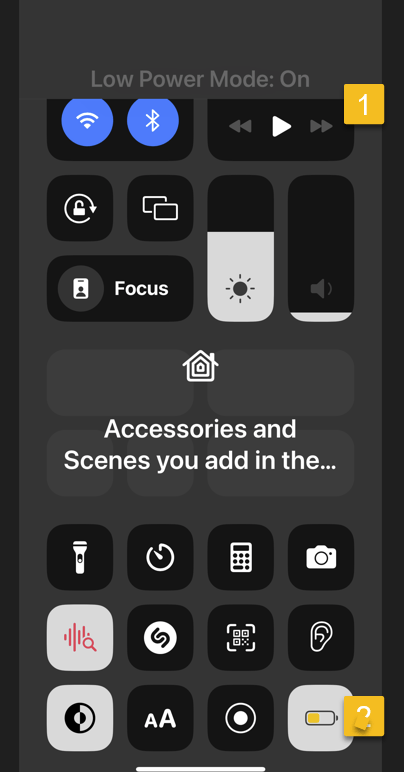
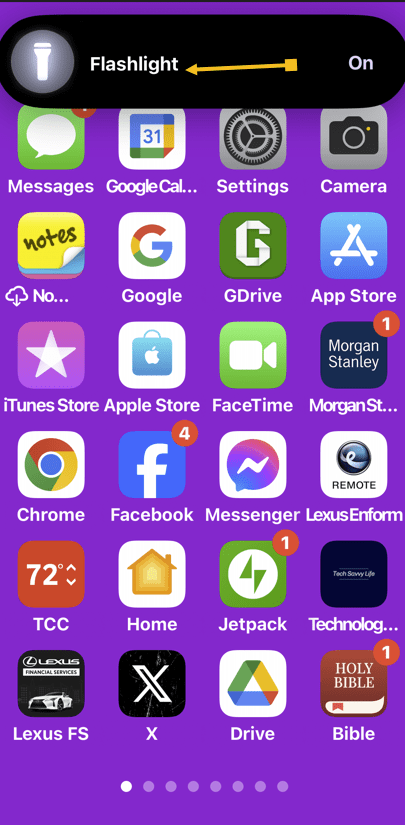
Now, you will see a tiny flashlight icon in the Dynamic Island. Tap it. Refer to the below image:

Next, your Flashlight status will be shown in the Dynamic Island. Tap the icon to turn off the Flashlight. See the below image:
New Flashlight Feature
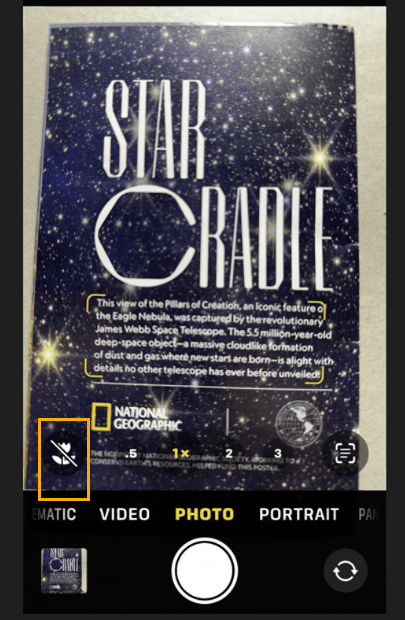
In the September 2024 iOS 18 update Apple will add swipe capabilities to control the Flashlight beam and brightness.
Disclaimer
Technology is always changing. Rarely is there static tech for smartphones and desktops. Thus, the contents of this post are only valid at the time of writing. Blog posts older than six months may have directions incompatible with your device or OS. Hopefully, older post content will continue to work as advertised. Thank you for reading TechSavvy.Life for Technology at Work For You.
Quote For the Day
. “Real science can be far stranger than science fiction and much more satisfying.”
– Stephen Hawking
X (Twitter) Info
You are finished. Please feel free to share this post! One way to share is via Twitter.
Just click the Tweet icon below. This will launch Twitter where you click its icon to post the Tweet.
Checkout TechSavvy.Life for blog posts on smartphones, PCs, and Macs! You may email us at contact@techsavvy.life for comments or questions.
Tweet
I Would Like to Hear From You
Was this post helpful? We would love to hear your comments. Do you have a computer or smart device tech question? I will do my best to answer your inquiry. Just send an email to contact@techsavvy.life. Please mention the device, app, and version you are using. To help us out, you can send screenshots of the data related to your question.
The author’s Vietnam eBook on the “Battle for Tra Bong Vietnam: Events and Aftermath” can be accessed from a Kindle device or the Kindle App for a desktop or smartphone. The apps are free.