RAYMOND OGLESBY @RaymondOglesby2
June 24, 2025– 4 minutes read time
Overview
Did you know that a simple iPhone gesture can save you seconds or millions of tedious scrolling back to the top of most apps? Across all apps, pages, and platforms, this simple tip will automatically return you to the top of any screen. Whether you want to know how to scroll to the top of Messages or Photos on iPhone, Instagram, or Facebook, or you have been searching in the Settings app, we will show you this simple feature.
One of my guiltiest pastimes is spending way too much time scrolling through Wikipedia pages on the Safari app. Some of the articles, while extremely informative, are excessively long. This simple trick will shoot you right back to the top of that Wikipedia article or any app.
Although not as fast, you can “scroll to the bottom” of web pages and certain documents through the Scrollbar. Let’s explore how to scroll up to the top or down to the bottom.
Why You Will Like This Tip
- Don’t waste time scrolling all the way back up to the top or down to the bottom.
- You can use this “scroll to the top” tip on any app, platform, or page.
- You can access the bottom of a page using the Scrollbar.
System Requirements
This tip was performed on an iPhone 14 Pro running iOS 18.5.
Click here to learn how to update your iPhone to the latest iOS version.
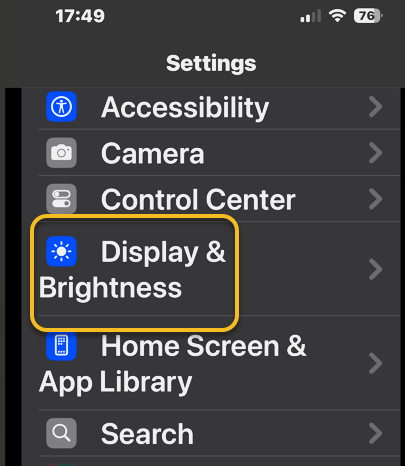
Quickly Scroll Back to the Top
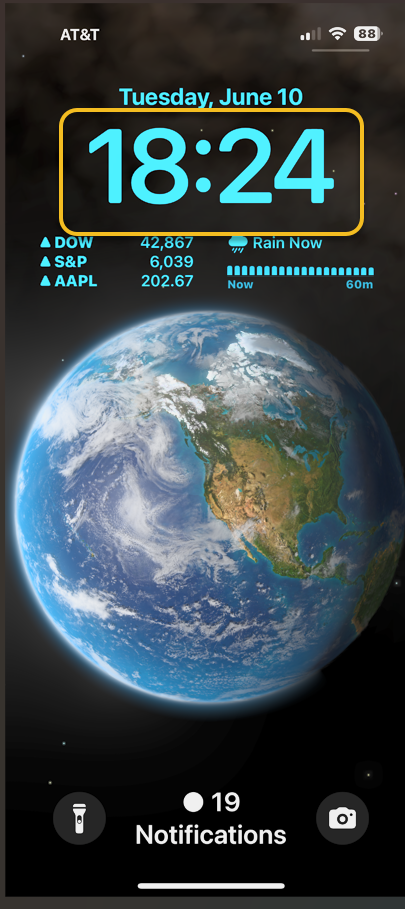
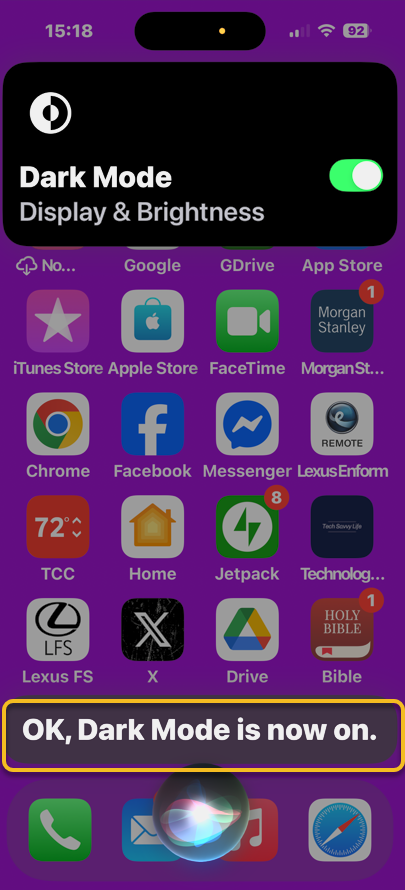
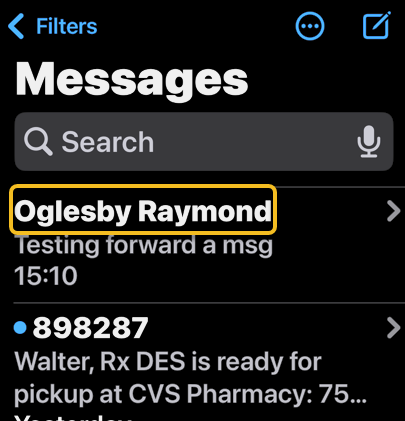
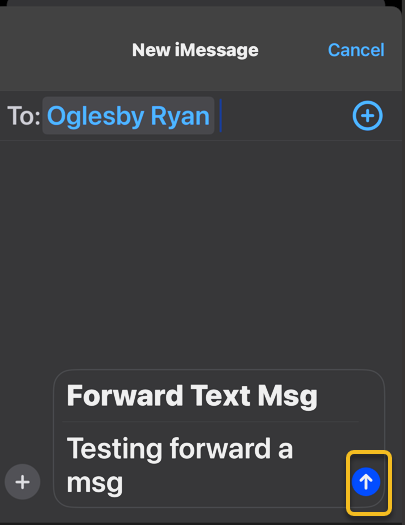
First, open any app, and simply tap either the Clock, the Battery Indicator, or even the Dynamic Island itself at the top of your screen. Refer to the image below:
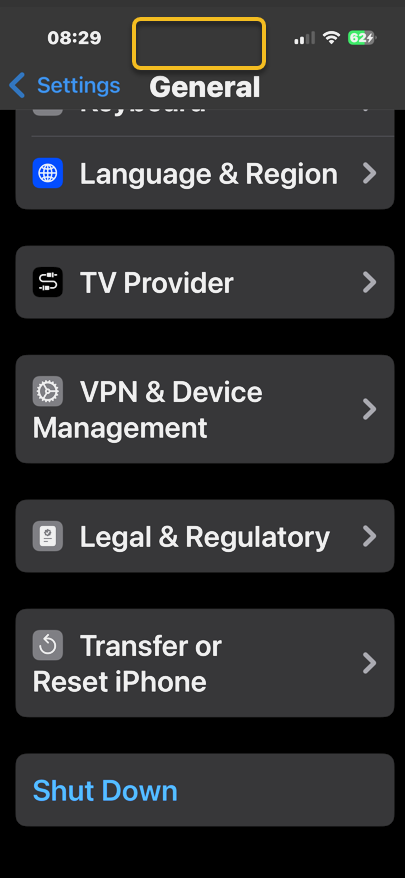
It should return you back to the top immediately. Be sure when you are doing this, you are tapping at the level of the Clock or Battery Indicator. If you tap just below, nothing will happen. See the image below:

Quickly Scroll to the Bottom
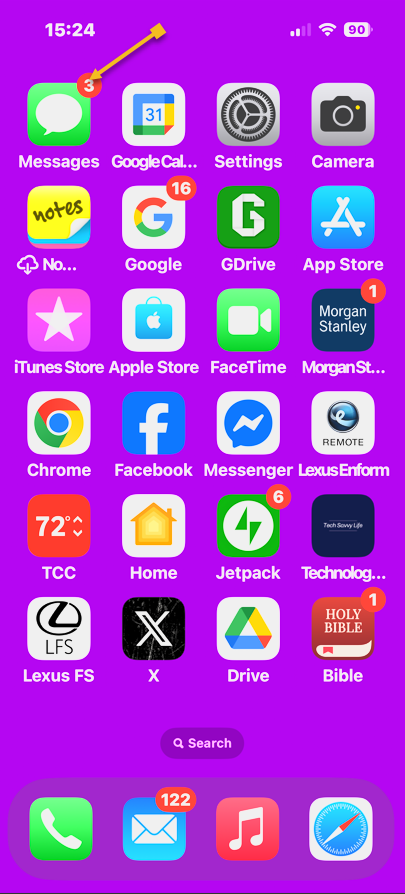
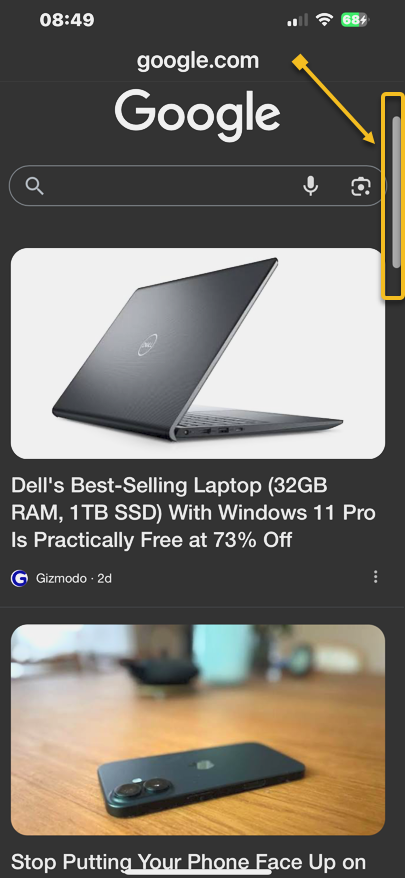
First, swipe once to reveal the Scrollbar on the right side of a page; then, tap and hold on the gray pill on the edge.
Next, when you feel a haptic (feedback) tap on your iPhone. That’s your signal you have now picked up the Scrollbar.
Now, while holding your finger on the Scrollbar swipe downwards to quickly scroll to the bottom of the page. Once you’ve reached the bottom, release your finger from the screen. See the following image:
It’s that simple! This “scroll to the top” tip works in nearly any app with screens you can scroll down on, whether you have scrolled through endless emails, a playlist in music, etc. The use of the Scrollbar allows you to quickly go to the bottom of a page. So, now you know how to jump to the top or bottom on an iPhone.
Disclaimer
Technology is constantly evolving, and smartphone and desktop tech rarely remains static. Therefore, the information in this post is only accurate as of the date it was written. Blog posts that are older than six months may contain instructions that are no longer compatible with your device or operating system. We hope that the content from previous posts continues to function as intended. Thank you for reading TechSavvy.Life, where technology works for you.
Quote For the Day
“I think that’s the single best piece of advice: constantly think about how you could be doing things better and questioning yourself.”
Elon Musk,
(X) Twitter Info
That’s it. Please feel free to share this post! One way to share is via Twitter.
Just click the Tweet icon below. This will launch Twitter where you click its icon to post the Tweet.
Checkout TechSavvy.Life for blog posts on smartphones, PCs, and Macs! You may email us at contact@techsavvy.life for comments or questions.
Tweet
I Would Like to Hear From You
We value your feedback! Was this post helpful? Please share your comments with us. If you have a tech question related to your computer or smart device, feel free to reach out. Just send an email to contact@techsavvy.life, and be sure to include the device, app, and version you are using. To assist us further, you can also attach screenshots related to your inquiry.
The author’s Vietnam eBook on the “Battle for Tra Bong Vietnam: Events and Aftermath” can be accessed from a Kindle device or the Kindle App for a desktop or smartphone. The apps are free.