

Do you want to protect your Microsoft Excel workbook or a sheet in your workbook? If so, this blog post is for you. We are going to password protect a workbook, protect a sheet in a workbook and the Excel file itself.
This is for Excel for Office 365 Windows and Mac versions. Other versions of Excel will be similar.
Protect a Workbook
I recommend you start with a blank Excel workbook, just in case you forget a password. To assign a password to an Excel workbook, do the following:
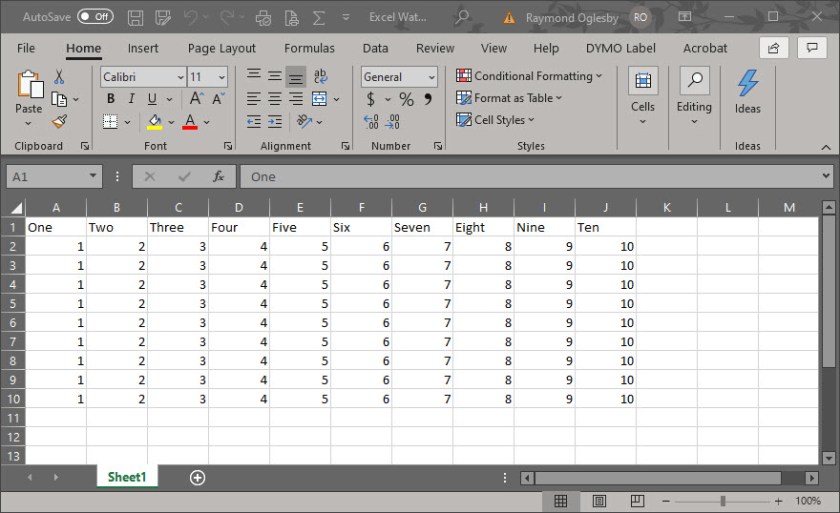
- Open a blank Excel workbook. For demonstration purposes, I am using an Excel workbook that contains one sheet with cell data. You can choose an existing Excel workbook if you chose. See my workbook below :
- Select File>Save As

- Select More options (underneath Excel Workbook drop down box)
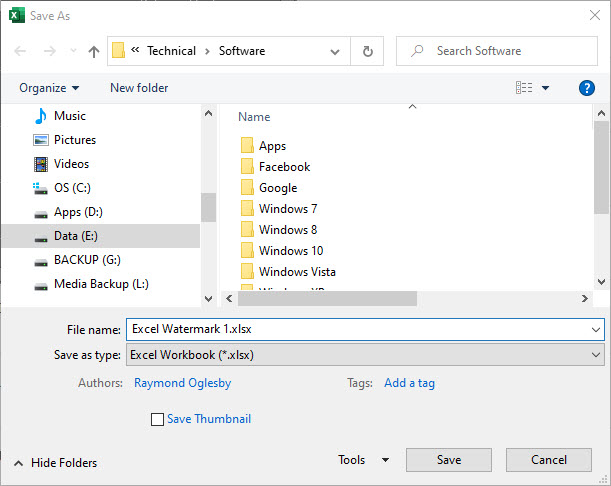
- Select the Tools drop down box
- Chose General Options

Set the Password(s)
You will see notice two password boxes, one to open the workbook and one to modify the workbook
- Enter one or both passwords. Make sure you write down these passwords and store them in a safe place.
You have two other options to set if you chose, Always create backup and Enable Read-only recommended. The first is self explanatory. The second option is an extra layer of protection by enabling the workbook to read-only status upon opening.
- Confirm your password(s) by reentering the password(s)
- Click OK
- Click Save
- Close or Exit Excel
Note! A user who doesn’t know the second password can open and view the data by clicking the Read Only option. This user can still modify the data, but they are unable to save their changes to the protected workbook. However, the user can save the workbook under a new name, which circumvents the protection process. Of course, password-cracking software will get you into the workbook.
Protect a Sheet
- Open a blank Excel workbook. For demonstration purposes, I am using an Excel workbook that contains one sheet with cell data. You can choose an existing Excel workbook if you chose.
- Select the Review tab
- Click the Protect icon
- Click Protect Sheet icon. Refer to following image:

- Enter your password in the Password to unprotect sheet box
- Click OK
- In the Confirm Password dialog box, type the password again
- Click OK
- Save your changes
- Close or Exit Excel
Tip! To remove a password, click Protect>Unprotect Sheet and enter your password. You can also select Protect Workbook icon to protect a workbook which follows.
Protect Excel Structure
- Open a blank Excel workbook. For demonstration purposes, I am using an Excel workbook that contains one sheet with cell data. You can choose an existing Excel workbook if you chose.
- Select the Review tab
- Click the Protect icon
- Click Protect Workbook icon. Refer to the following image:
Select the Windows option if you want to prevent users from moving, resizing, or closing the workbook window or hide/unhide windows
- Enter your password
- Click OK
- In the Confirm Password dialog box, type the password again
- Click OK
- Save your changes
- Close or Exit Excel
Protect the Excel File
To prevent users from accessing the data in your Excel file, we are going to protect the file with a password
- Open a blank Excel workbook. For demonstration purposes, I am using an Excel workbook that contains one sheet with cell data. You can choose an existing Excel workbook if you chose.
- Select File>Info. Refer to my image below:

- Click Protect Workbook icon
- Chose Encrypt with Password option
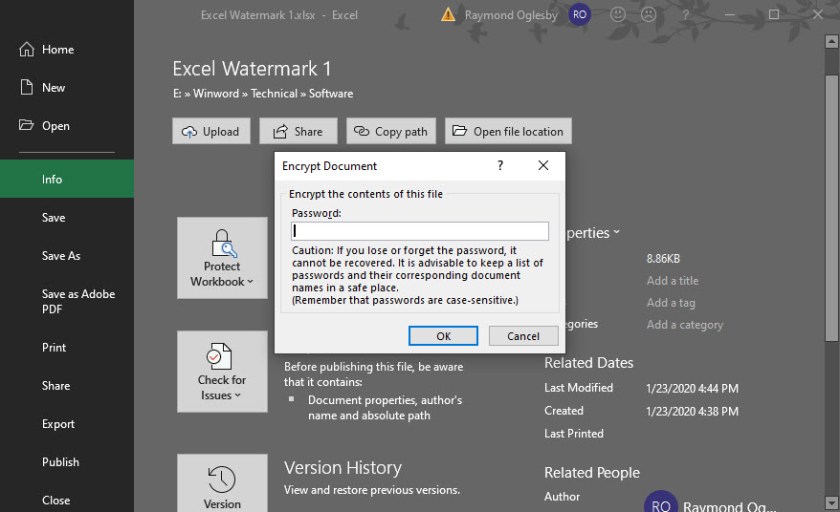
- Enter a password in the Encrypt Document dialog box
- Click OK
- In the Confirm Password dialog box, type the password again
- Save your changes
- Close or Exit Excel
Be cautious when sharing files or passwords with other users. You still run the risk of passwords falling into the hands of unintended users. Remember to write down your passwords and store them in a safe place.
I Would Like to Hear from You
Please feel free to leave a comment. I would love hearing from you. Do you have a computer tech question? I will do my best to answer your inquiry. Please mention the app and version that you are using. To help me out, you can send screenshots of your data related to your question.
