RAYMOND OGLESBY @RaymondOglesby2
July 26, 2022
There’s a lot of information out there about how to treat smartphone batteries. We can argue about the best practices, but there are some clearly bad things that can ruin batteries quickly. Let’s find out.
This is for the smartphone

Smartphone batteries get worse over time, it’s inevitable. There are systems in place to slow it down as much as possible, but some things speed up that process and can even skip right to the end of it.
Damaged Cables
One of the worst and most dangerous things you can do is use cheap or incompatible cables with your phone. If you have ever heard a story about a phone spontaneously catching fire, it’s usually the fault of the cable.
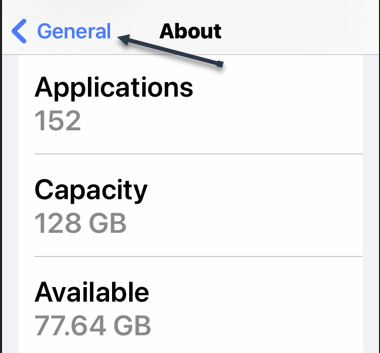
It’s best to stick with charging accessories from the manufacturer of your phone or trusted brands. Avoid super low-cost accessories that do not have a lot of reviews. iPhone users can look for the Made for iPhone sticker to feel safe. All of this applies to wireless chargers as well. Refer to the below image:

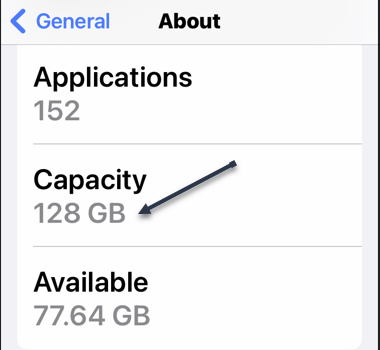
Down to Zero
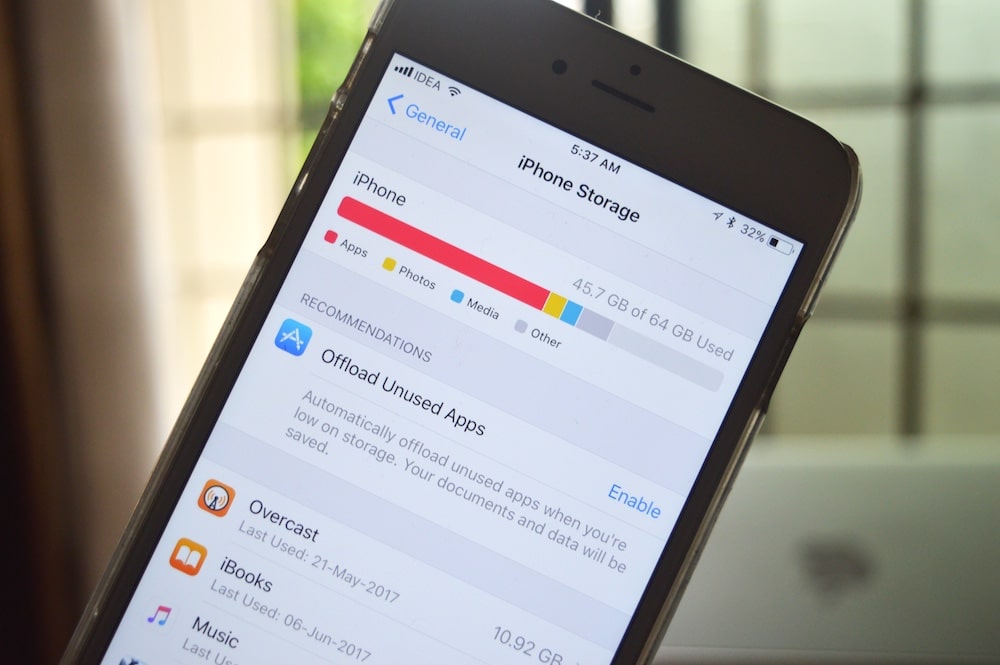
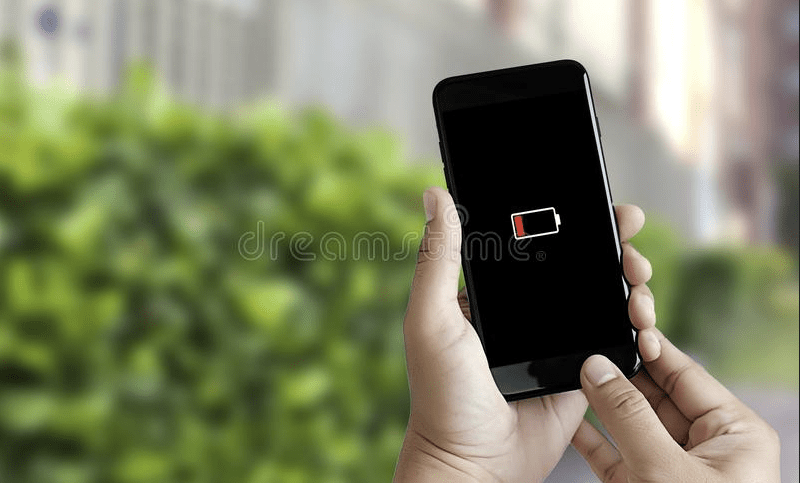
Charging cycles are what impact the lifespan of a battery the most. The constant cycle of charging and discharging slowly degrades the battery’s health. What makes it even worse is when your phone is frequently starting the cycle from 0%.
It’s best to keep your phone charged between 20-80% as much as possible. Some phones have features to help you do this, but they can only do so much. Shorter charge cycles are better for the battery, so try not to let it get below 20% as much. See the below image:
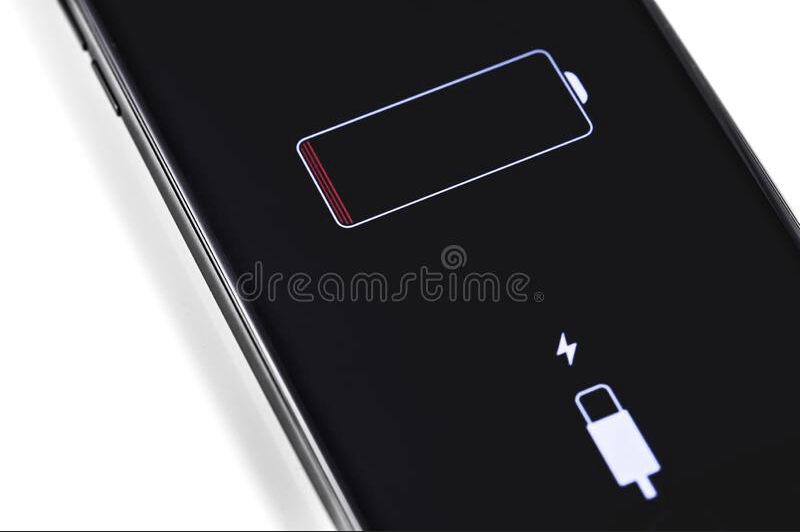
Battery at zero charge
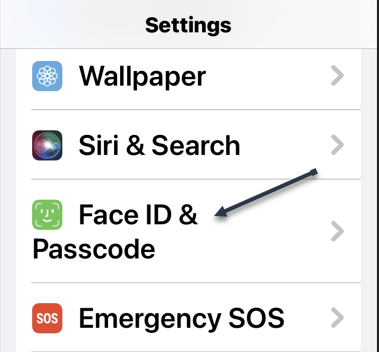
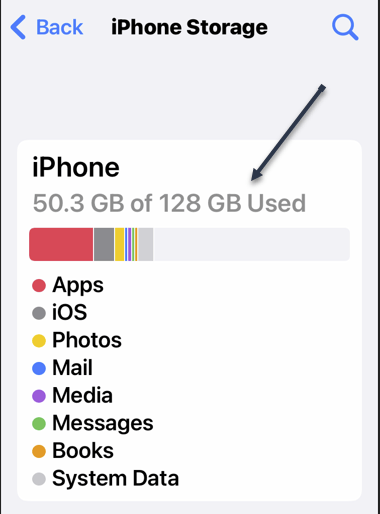
Keeping It Plugged In
It goes the opposite direction, too. Keeping your phone plugged in at 100% all the time is just as bad as letting it get to 0%. Charging your phone overnight is not necessarily bad, but you should not charge it more than you need to.
When the battery reaches 100% charge will protect itself by stopping charging. However, as soon as it drops back down to 99% it will charge back up to 100% again. This small cycle repeats itself over and over and it’s not good for the battery.
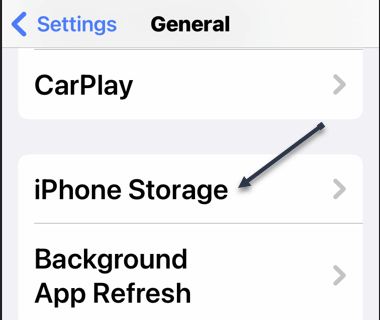
The good news is the iPhone and some Android phones now have Adaptive or Optimized charging features to reduce these charging cycles overnight. They keep the battery at around 80% most of the night and then finish the last 20% around your usual wake-up time. See the following image:

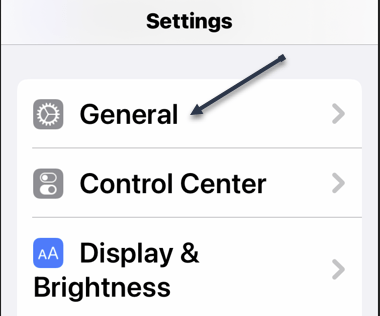
Extreme Heat
Most electronics do not like heat. This is especially true for batteries, including the ones in your phone. Excessive heat can shorten the lifespan of the battery. That’s another reason why it’s not great to keep your phone plugged in all the time.
Heat can come from other sources as well. Playing games that require a lot of resources, leaving your phone in a hot car, or letting it bake in the sun at the beach. All of these things can overheat your phone and damage the battery in the process. Refer to the below image:

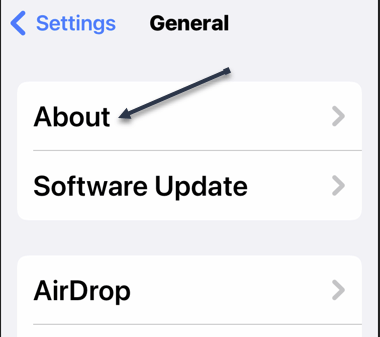
Screen Brightness
We have noticed this the most amongst adults, and their phone brightness levels are blinding. They are not only causing hurt to the eyes but also to the humble battery. Screens use the most amount of resources on the phone. That means, the higher the brightness level, the more battery drainage will occur. So, keep your brightness levels to a minimum, but also not to a point where you have to squint! See the below image:

The good news is you probably do not have to worry about ruining your smartphone’s battery. Most of these things are common sense. Stick with name-brand charging accessories, do not overly exhaust or juice up, and keep the device at a comfortable temperature. You will get the best you can out of your battery. Regardless, over time, your battery will slowly deplete, no longer charging to 100%.
Quote For the Day
Globalization, as defined by rich people like us, is a very nice thing… you are talking about the Internet, you are talking about cell phones, you are talking about computers. This doesn’t affect two-thirds of the people of the world.
Jimmy Carter
Tweet Info
That’s it. Please feel free to share this post! One way to share is via Twitter.
Just click the Tweet icon below. This will launch Twitter where you click its icon to post the Tweet.
Check out TechSavvy.Life for blog posts on smartphones, PCs, and Macs! You may email us at contact@techsavvy.life for comments or questions.
Tweet
I Would Like to Hear From You
Please feel free to leave a comment. I would love to hear from you. Do you have a computer or smart device tech question? I will do my best to answer your inquiry. Just send an email to contact@techsavvy.life. Please mention the device, app, and version you are using. To help us out, you can send screenshots of your data related to your question.
Author’s E-Book
You can access the e-book from a Kindle device, the Kindle App for the desktop or smartphone, which is a free app.