RAYMOND OGLESBY @RaymondOglesby2
December 12, 2023
This is for the iPhone. Screenshots are from iPhone 14 Pro running iOS 17+
Even if you use the iPhone’s Messages app every day, there’s a chance you do not know everything it’s capable of. To fully appreciate the app, here are a few of the most hidden secrets Messages offers users. Let’s explore these features.
Track Live Flights
If you have a friend or family member flying, you can see exactly where they are as long as you know the flight number. Let’s say the flight is AA7262, and they just sent you the flight number. Long press the flight number, then tap on Preview Flight. You will see all the details about the flight. Refer to the below image:

Unblock Animations With Secret Codes
You can get custom animations depending on the phrase you sent on iMessage. While you can long press the Send button before sending a message to choose a proper animation, you can also trigger them depending on the message. Here are some examples:
- Happy Birthday! – balloons will appear
- Congratulations! – confetti rain
- Happy New Year! – fireworks
- Happy Chinese New Year! – red explosion
- Pew pew – laser light show
See the below image:

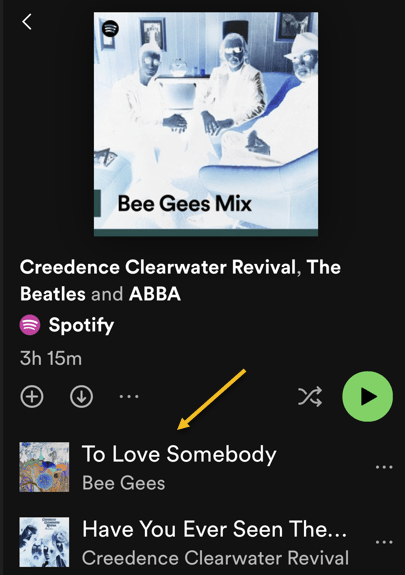
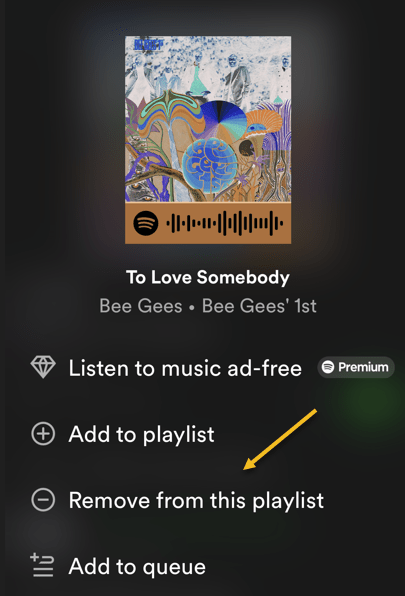
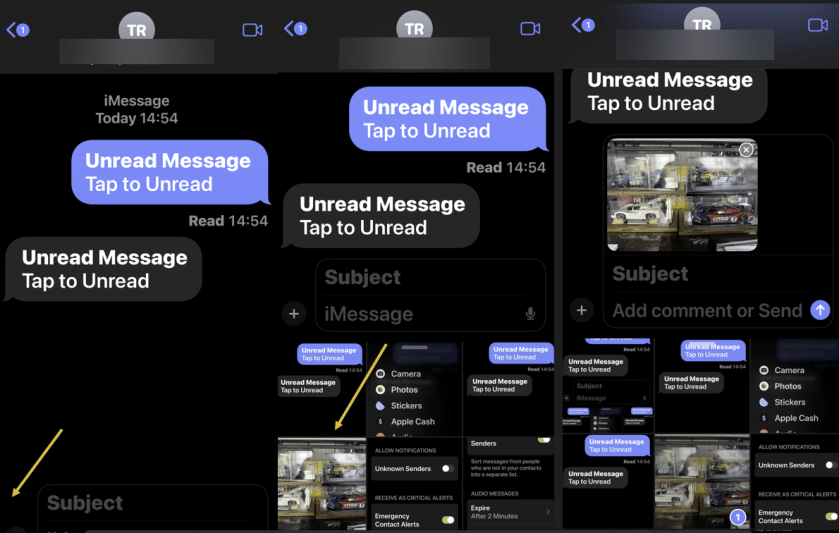
Unread a Message
One of the best features available with the Messages app on your iPhone running iOS 16 or above is the ability to mark a message as unread. If you have already read it but do not have time to reply at the moment, you can leave a notification badge on it. To mark messages as unread, tap and hold a conversation in the app’s Inbox and select Mark as Unread. See the following image:

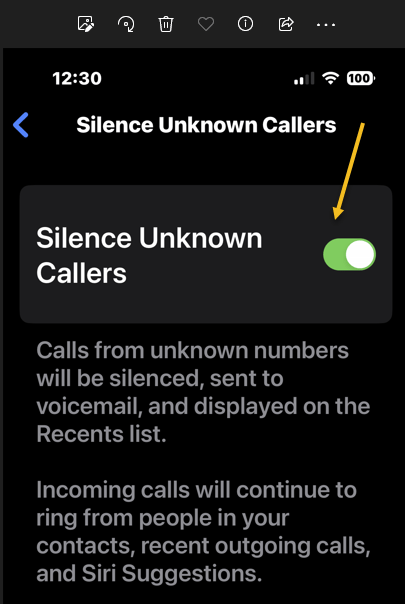
Stop Spam Messages
iMessage has a great feature that can split your Messages Inbox by different senders. Head to:
Settings > Messages > Filter Unknown Senders
and toggle to ON. Scroll up to:
Notifications > Customize Notifications > Unknown Senders
and toggle to OFF.
With that, you will not be notified about spam or messages from people you do not know. You just need to check the Unknown Senders tab every now and then. Refer to the below image:

Visual Lookup On Sent Messages
Visual LookUp works like Google Lens, which can tell you what’s in an image. An example, to view info about a plant:
- Take a photo of a plant
- Open Photos and find the image
- Swipe up on the image
- Tap Look Up
Now, view the results from Siri knowledge. See the below image:

Quickly Open Photos
With iOS 17, there’s a new feature to access your Photos in your Messages. Just long press the “+” icon in the bottom left-hand corner and select a photo to place in your message. To access a new menu of options, just press the “+” sign. See the following image:
To access a new menu of options, just press the “+” sign. Refer to the below image:

Check In
This is a new iOS 17 feature. It works when a user wants to notify a family member or friend that they have safely made it to their destination. After a user initiates a Check In, their friend or family member will automatically be notified when the user arrives. If they are not making progress toward their destination, useful information will be temporarily shared with the selected contact, such as the device’s location, battery level, and cell service status.
One of the primary benefits of Check In is the safety assurance it provides. Personal safety is paramount, whether navigating the streets late at night, venturing into unfamiliar territory, or heading home, Check In serves as a digital guardian. It offers security, letting your contacts know you’ve safely arrived at your intended destination. Any information shared is end-to-end encrypted. Both the recipient and sender must have iOS 17 or higher installed.
To use this feature:
- Open the Messages app. Tap on the conversation where you want to use Check In.
- Next, tap the plus (+) button, choose More, and select Check In.
- If it’s your first time, follow the on-screen instructions. You must decide between Limited or Full data-sharing access. These options give you control over the level of location access.
- Tap the Continue button as you read through the on-screen explanations until you see the Send a Check In button and tap it.
After that, if you do not reach your destination within the set time or place an Emergency SOS Call, your iPhone will prompt you to check if everything’s okay. If you do not respond within 15 minutes, Check In will alert your contact.
Disclaimer
Technology is always changing and rarely is there static tech for smartphones and desktops. Thus, the contents of this post are only valid at the time of writing. Blog posts older than six months may have directions incompatible with your device or OS. Hopefully, older post content will continue to work as advertised. Thank you for reading TechSavvy.Life for Technology at Work For You.
Quote For the Day
If you don’t ask, the answer is always no.
Nora Roberts
Tweet Info
That’s it. Please feel free to share this post! One way to share is via Twitter.
Just click the Tweet icon below. This will launch Twitter where you click its icon to post the Tweet.
Checkout TechSavvy.Life for blog posts on smartphones, PCs, and Macs! You may email us at contact@techsavvy.life for comments or questions.
Tweet
I Would Like to Hear From You
Please feel free to leave a comment. I would love to hear from you. Do you have a computer or smart device tech question? I will do my best to answer your inquiry. Just send an email to contact@techsavvy.life. Please mention the device, app, and version you are using. To help us out, you can send screenshots of your data related to your question.
Author’s E-Book
You can access the e-book from a Kindle device, the Kindle App for the desktop or smartphone, which is a free app.