RAYMOND OGLESBY @RaymondOglesby2
June 28, 2022
If you do not wish to keep a single or an entire chat in your Facebook Messenger, the company allows you to delete individual or all your messages at once. Let’s find out on your desktop and mobile.
Note! Your deleted messages can not be restored, so make sure you really want to get rid of your messages.
This is for devices using Facebook Messenger. Screenshots are from iPhone XR and Windows 10. Messenger’s latest version is 2022 so screenshots may be different from your device.

You can remove, unsend, or delete messages or chats. This post gives you different methods on how to “back out” your messages or chats. This means you can “undo” mistakenly sent messages. For the Unsend, you have 10 minutes to retract the original message. The Remove feature deletes the message.
Delete Messages on the Desktop
If you are on a desktop computer like Windows, Mac, Linux, or Chromebook, use the Facebook website to delete individual or all messages from your account.
First, launch a web browser on your computer and access Facebook. Log in to your account on the site if you are not already logged in.
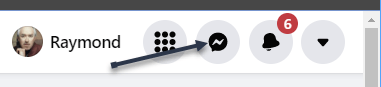
Next, in Facebook’s top right-hand corner, click the Messenger icon. Refer to the below image:
Now, in the Messenger panel, at the bottom, click See All in Messenger. See the below image:

Next, in the Chats sidebar on the left, you will see all your conversations. Select the chat in which you want to delete messages.
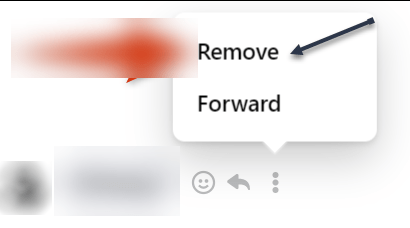
Now, on the right pane, find the individual message to delete. Then hover over that message, click the Menu icon (the three vertical dots), and choose Remove. See the following image:
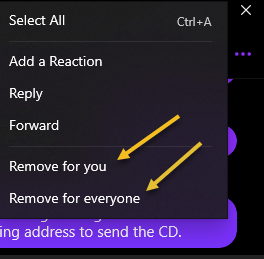
Next, depending on the message you select, click either Remove for you or Remove for everyone. Refer to the below image:
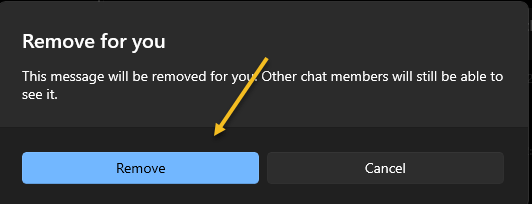
Now, if you have selected your own message, select Remove For You.
In the window’s bottom left-hand corner, click Remove and your message will be deleted. See the below image:
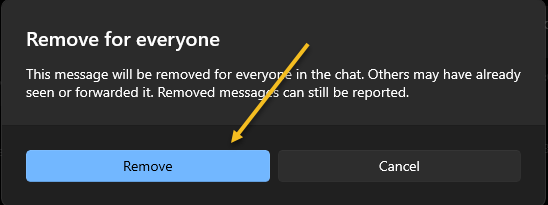
Next, if you have selected an everybody message, select Remove for everyone.
In the window’s bottom left-hand corner, click Remove and your message will be deleted. See the following image:
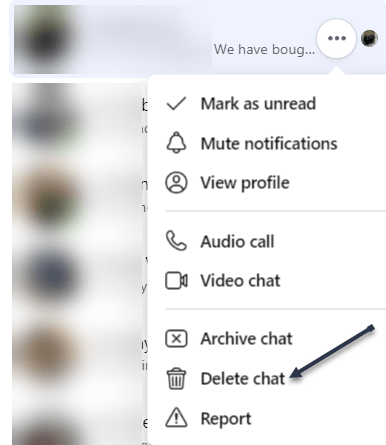
Now, if you would like to delete an entire conversation, then in the left sidebar, find that conversation. Then hover over that chat, click the Menu icon (the three vertical dots), and choose Delete Chat. Refer to the below image:
Next, in the prompt that opens, click Delete Chat. See the below image:
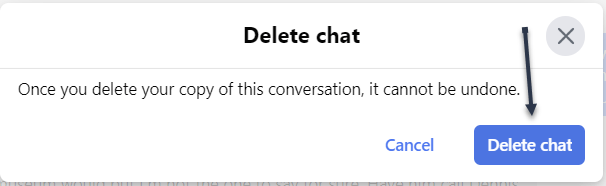
Now, Facebook will delete your selected chat on the desktop.
Delete Messages on Mobile
On your iPhone, iPad, or Android phone, make use of the Messenger app to delete your individual messages or entire chats.
First, launch the Facebook Messenger app.
Next, tap the conversation from which you want to remove messages.
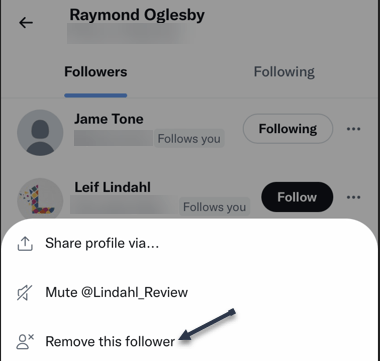
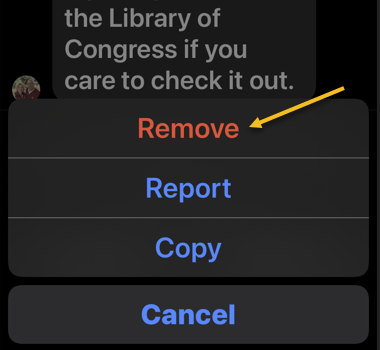
Now, on the conversation page, tap and hold on to the message to remove. If you have selected the other party’s message, then in the menu that opens, select More > Remove. If you have selected your own message, then tap Remove. The message is deleted on your end, but the other party can still access it. See the following image:
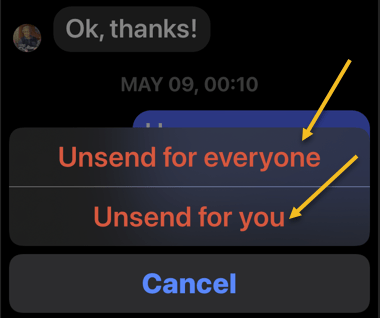
Next, To delete the message from everyone involved in the chat, choose Unsend. Refer to the below image:

Now, you can choose Unsend for everyone or Unsend for you. See the below image:
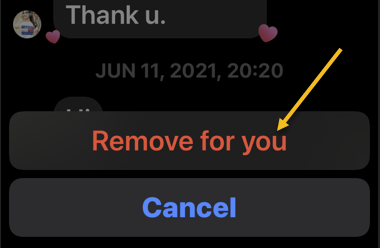
Next, to remove the message only from your own chat history, select Remove For You. See the following image:
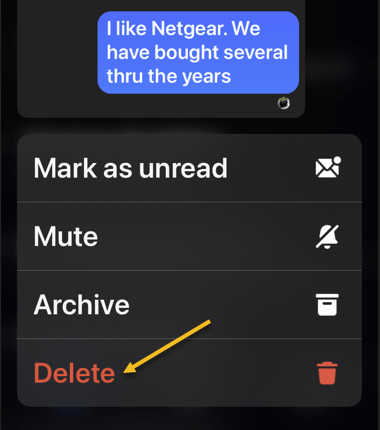
Now, you can also delete entire chats with someone. To do so, tap and hold on to the chat to delete. Then, in the menu that opens, select Delete. Refer to the below image:
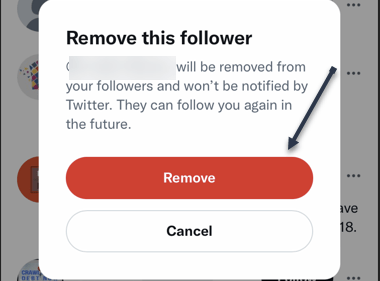
Next, in the prompt that opens, tap Delete. See the below image:

Now, you have successfully deleted your messages from Facebook Messenger on mobile.
Quote For the Day
People are stunned to hear that one company has data files on 185 million Americans.
Ralph Nader
Tweet Info
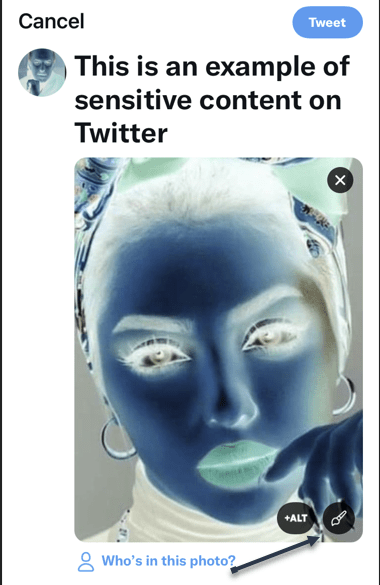
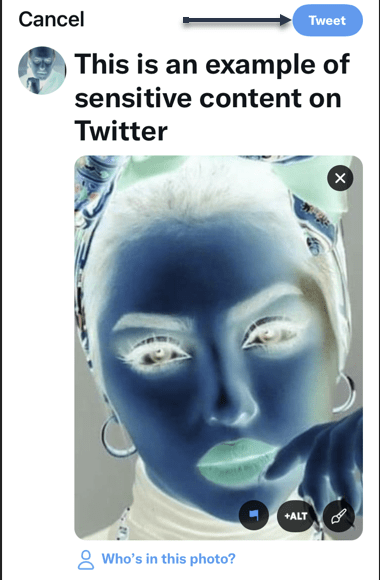
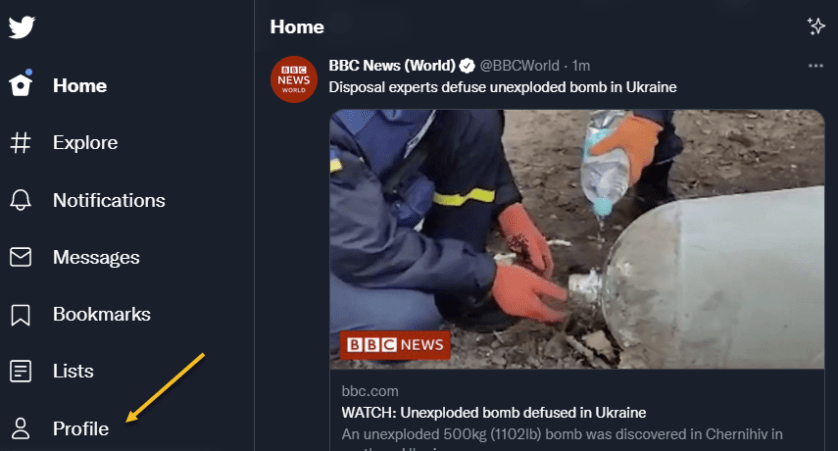
You are finished. Please feel free to share this post! One way to share is via Twitter.
Just click the Tweet icon below. This will launch Twitter where you click its icon to post the Tweet.
Check out TechSavvy.Life for blog posts on smartphones, PCs, and Macs! You may email us at contact@techsavvy.life for comments or questions.
Tweet
I Would Like to Hear From You
Please feel free to leave a comment. I would love to hear from you. Do you have a computer or smart device tech question? I will do my best to answer your inquiry. Just send an email to contact@techsavvy.life. Please mention the device, app, and version you are using. To help us out, you can send screenshots of your data related to your question.
Author’s E-book
You can access the e-book from a Kindle device, the Kindle App for the desktop or smartphone, which is a free app.