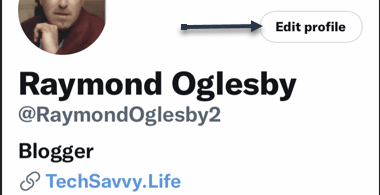
RAYMOND OGLESBY @RaymondOglesby2
February 1, 2022
Netflix is going heavy on mobile games. The company added two more games to its service, bringing the total up to 12.
This is for the iPhone and Android

You do not need to do anything special to get these games on your Netflix account (which is good since Netflix just increased its price again. Maybe that’s why its stock value dropped). As long as you are a Netflix subscriber, you need to download the games on Android or iPhone, and you will be able to play them without spending anything extra.
Here’s a quick look at the games currently available as part of a Netflix subscription:
- Arcanium: Rise of Akhan – Card battle game in the vane of Hearthstone
- Krispee Street – Hidden Object game based on a popular webcomic
- Asphalt Xtreme – Off-road racing game
- Bowling Ballers – Endless runner meets bowling game
- Card Blast – Poker-based card game
- Dominoes Café – Dominoes game with various modes
- Knittens – Cat-based match-three puzzle
- Shooting Hoops – Basketball and dart hybrid game
- Stranger Things: 1984 – Retro-styled adventure games based in Stranger Things universe
- Stranger Things 3: The Game – Official game for the third season of Stranger Things
- Teeter (Up) – Ball manipulating puzzle game
- Wonderputt Forever – Mini golf game
If you are a Netflix subscriber with an Android or Apple device, you might as well download these games and see if any of them work for you, as they are included in the subscription you are already paying for.
Quote For the Day
Remember that failure is an event, not a person.
Zig Ziglar
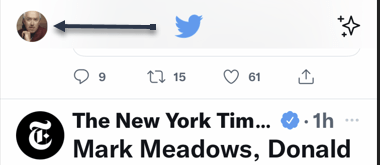
That’s it. Please feel free to share this post! One way to share is via Twitter.
Just click the Tweet icon below. This will launch Twitter where you click its icon to post the Tweet.
Check out TechSavvy.Life for blog posts on smartphones, PCs, and Macs! You may email us at contact@techsavvy.life for comments or questions.
Tweet
I Would Like to Hear From You
Please feel free to leave a comment. I would love to hear from you. Do you have a computer or smart device tech question? I will do my best to answer your inquiry. Just send an email to contact@techsavvy.life. Please mention the device, app, and version you are using. To help us out, you can send screenshots of your data related to your question.
Author’s E-book
You can access the e-book from a Kindle device, the Kindle App for the desktop or smartphone, which is a free app.