IRAYMOND OGLESBY @RaymondOglesby2
August 5, 2025 –7 minutes read time
NOTICE:
This is the most relevant and important blog post we have published to date. If you are an iPhone user, please setup this feature. For Android users, the steps are similar.
This post is a MUST READ to implement emergency access for yourself or others!!!
Overview
This simple tip could save your life: Make your emergency medical information and contact numbers visible on your locked phone so you are prepared if the worst happens.
What would happen if you were out in public and needed urgent care but could not communicate with first responders? Do you have an ID on you? Is there any way for them to know your drug allergies? Are you wearing a medical bracelet that indicates any major health issues? How will they call your emergency contacts? Your phone, even when it’s locked, could be your lifeline.
There’s a way to put emergency information on your phone and make it accessible from the lock screen. It’s extremely important to do it, and everyone should know how to find this information in case someone near you has an emergency. Let’s explore how this is done
Why You will Like This Tip
- Help save your life in case of an emergency.
- Make sure someone helping you in an emergency can access your critical health information and get in touch with your emergency contact(s).
System Requirements
This tip was performed on iPhone 14 Pro running iOS 18.5
Click here to learn how to update your iPhone to the latest iOS version.
Add Emergency Info to iPhone Lock Screen
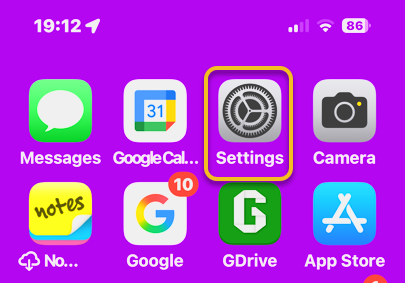
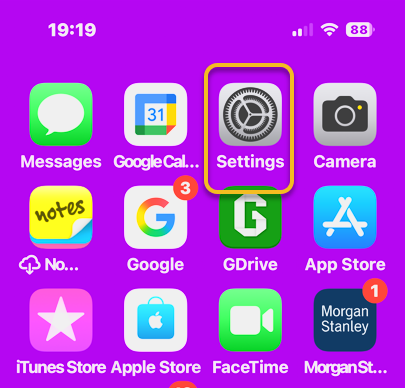
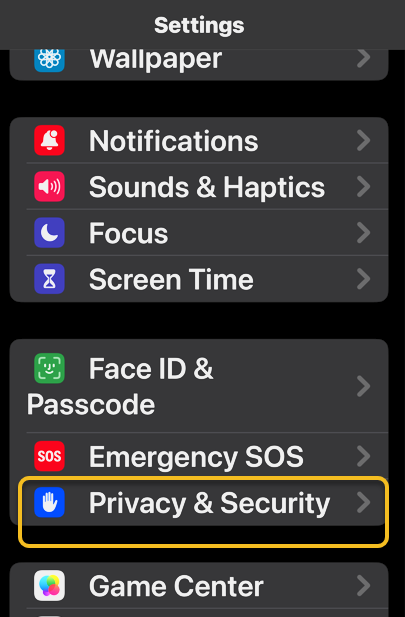
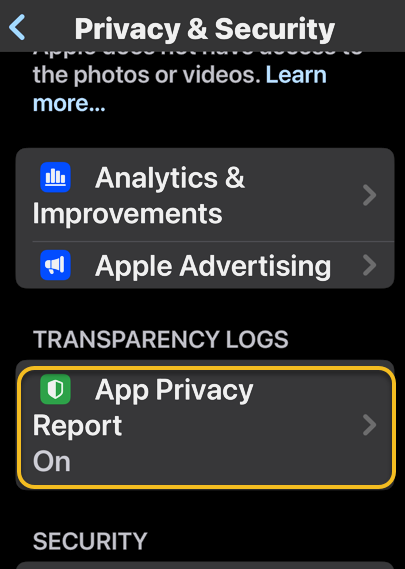
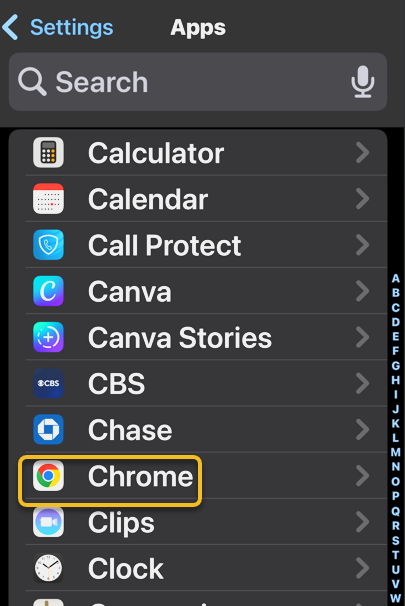
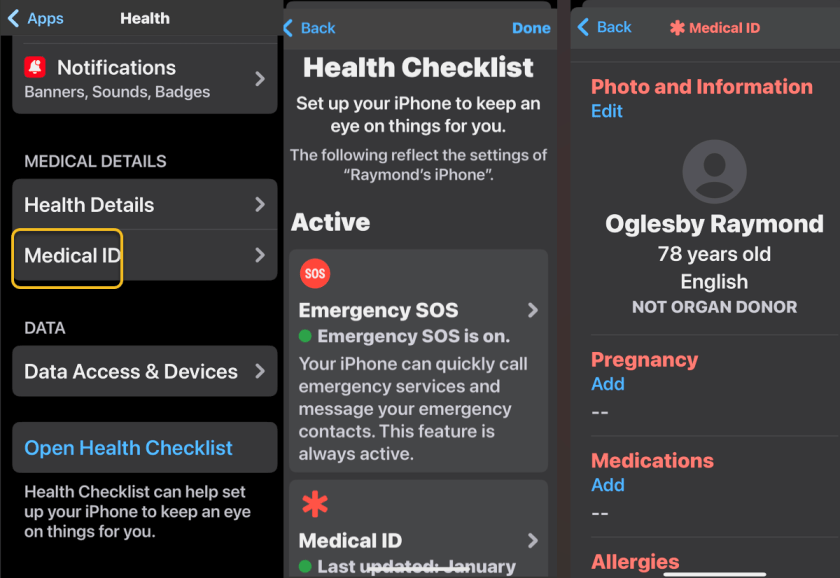
First, open Medical ID. There are three ways to get there:
- Long-press the Apple Health app and choose Medical ID.
- Open the Health app, tap your profile image, and select Medical ID. If you have not opened the Health app in a while, it may prompt you to complete a Health Checklist, which will also take you to the Medical ID screen.
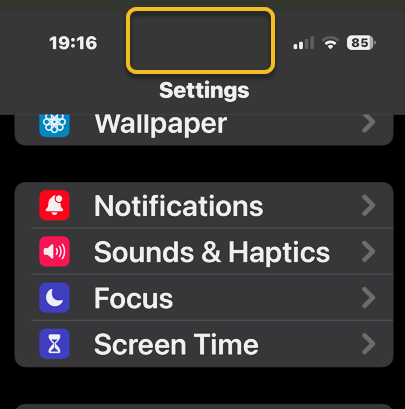
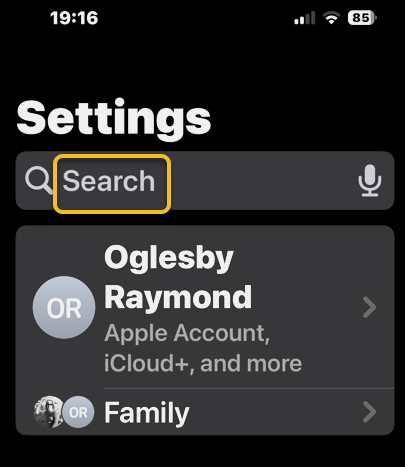
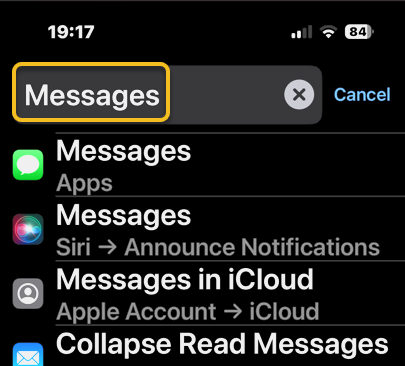
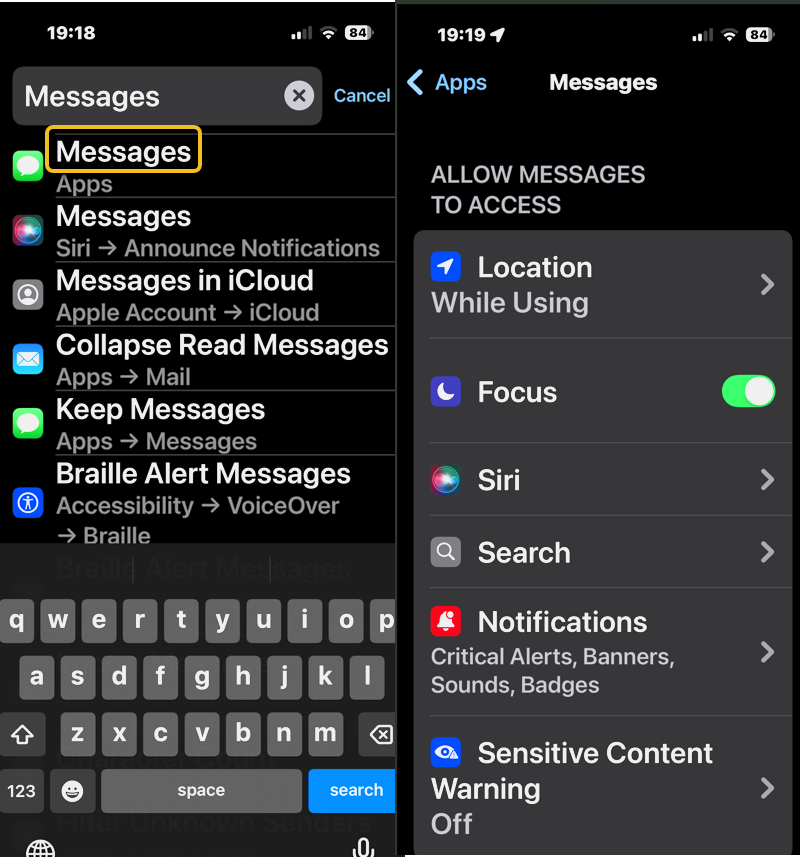
- Go to:Settings > Apps > Health > Medical ID.
Next, from the Medical ID screen, tap “Edit”or “Add“. Please provide as much information as you wish. If you are not taking medications and have no known allergies, you should write “None” or “None known” so medical professionals know you did not simply skip those questions. For Emergency Contact, you can only select a name and phone number from your Contacts app. So, make sure whoever you want to list is in your Contacts. If you have yet to do this, Click here on how to set up your Emergency Contact(s).
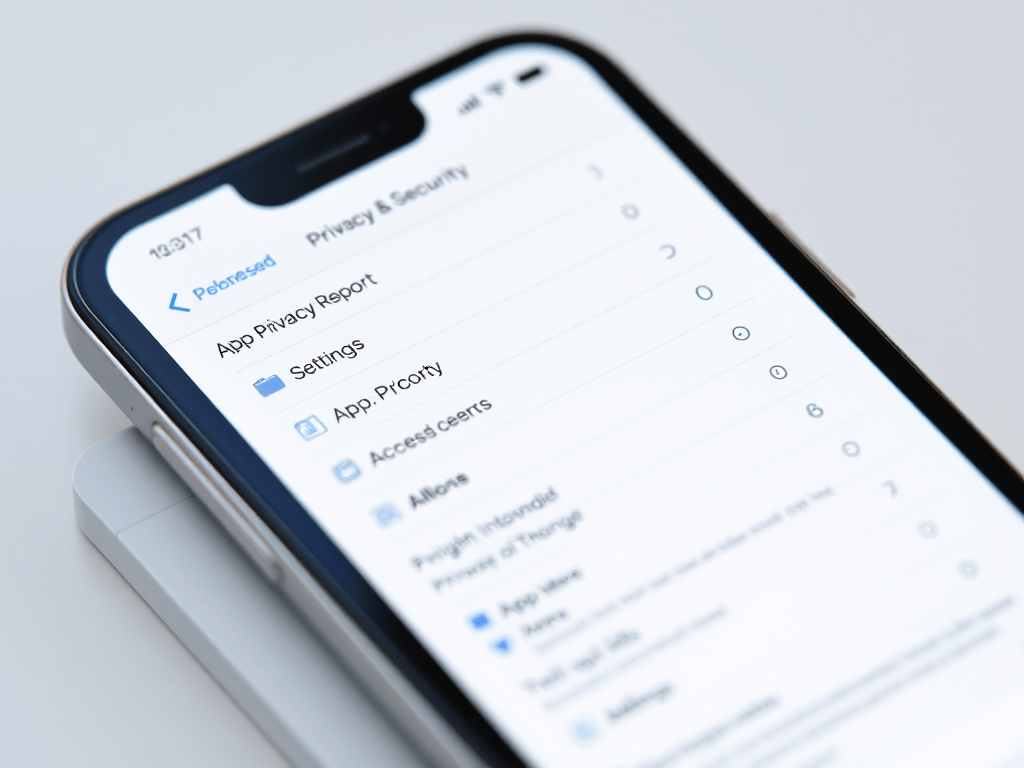
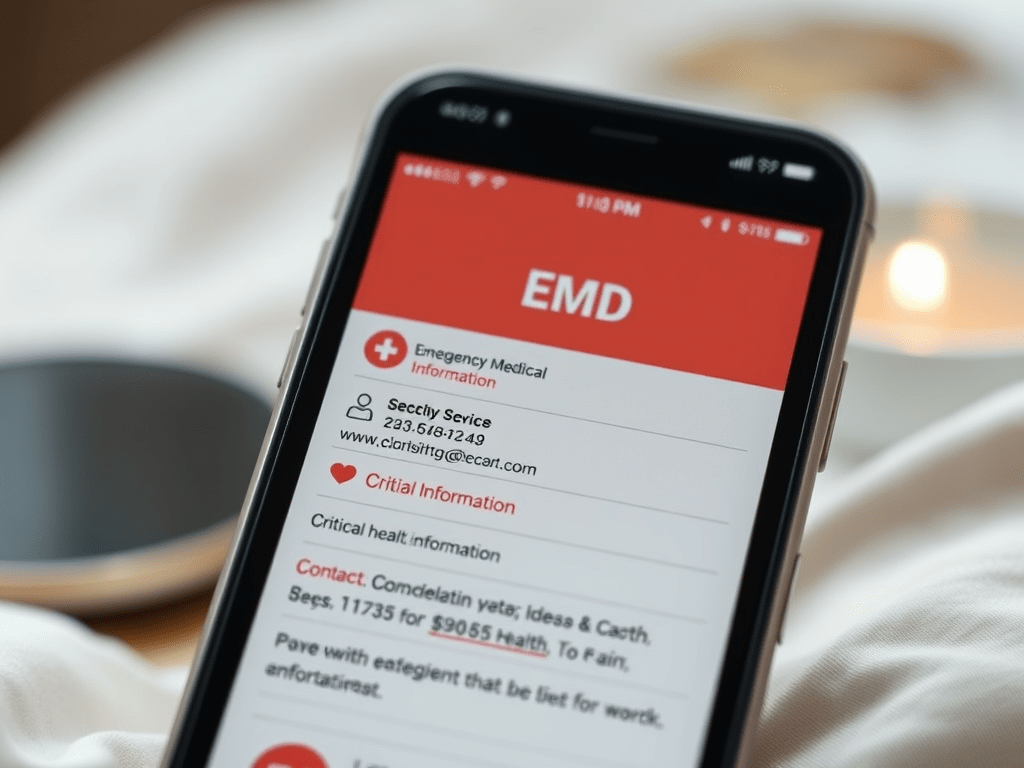
Now, under Emergency Access, toggle on Show When Locked and Share During Emergency Call. There’s a spot for a profile photo at the very top of the page. Put in a recent picture of your face (I have yet to do this). It could help emergency responders recognize that they are viewing your information and not someone else’s. When you are finished, press Done at the top right. Refer to the image below:
Find Someone’s Emergency Info on iPhone
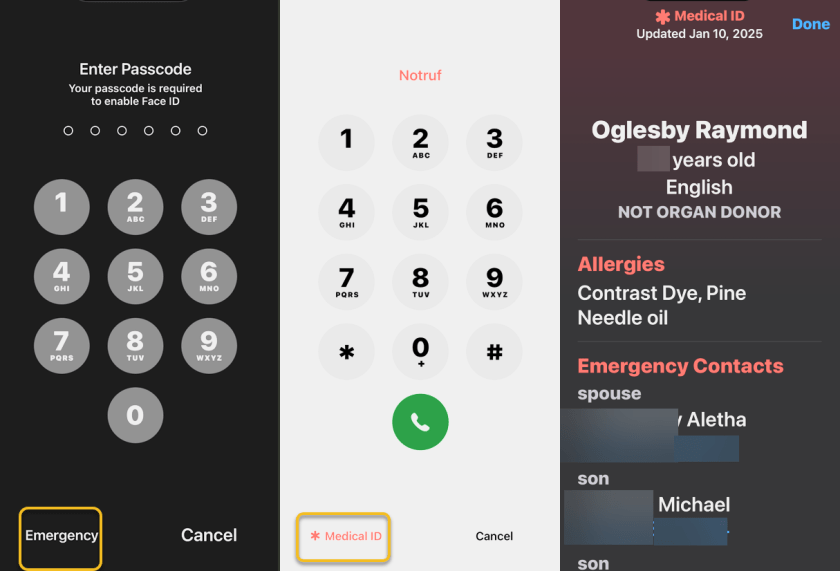
Now that you have your emergency info set, you need to know how to find it from the Lock screen. Go ahead and practice with your own phone. That way, you know how it works if you ever have to help someone else. This is a good skill to teach kids, too.
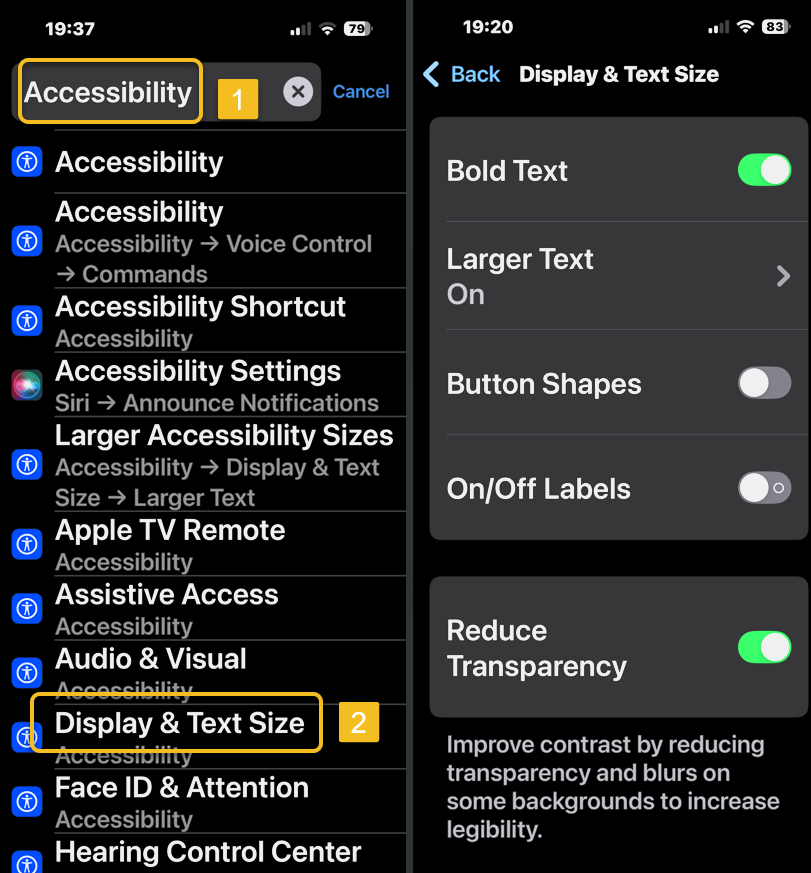
First, from the Lock screen (when the phone asks for a passcode), tap Emergency in the lower left corner to make a dial pad appear. Tap Medical ID at the bottom left to make the emergency information visible.
Next, scroll down, and you can call anyone listed as an emergency contact by tapping on their phone number. See the image below:
Using SOS on iPhone
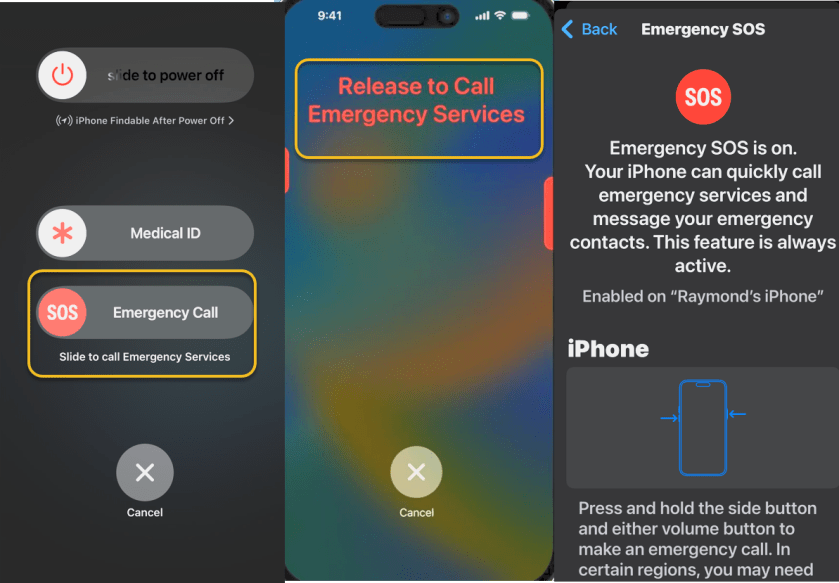
There’s another way to make an emergency call and send your phone’s location to all your emergency contacts. Apple calls it SOS (not to be confused with Emergency SOS via satellite for placing calls in dead zones). SOS is designed so you can use it quickly and immediately, even if you need to hide the fact that you are using it. The only bad part about SOS is the instructions are different for iPhone 7 and earlier, though as those older devices are phased out, it’s less of a concern.
For iPhone 8 and later:
Press and hold the side button and either volume button until an “SOS Emergency Call” slider appears on the screen. Slide your finger on it to call local emergency services. If you need to hide the phone or can not operate the screen, hold down the buttons. A countdown begins, and an alert sounds. If you release the buttons after the countdown, your phone automatically dials emergency services.
For iPhone 7 and earlier:
Press the side or top button quickly five times. An SOS slider appears on the screen. (In India, you only have to press rapidly three times, and then a call goes out automatically.) Slide your finger on Emergency Call to call emergency services.
After the call ends, the phone automatically sends a text message to all emergency contacts listed in the Health app, unless you choose to cancel it. This message contains the phone’s current location, even if Location Services is off; the phone automatically turns it on temporarily when you use the SOS feature. If the phone’s location changes, the contacts receive an update via text. See the following image:
Emergency Access For Any Smartphone
If your phone does not have a way to access emergency information when locked, there’s a hack that easily bypasses this limitation. All you need to do is add all the relevant info into a note-taking app, take a screenshot, and then set it as the wallpaper on your Lock screen. Take a look at your lock screen and make sure the information is legible. You may need to adjust it if the clock or other functional information is obstructing it.
Source: Apple Support, Asurion, PCMag
Disclaimer
Technology is constantly evolving, and smartphone and desktop tech rarely remains static. Therefore, the information in this post is only accurate as of the date it was written. Blog posts that are older than six months may contain instructions that are no longer compatible with your device or operating system. We hope that the content from previous posts continues to function as intended. Thank you for reading TechSavvy.Life, where technology works for you.
Quote For the Day
“Computing is not about computers anymore. It is about living.”
– Nicholas Negroponte, Founder of MIT Media Lab
(X) Twitter Info
That’s it. Please feel free to share this post! One way to share is via Twitter.
Just click the Tweet icon below. This will launch Twitter where you click its icon to post the Tweet.
Checkout TechSavvy.Life for blog posts on smartphones, PCs, and Macs! You may email us at contact@techsavvy.life for comments or questions.
Tweet
I Would Like to Hear From You
We value your feedback! Was this post helpful? Please share your comments with us. If you have a tech question related to your computer or smart device, feel free to reach out. Just send an email to contact@techsavvy.life, and be sure to include the device, app, and version you are using. To assist us further, you can also attach screenshots related to your inquiry.
The author’s Vietnam eBook on the “Battle for Tra Bong Vietnam: Events and Aftermath” can be accessed from a Kindle device or the Kindle App for a desktop or smartphone. The apps are free.