Yes, you can now hear Podcasts on your Amazon Echo device. Apple Podcasts and others, like Spotify and iHeartRadio, are now options to choose from for your favorite podcasts.
We are going to link your Echo device to one of these podcast services. Our example is linking Apple Podcasts to the Amazon Echo. The ways this is done is somewhat clumsy. The Echo seems to be hard to program; it’s not straightforward. But follow along, it’s not time consuming and is worth it.
This is for iOS devices (iPhone and iPad) and the Amazon Echo
Starting Alexa
- Open the Alexa app on your smart device. If you have yet to download the app, head to the Apple Store to download and install.
- Tap the hamburger icon, the one with 3 dots in upper right hand corner or tap on the menu icon in upper left hand corner
- Select Settings. You will see the following screen:
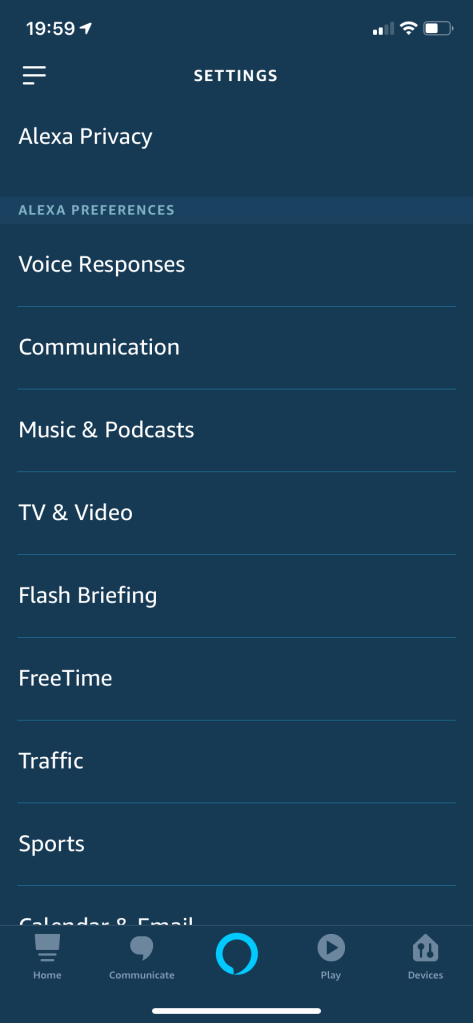
- Select Music & Podcasts. Refer to following image:
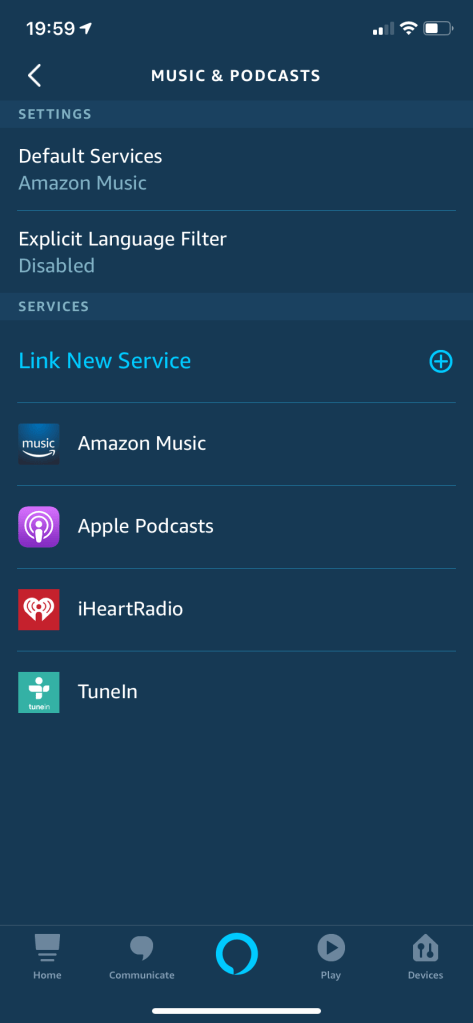
Setting up the Link
- Select Link New Service.
- Select Apple Podcasts. Refer to following image:
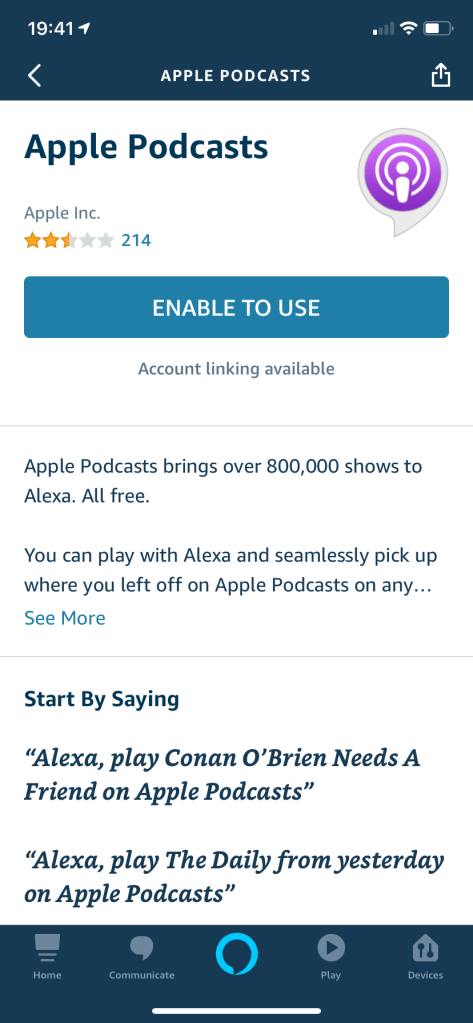
- Tap ENABLE TO USE.
You will be asked to enter your Apple ID, Password and Passcode depending on your login procedure
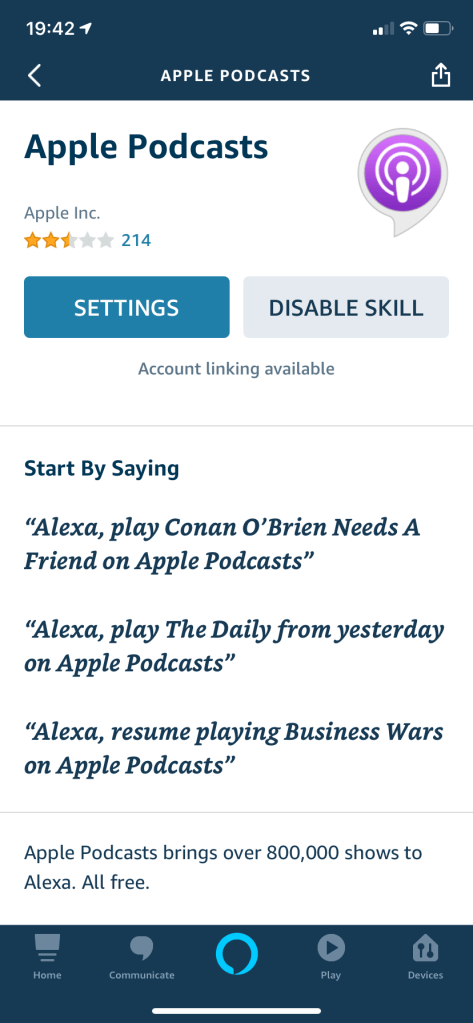
- Tap SETTINGS. See following screen:
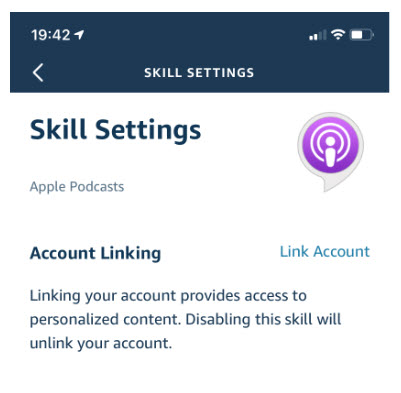
Linking the Service to Echo
- On the Skill Settings screen, tap on the Link Account link. See below image:
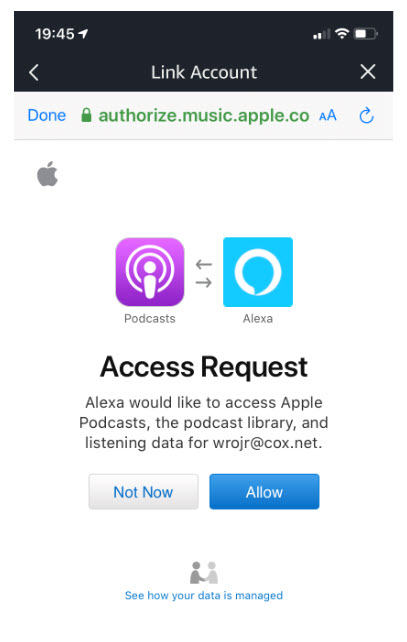
Allowing Access for the Link
- Tap Allow on the Access Request screen. You may see a different screen depending on what service you are linking. Refer to below image for Apple Podcasts:
Linkage for the Podcast Service Completed
You will see that Apple Podcasts has been successfully linked. See following image:
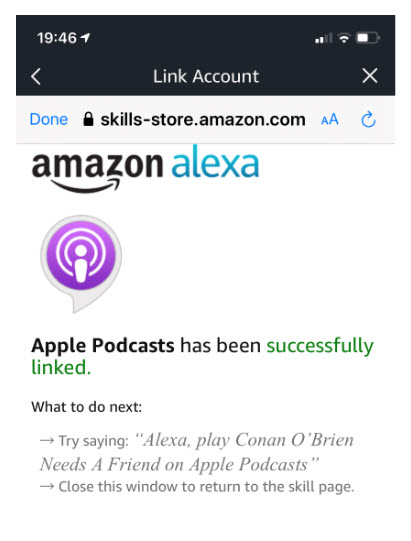
- Click Done
Now you can listen to your favorite Apple Podcasts. Just repeat the above steps to add other podcast service(s).
I Would Like to Hear from You
Please feel free to leave a comment. I would love hearing from you. Do you have a computer or smart device tech question? I will do my best to answer your inquiry. Please mention the device, app and version that you are using. To help me out, you can send screenshots of your data related to your question.