RAYMOND OGLESBY @RaymondOglesby2
December 16, 2025 – 4 minutes read time
Overview
The Driving Focus allows you to send a customized auto-reply text on your iPhone to friends and family, explaining that you are unable to respond right now, but in a friendly way without relying on cold, scripted replies.
Driving is currently the only Focus mode that can send an auto-reply text message on iPhone, but others may include this functionality in later updates. However, the iPhone’s auto-reply text does not indicate that it is from Driving Focus except through the default message, so you can easily customize the message to suit other times you might want to send automatic text replies from your iPhone.
Let’s dive into how to set up the automatic text reply on your iPhone!
Key Takeaways
- Set an auto-reply message, so you never leave someone hanging when they text you while you are driving.
- Apple’s scripted auto-reply messages can sound terse, but you can personalize your message to sound more like you!
System Requirements
This tip works on iPhones running iOS 15 or newer but is demonstrated on an iPhone 17 Pro running iOS 26.1.
Click here to learn how to update your iPhone to the latest iOS version.
Setup Auto Reply
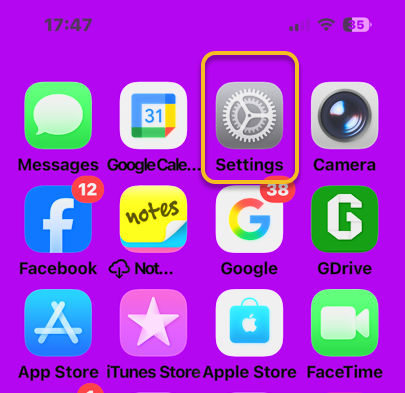
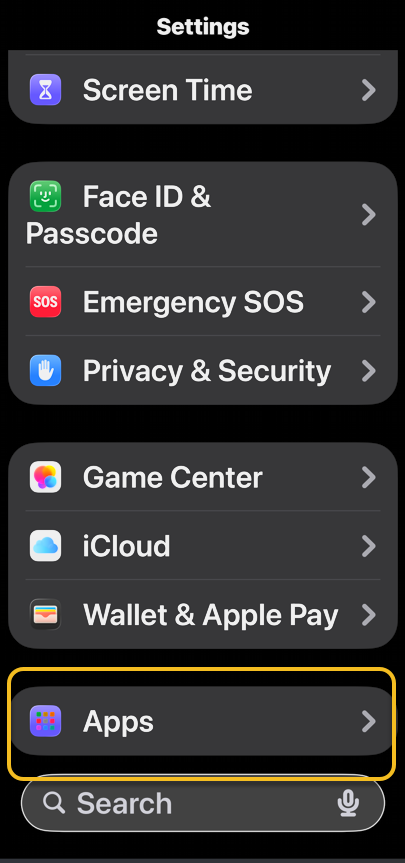
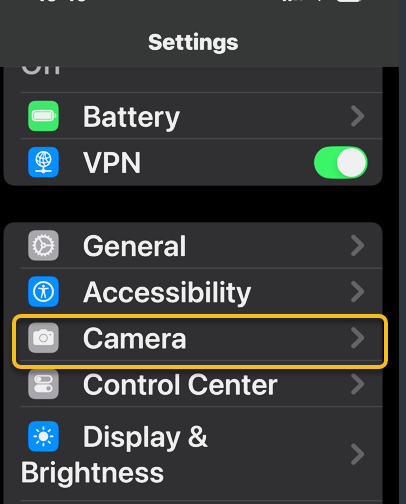
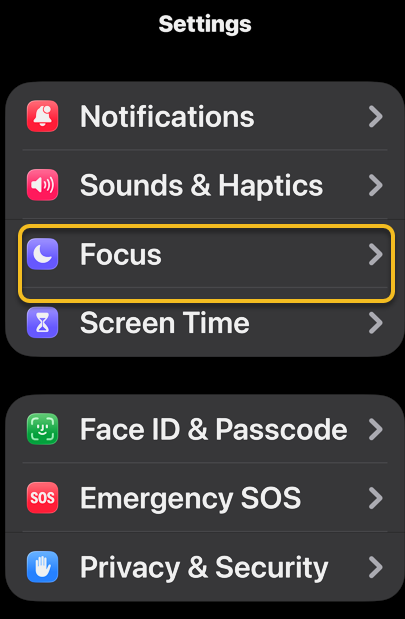
First, open Settings, and tap Focus. Refer to the image below:
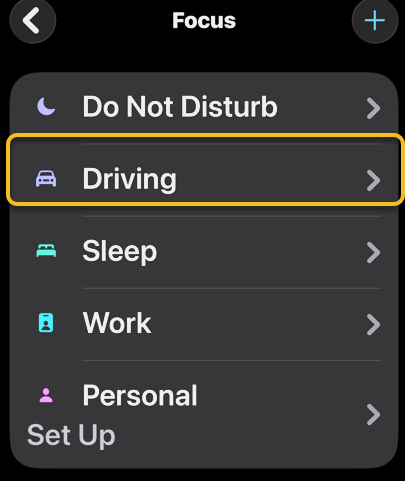
Bext, tap on Driving. If you do not see this option, you may have deleted it, so you’ will need to tap the Plus icon in the top right corner and select Driving. See the image below:
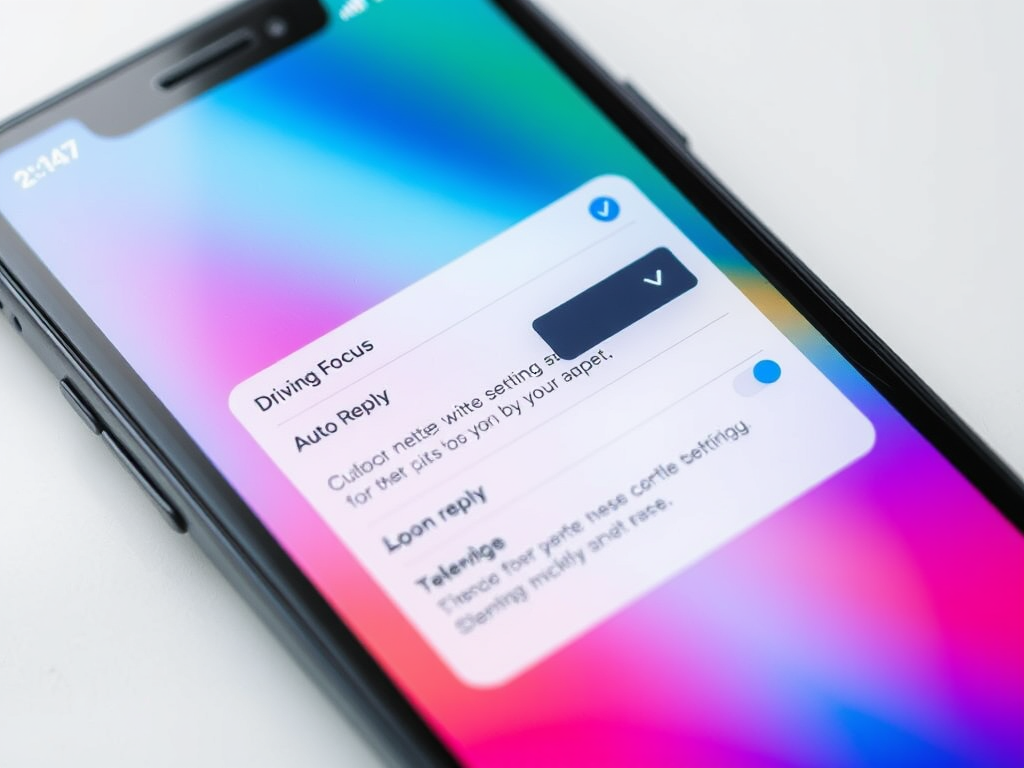
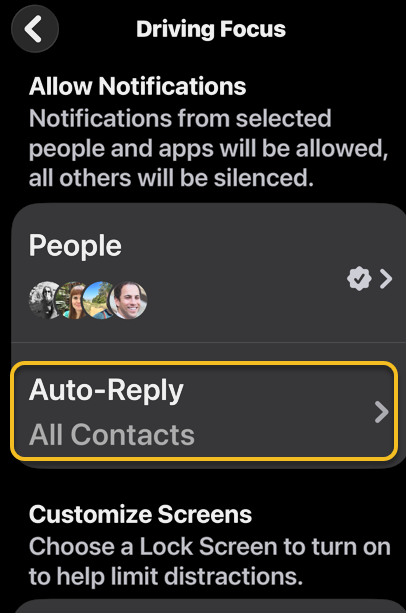
Now, tap Auto-Reply. see the following image:
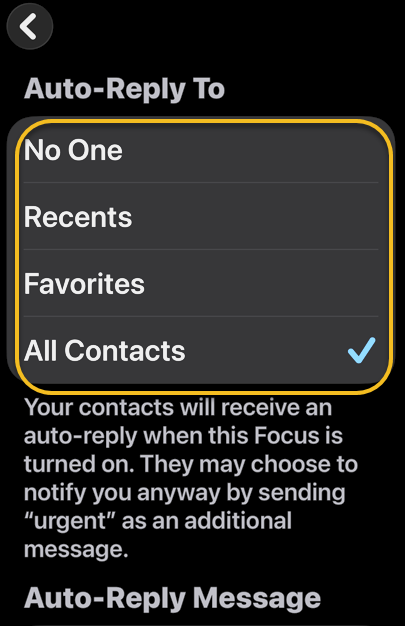
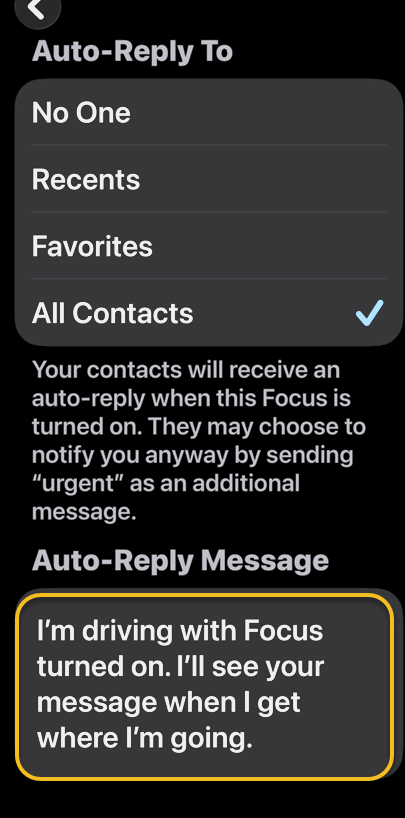
Next, chose who will receive your auto-replies: No One, Recents, Favorites, or All Contacts. If you select No One, Auto-Reply will be disabled. If you select Recents, contacts you’ve responded to within the last day will receive an auto-reply text when Focus is enabled. If yoselect Favorites, contacts in your Favorites list will receive an auto-reply text. If you select All Contacts, all of your contacts will receive an auto-reply text. Refer to the image below:
Now, edit the Auto-Reply Messageto say whatever you would like it to say. Your changes will be saved automatically, so you can leave the settings however you prefer. See the image below:
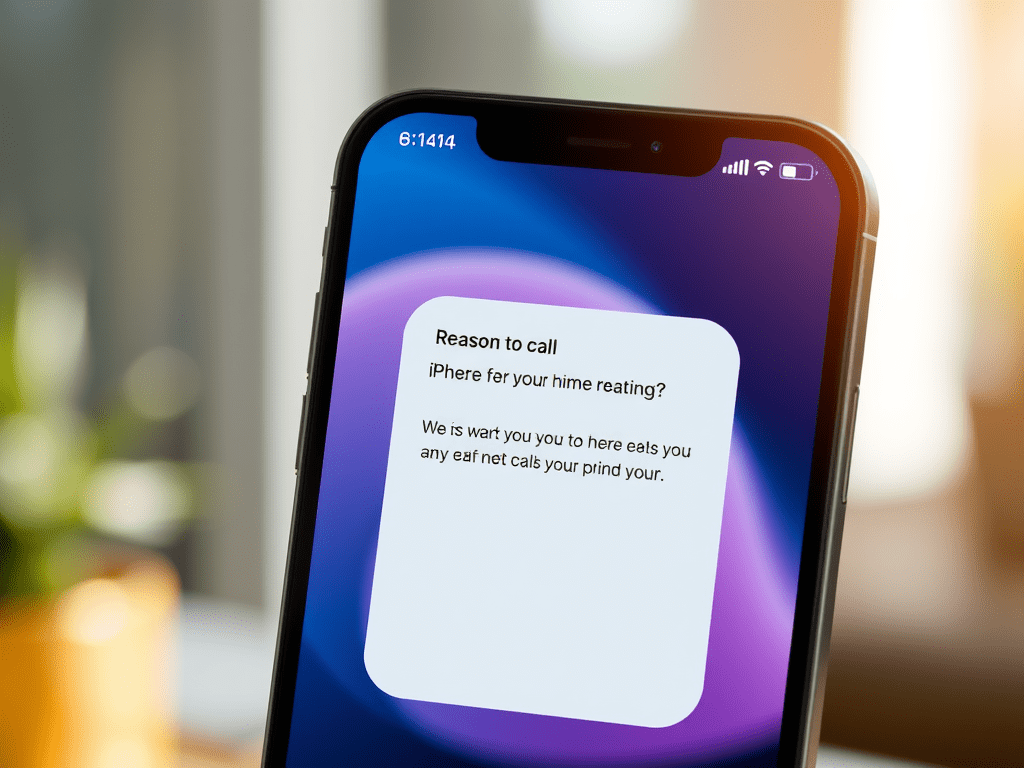
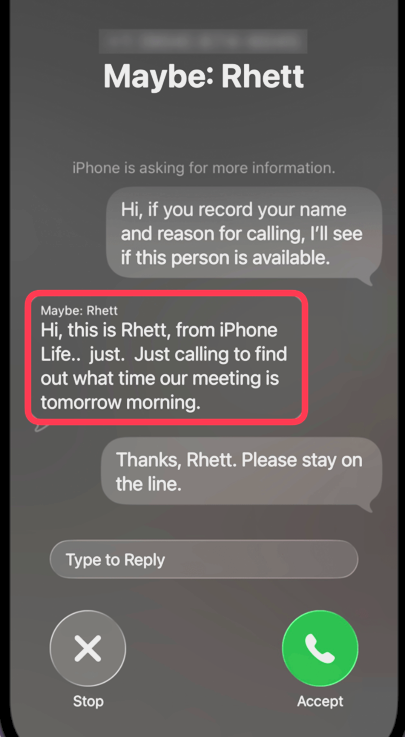
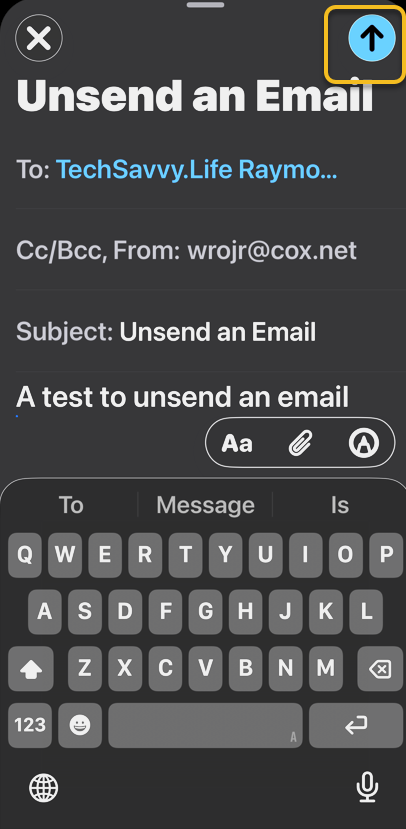
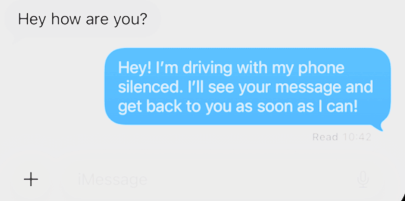
Next, when you receive a text while your Driving Focus mode is on, the auto-response text will be sent like a regular text message. See the following image:
Tip: If your Auto-Replies do not seem to be going out as intended, check the Settings for Messages and make sure the toggle next to Focus under Allow Messages to Access is turned on (green). If it’s off, it does not matter how your Focus is set up; no Auto-Reply will go out, no matter what happens.
That’s how to auto-respond to text messages on your iPhone. Now, whenever you enable the Driving Focus filter, the group of contacts you selected will receive your personalized auto-reply text when they try to contact you.
Disclaimer
Technology is constantly evolving, and smartphone and desktop tech rarely remains static. Therefore, the information in this post is only accurate as of the date it was written. Blog posts that are older than six months may contain instructions that are no longer compatible with your device or operating system. We hope that the content from previous posts continues to function as intended. Thank you for reading TechSavvy.Life, where technology works for you.
Quote For the Day
“AI is probably the most important thing humanity has ever worked on.”
– Sundar Pichai, CEO of Alphabet and Google
(X) Twitter Info
That’s it. Please feel free to share this post! One way to share is via Twitter.
Just click the Tweet icon below. This will launch Twitter where you click its icon to post the Tweet.
Checkout TechSavvy.Life for blog posts on smartphones, PCs, and Macs! You may email us at contact@techsavvy.life for comments or questions.
Tweet
I Would Like to Hear From You
We value your feedback! Was this post helpful? Please share your comments with us. If you have a tech question related to your computer or smart device, feel free to reach out. Just send an email to contact@techsavvy.life, and be sure to include the device, app, and version you are using. To assist us further, you can also attach screenshots related to your inquiry.
The author’s Vietnam eBook on the “Battle for Tra Bong Vietnam: Events and Aftermath” can be accessed from a Kindle device or the Kindle App for a desktop or smartphone. The apps are free.