RAYMOND OGLESBY @RaymondOglesby2
July 30, 2024 – 3 minute read
This is for the iPhone. Screenshots are from iPhone 14 Pro running iOS 17.5.1+
The iPhone has a “night vision” feature that turns your screen red. More than giving a spy movie vibe, a red screen could help sharpen people’s night vision by reducing the harmful effect of the bright displays we stare at all day.
Overview
Night vision mode is helpful at night and when we first wake up, since the regular light the iPhone displays can cause fatigue and harm our eyes. Apple already offers some built-in options to protect our eyes, such as:
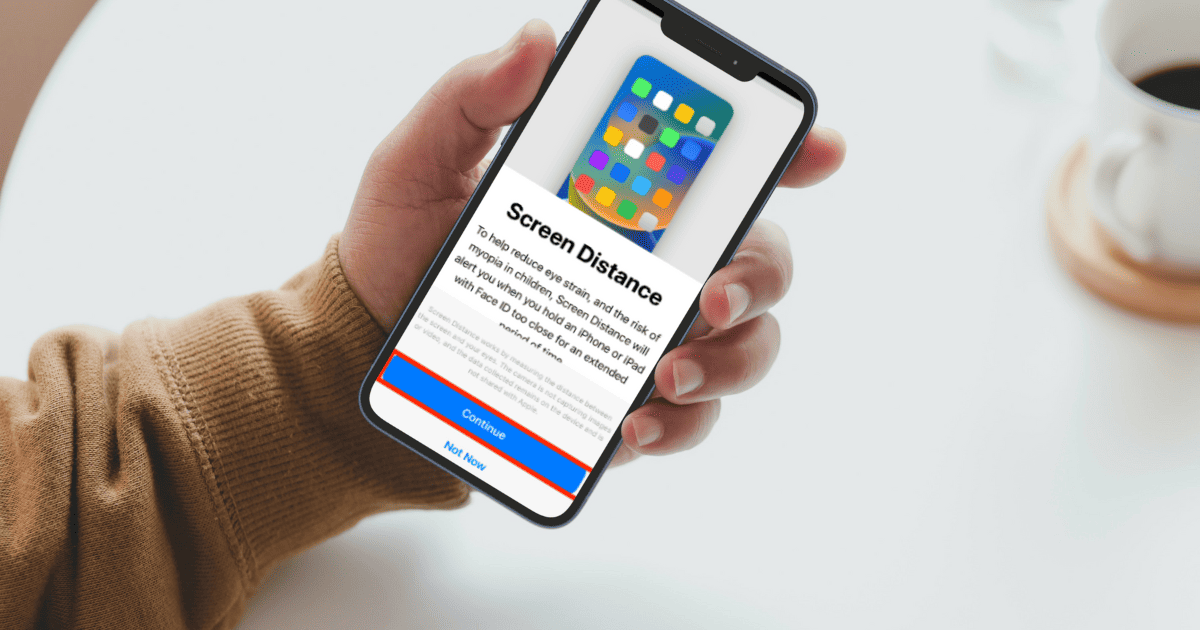
- Warn that the iPhone is too close to your face.
- Night Mode, which reduces blue light and reduces fatigue.
- True Tone, which adjusts the display color based on your environment.
- Dark Mode, which switches the bright whites to black or dark gray colors, puts less stress on your eyes.
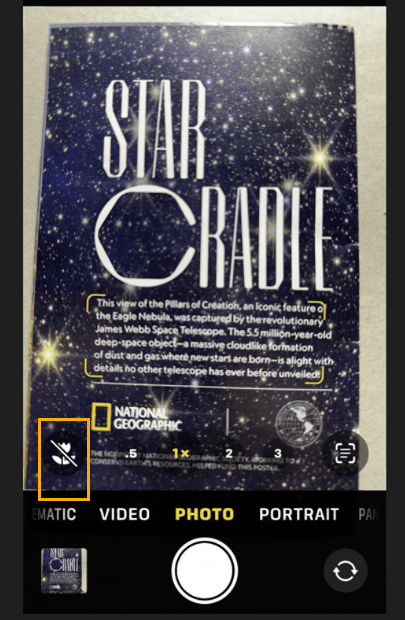
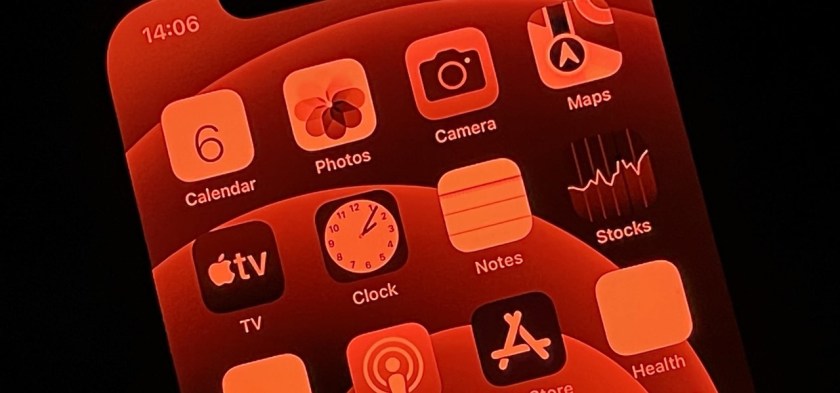
Still, there are benefits to turning your iPhone screen red. The color is more difficult to see than other light frequencies, so it tricks our eyes into thinking it’s less bright than it actually is. In a dark room, for example, your pupils will not have to adjust as much to the light. Also, when you look away, your eyes adapt quicker to the darkness around you. Refer to the below image:
In addition, this iPhone feature can also help you use star map apps for astronomy, sneaking your phone at the theaters, eyesight animals, or when you check your phone in the middle of the night.
Enable Night Vision
With that in mind, Apple has this Night Vision mode. Here’s how you can enable it.
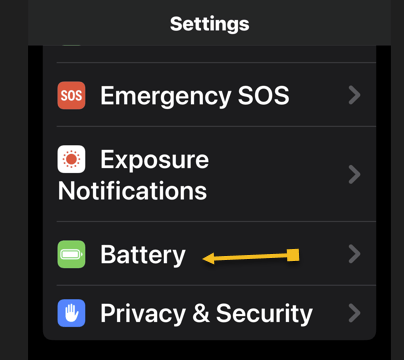
- On your iPhone, open Settings
- In the Accessibility tab, search for Display & Text Size
- Turn on Color Filters
- Move Intensity to the far-right position for the full red-screen effect.
- Select Color Tint
Quickly Turn the Screen to Red
Now that you know how to turn on this iPhone’s feature, there are three options to make turning it on and off more straightforward.
Triple click:
On Settings, Accessibility, Accessibility Shortcut, choose Color Filters to triple-click the side button and activate this setting.
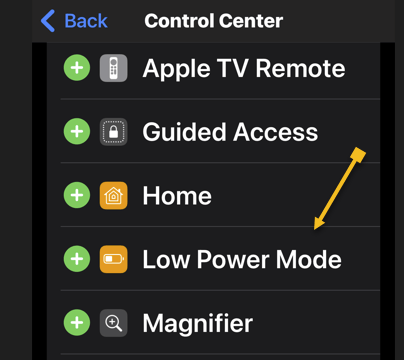
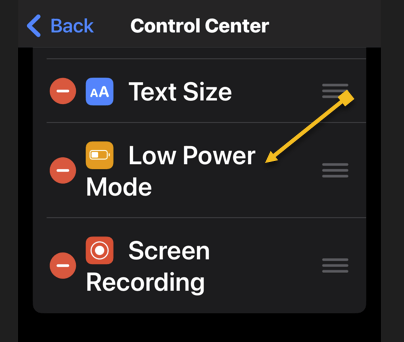
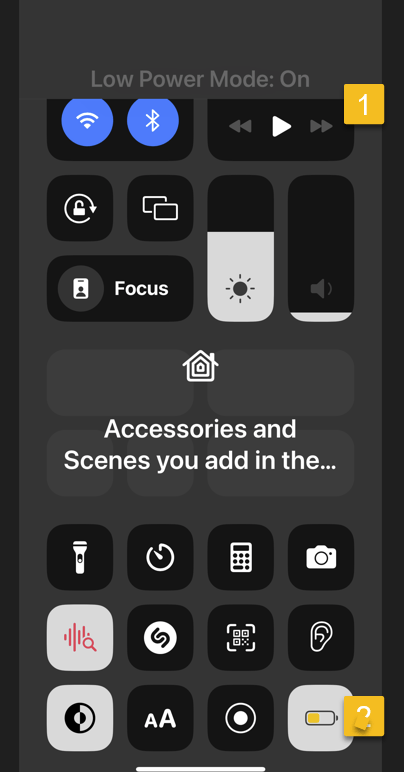
Control Center:
On Settings, Control Center, and Accessibility Shortcuts, you can add this shortcut to your Control Center, so it’s just one tap away from changing your display from bright white to red.
Siri:
You can ask Siri to either enable or disable color filters.
Disclaimer
Technology is always changing. Rarely is there static tech for smartphones and desktops. Thus, the contents of this post are only valid at the time of writing. Blog posts older than six months may have directions incompatible with your device or OS. Hopefully, older post content will continue to work as advertised. Thank you for reading TechSavvy.Life for Technology at Work For You.
Quote For the Day
An ounce of action is worth a ton of theory.
Friedrick Engels
X (Twitter) Info
That’s it. Please feel free to share this post! One way to share is via Twitter.
Just click the Tweet icon below. This will launch Twitter where you click its icon to post the Tweet.
Checkout TechSavvy.Life for blog posts on smartphones, PCs, and Macs! You may email us at contact@techsavvy.life for comments or questions.
Tweet
I Would Like to Hear From You
Was this post helpful? We would love to hear your comments. Do you have a computer or smart device tech question? I will do my best to answer your inquiry. Just send an email to contact@techsavvy.life. Please mention the device, app, and version you are using. To help us out, you can send screenshots of your data related to your question.
The author’s Vietnam eBook on the “Battle for Tra Bong Vietnam: Events and Aftermath” can be accessed from a Kindle device or the Kindle App for a desktop or smartphone. The apps are free.