RAYMOND OGLESBY @RaymondOglesby2
December 2, 2025 –5 minutes read time
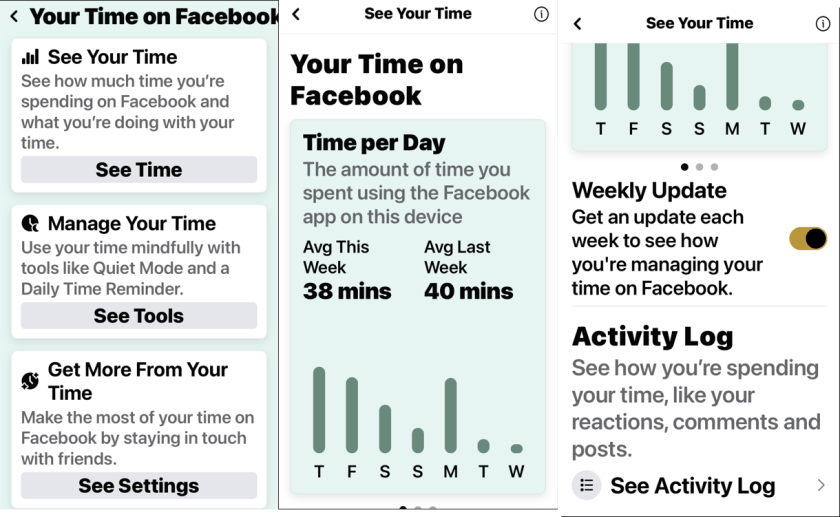
Overview
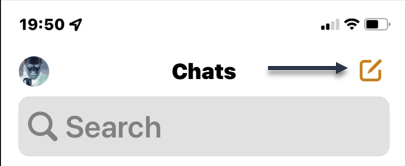
Recently Facebook on this iPhone quit tagging friends. We would type in a Facebook contact, and their name or a similar name would not pop up to tag in a post. Usually, as you type in a friend’s name, their name appears.
So we tried tagging Facebook friends on a desktop, and it worked just fine.
If you cannot tag friends on iPhone Facebook app, it’s likely due to their privacy settings, your cache, temporary app glitches, or an issue with your own settings.
Mote! We recommend you read entire post before diving in to fix the problem. We tried all methods listed below, only the last one worked.
Key Takeaways
- Learn how to tag friends in a Facebook post.
- Resolve Facebook not working correctly when tagging friends.
- The best methods to force Facebook to tag friends.
System Requirements
This tip was performed on an iPhone 14 Pro running iOS 26.1
Click here to learn how to update your iPhone to the latest iOS version.
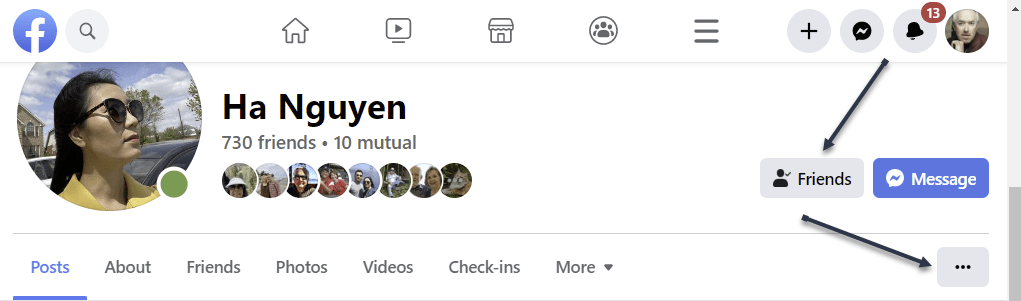
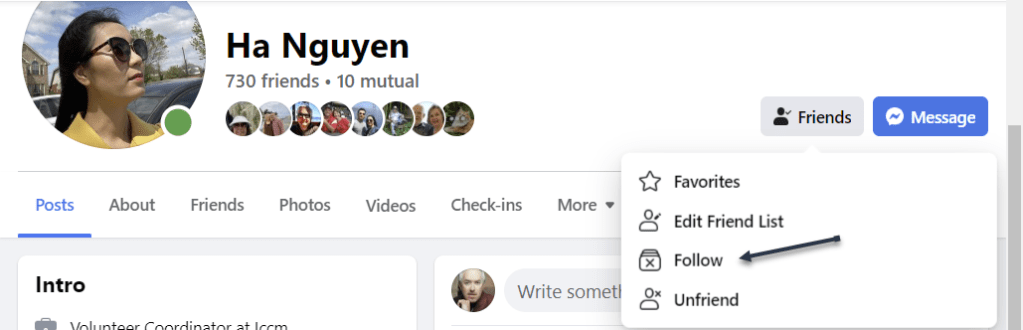
Check a Friend’s Privacy settings.
The most common reason is that the person you’re trying to tag has disabled the ability for others to tag them. They may also have a setting enabled that requires them to review and approve tags before they appear on their profile.
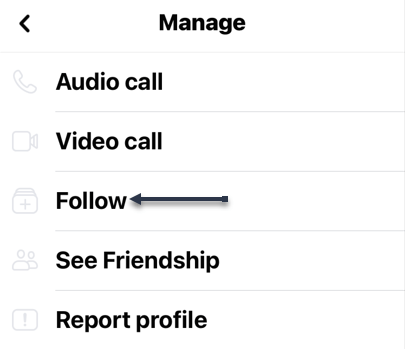
Update Tour Facebook App
Make sure you have the latest version of the Facebook app installed on your iPhone. Old versions may contain bugs that affect features such as tagging.
Facebook Manual update
- Open the App Store on your iPhone.
- Tap your profile icon or “My Account” button at the top right of the screen.
- Scroll down to the “Available Updates” or “Updates” section.
- Find Facebook in the list and tap the Update button next to it.
- If you do not see “Update,” tap “Update All ” or check your other apps.
Refer to the below image:

Facebook Automatic Updates
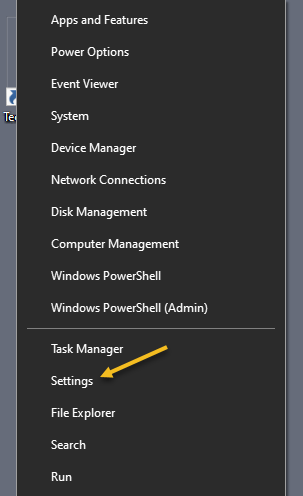
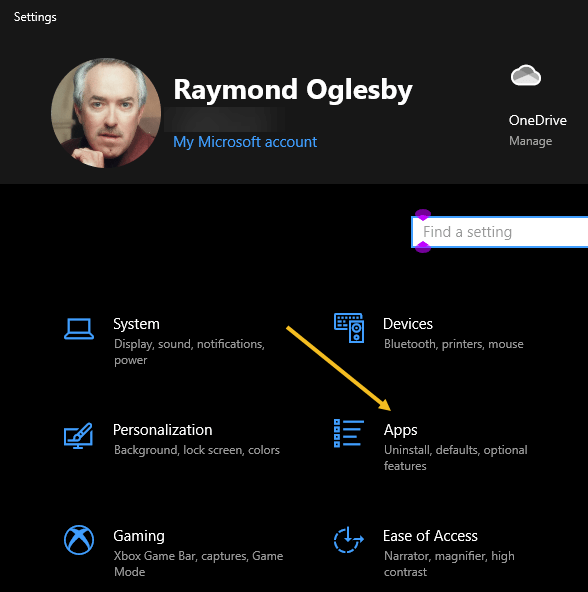
- Go to your iPhone’s Settings.
- Tap App Store.
- Turn on the toggle next to App Updates under the “Automatic Downloads” section.
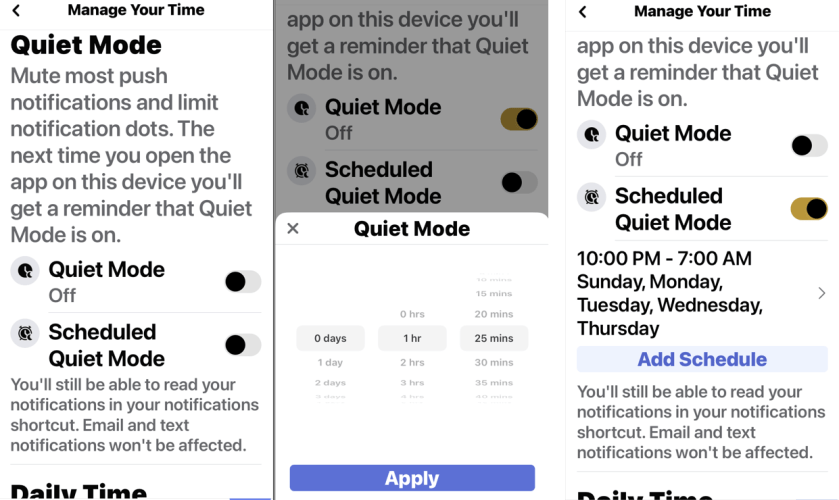
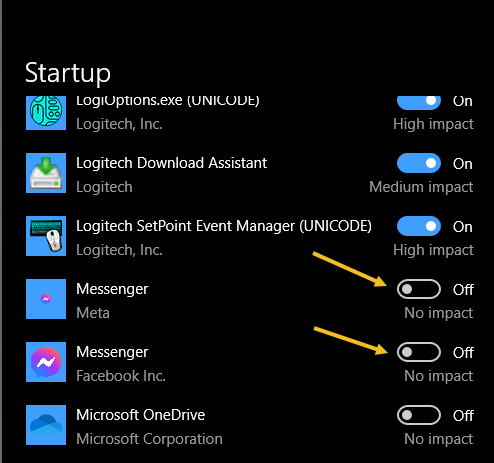
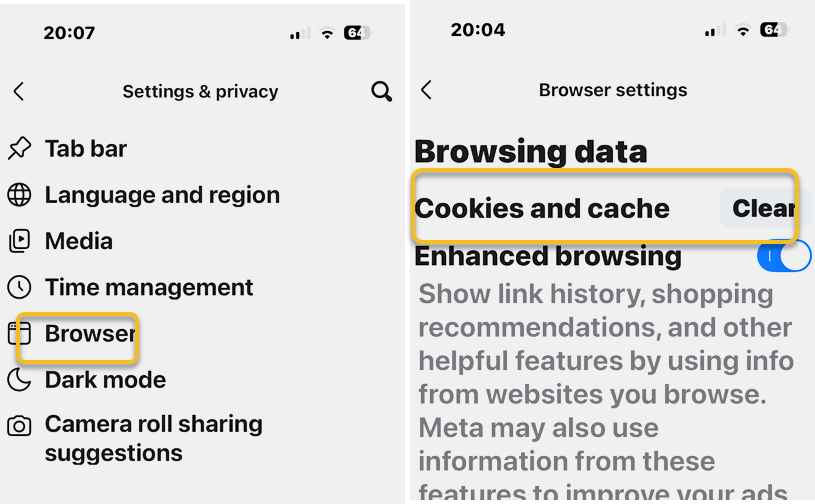
Clear Your App’s Cache
A corrupted cache can cause various issues. Clearing it can resolve glitches that prevent tagging from working correctly.
This clears data for websites you’ve visited within the Facebook app.
- Open the Facebook app.
- Tap the menu icon (either your profile picture or three lines) and go to Settings & Privacy.
- Tap Settings.
- Scroll to the “Preferences” section and tap Browser.
- Tap Clear next to “Cookies and cache” and confirm.
See the below images:
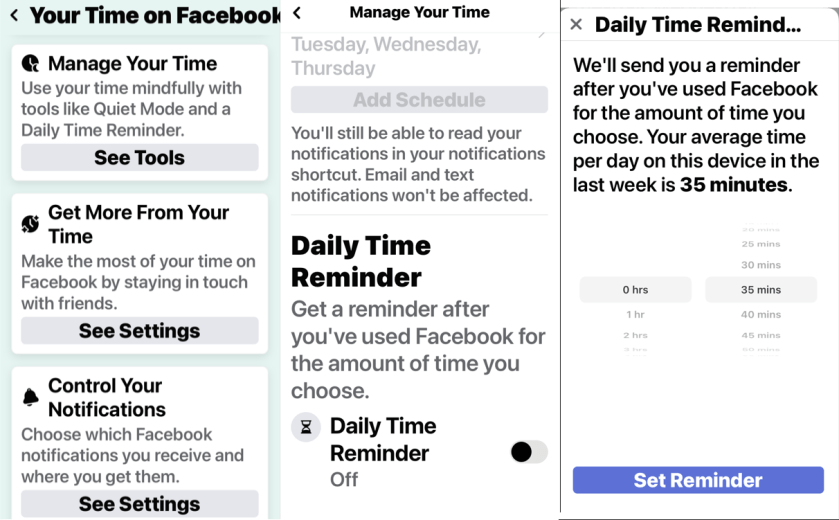
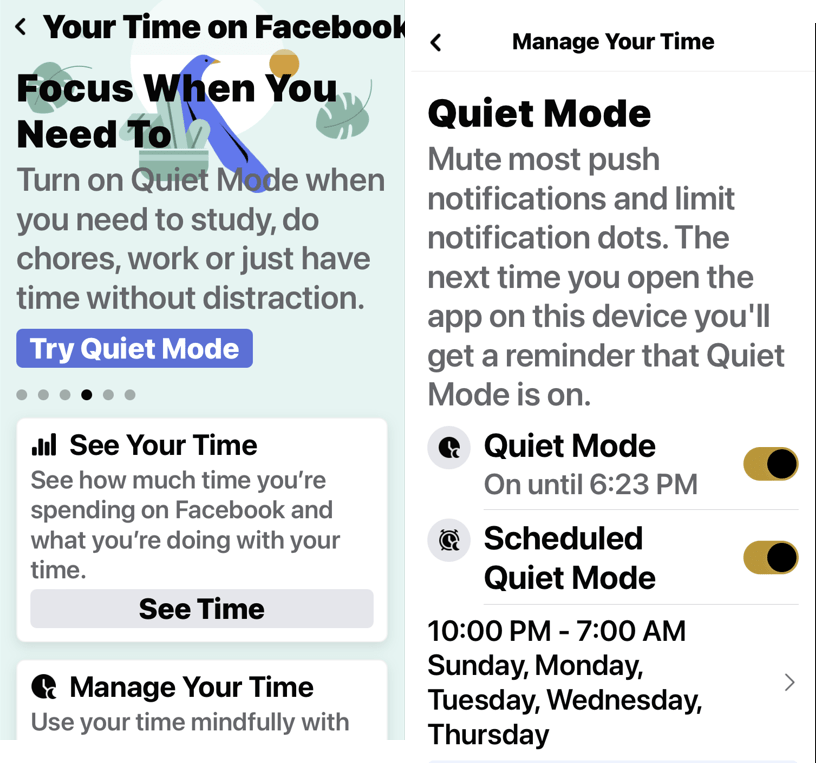
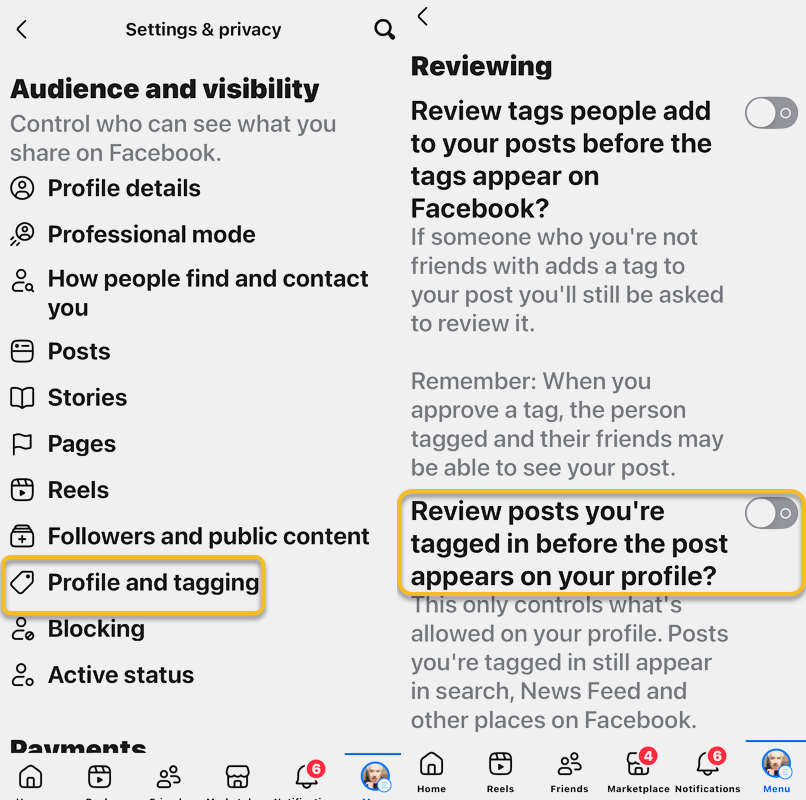
Check your Own Settings
- Profile and tagging: Go to your settings to review your “Profile and tagging” options. Ensure “Review posts you’re tagged in before they appear on your profile” is set to a level you’re comfortable with. Turning this OFF will allow tags to post automatically.
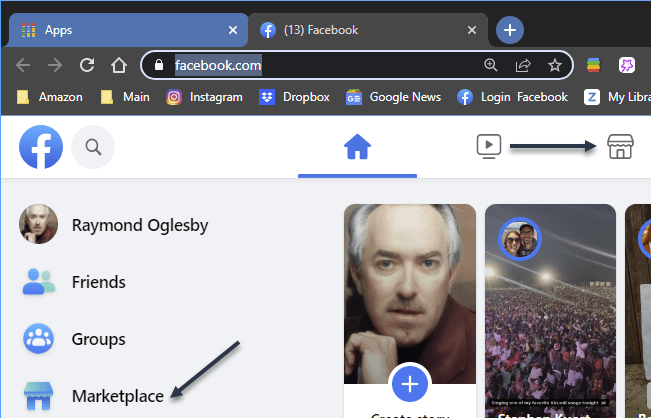
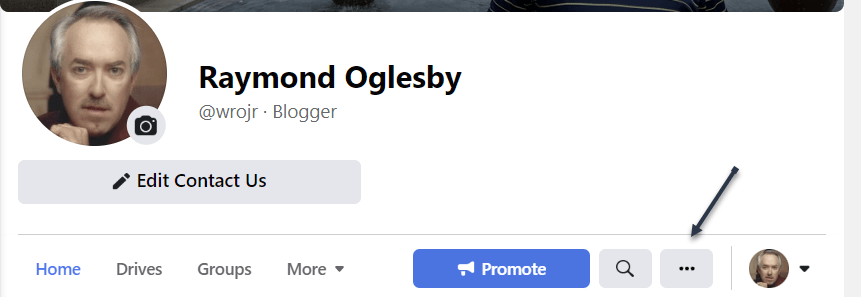
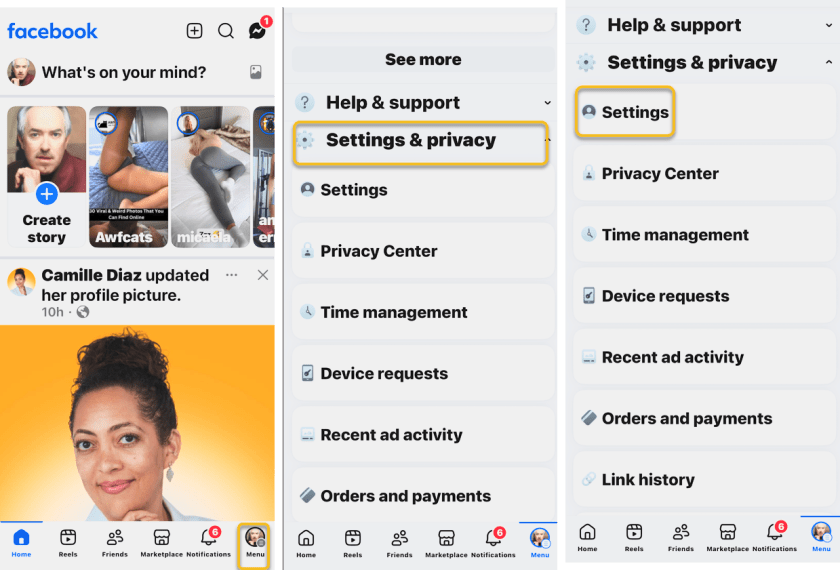
To find Settings for your personal profile:
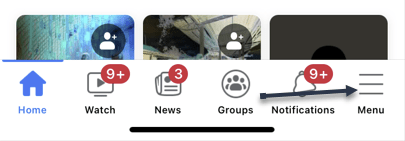
- Open Facebook and tap the Menu or your profile picture in the top right or bottom right of the screen.
- Scroll down and select Settings & privacy, then tap Settings.
- Scroll down to the “Audience and visibility” section and tap Profile and tagging.
- Set “Review posts you’re tagged in before the post appears on your profile” to OFF.
See the following image:
Audience Restrictions
The person who created the original post might have their own audience restrictions set up that prevent you from being visible in the post. Ask them to check the audience settings for their post.
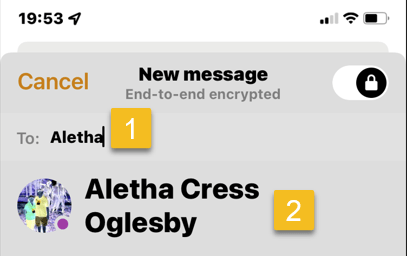
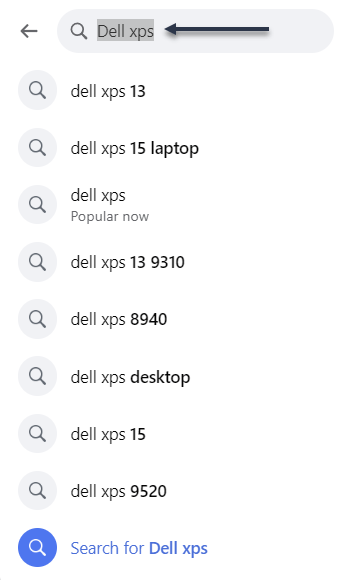
Search by Username
If you are unable to find a friend by their display name, try searching for their unique username instead.
Uninstall/Reinstall Facebook
Uninstall Facebook
- Press and hold: the Facebook app icon on your home screen until a pop-up menu appears.
- Tap “Remove App”.
- Select “Delete App”.
- Confirm the deletion to remove the app from your iPhone
Reinstall Facebook
- Open the App Store on your iPhone.
- Tap the Search tab in the bottom right corner.
- Type “Facebook” in the search bar and tap Search.
- Find and select the official Facebook app (from Meta).
- Tap the download icon (a cloud with a down arrow) to begin reinstalling the app.
- Wait for the download and installation to complete.
- Restart your iPhone
- Find the Facebook app on your home screen to sign back in.
Force Facebook to Tag
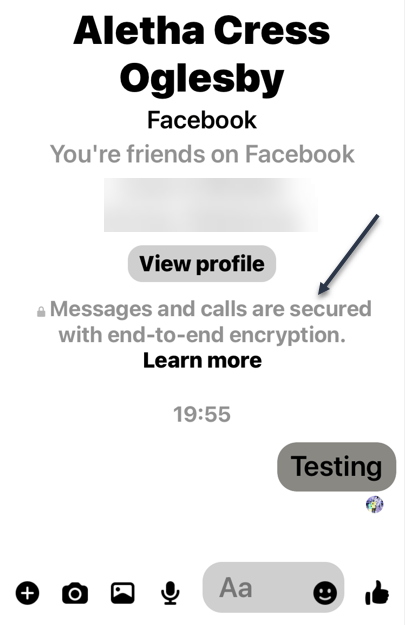
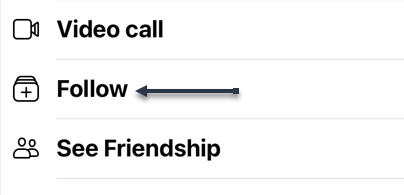
- Use the @ symbol: Sometimes, simply typing @ before a friend’s name can bring up the correct tag. This worked for us.
For example: @Raymond Oglesby
Disclaimer
Technology is constantly evolving, and smartphone and desktop tech rarely remains static. Therefore, the information in this post is only accurate as of the date it was written. Blog posts that are older than six months may contain instructions that are no longer compatible with your device or operating system. We hope that the content from previous posts continues to function as intended. Thank you for reading TechSavvy.Life, where technology works for you.
Quote For the Day
“Technology is nothing. What’s important is that you have a faith in people.
– Steve Jobs, Co-founder of Apple Inc.
(X) Twitter Info
That’s it for this post. Please feel free to share this post! One way to share is via Twitter.
Just click the Tweet icon below. This will launch Twitter where you click its icon to post the Tweet.
Checkout TechSavvy.Life for blog posts on smartphones, PCs, and Macs! You may email us at contact@techsavvy.life for comments or questions.
Tweet
I Would Like to Hear From You
We value your feedback! Was this post helpful? Please share your comments with us. If you have a tech question related to your computer or smart device, feel free to reach out. Just send an email to contact@techsavvy.life, and be sure to include the device, app, and version you are using. To assist us further, you can also attach screenshots related to your inquiry.
s The author’s Vietnam eBook on the “Battle for Tra Bong Vietnam: Events and Aftermath” can be accessed from a Kindle device or the Kindle App for a desktop or smartphone. The apps are free.