On Windows 10, the Start menu is an essential component, as it is the experience you use every day to find apps, settings, and files.
Out of the box, the Start menu includes a default layout with elements and settings that usually fit most people. However, if you want to make it more functional and personal, the experience available on Windows 10 is highly customizable.
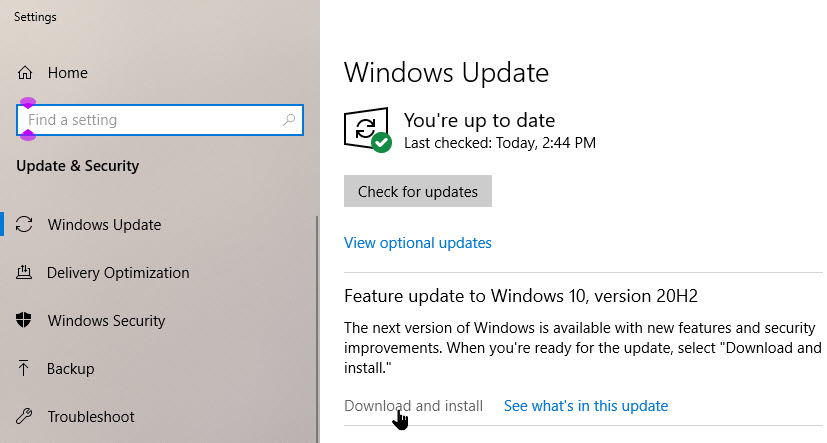
Starting with the October 2020 update, Windows 10 now defaults to a light theme that takes away accent colors from your Start menu and Taskbar. If you would like to select a custom color for your Start menu, there is an easy way to pick it in Settings. Let’s explore how to do this.
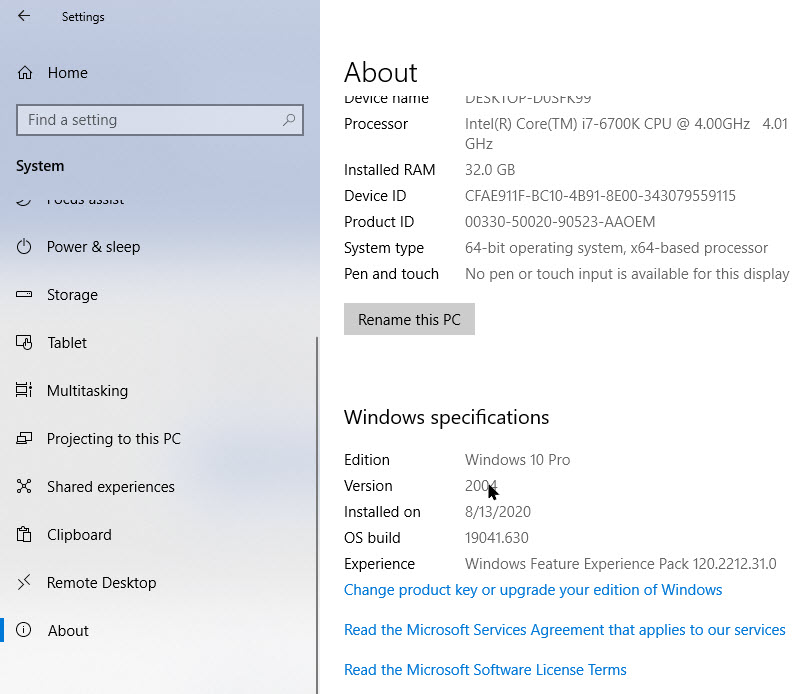
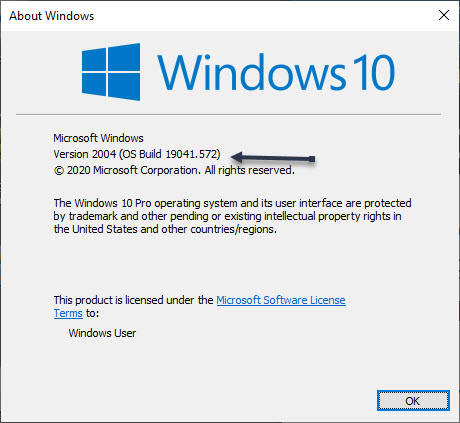
This is for devices running Windows 10
Selecting Colors Settings
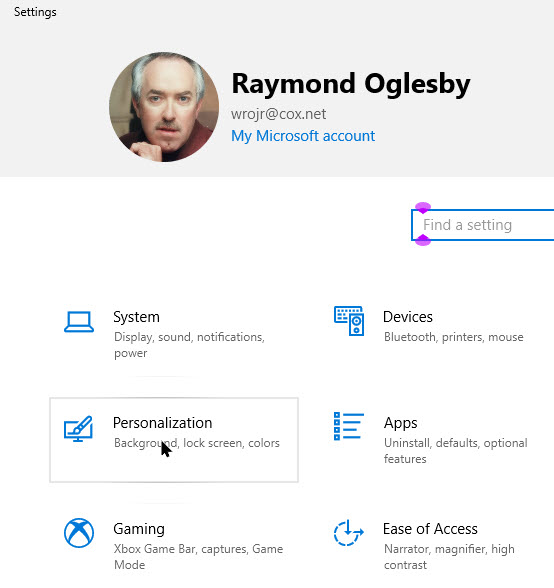
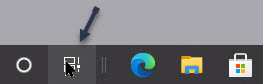
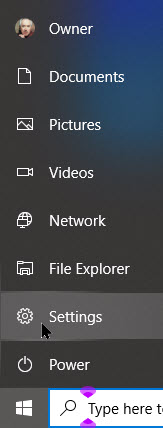
First, launch Settings by pressing Windows+I keys or by opening the Start menu and clicking the gear icon on the left. Refer to below image:
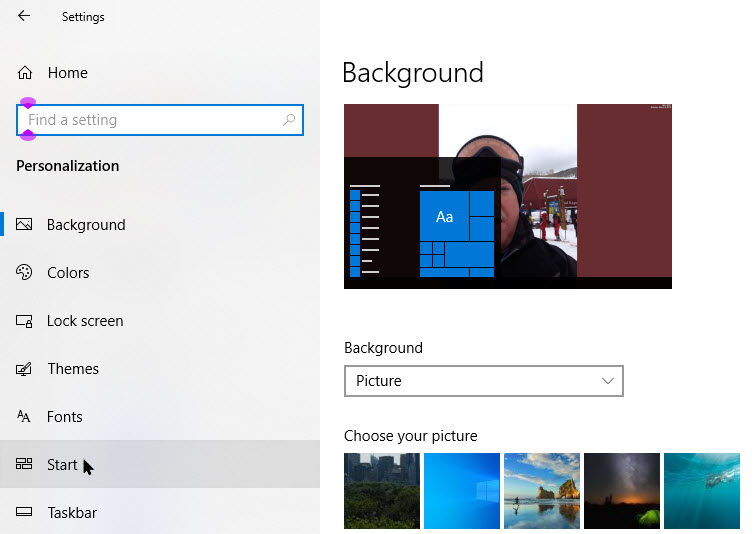
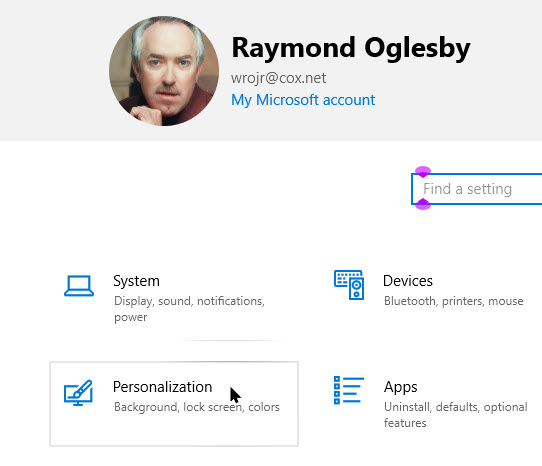
In Settings, click the Personalization option. See below image:
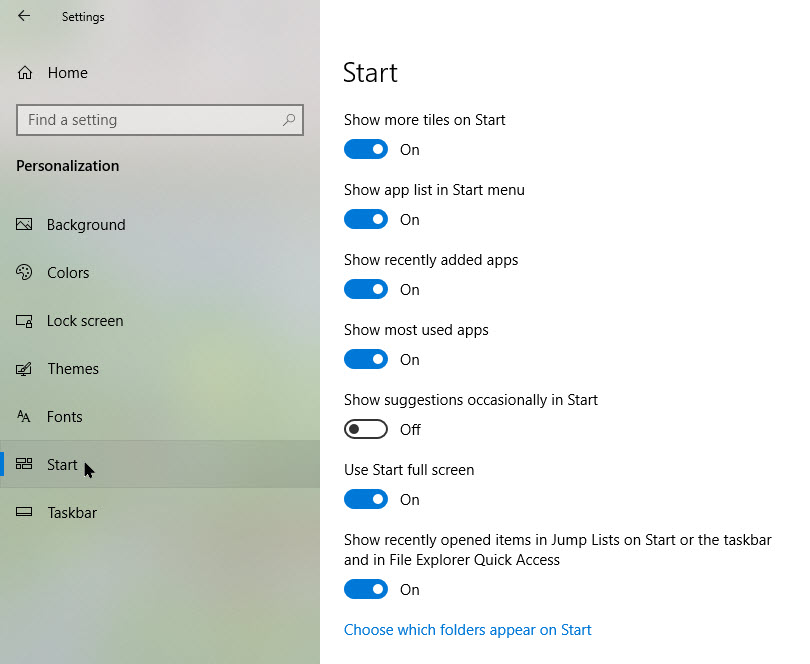
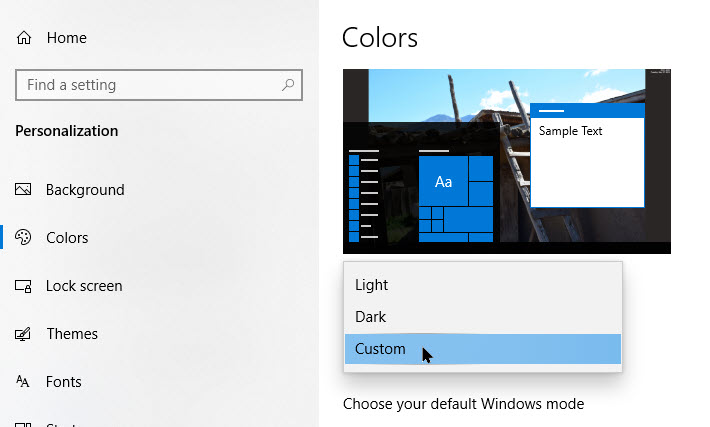
Now, in its settings, click the Colors option. See following image:

Selecting your Colors
Next, in the Colors settings, locate the Choose your color drop-down menu. In this menu, select Custom. Refer to below image:
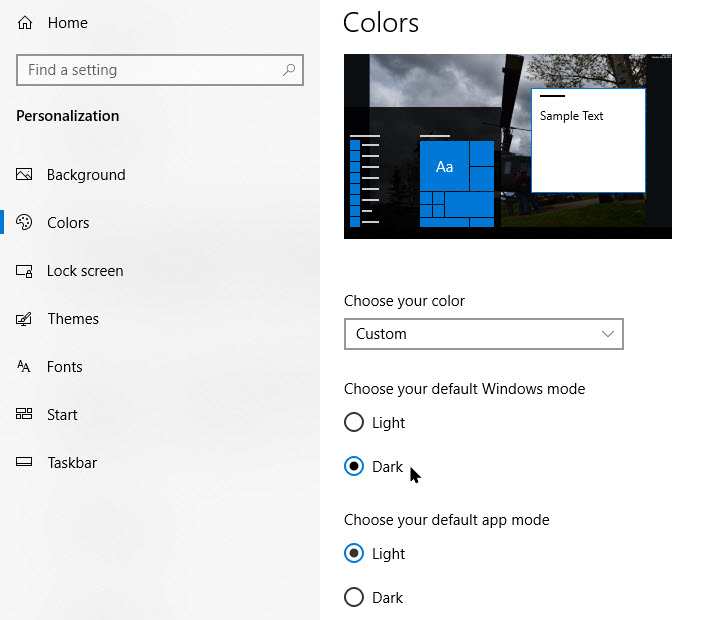
Now, two new choices will appear. Under Choose your default Windows mode, select Dark. This Dark mode is required for colorizing of your Start menu.
Now, under Choose your default app mode, select one of two options, Light or Dark, whichever one you would like the best. See below image:
Selecting your Accent Color
Next, scroll down the Colors page and locate the Choose your accent color section.
If you want the color to automatically match your desktop background image, checkmark Automatically pick an accent color from my background. Otherwise, click a color in the grid that you would like to use for your Start menu and Taskbar. You can also pick a custom color by clicking the Custom color button below the grid. See following image:
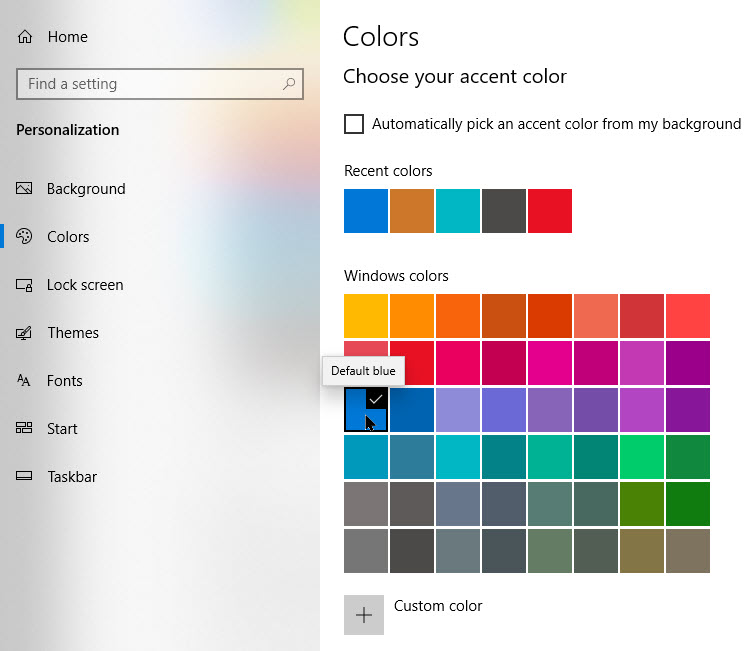
Now, locate the Show accent color on the following surfaces section and checkmark Start, taskbar, and action center.
Note! If this option is greyed out, make sure you select Dark as your default Windows mode above. It won’t work in Light mode. Refer to below image:

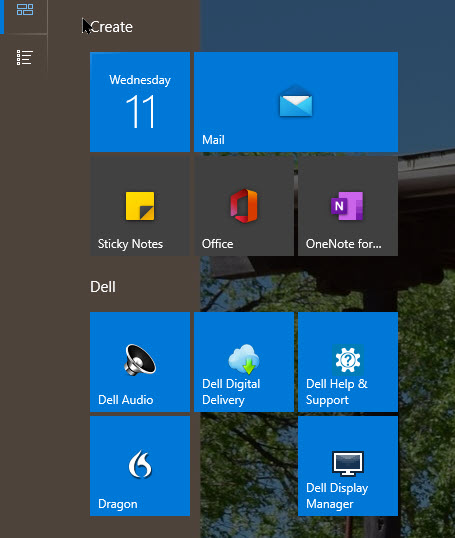
Your New Look
The next time you open your Start menu, you will see that it has changed to the accent color you selected. See below image:
If you ever want to switch back to the standard Windows 10 theme, open
Settings > Personalization > Colors
and select Light in the Choose your color drop-down menu.
That’s it. Please feel free to share this post! One way to share is via Twitter.
Just click the Tweet icon below. This will launch Twitter where you click its icon to post the Tweet.
Check out TechSavvy.Life for blog posts on smartphones, PCs, and Macs! Feel free to email us at contact@techsavvy.life.
Tweet
I Would Like to Hear From You
Please feel free to leave a comment. I would love hearing from you. Do you have a computer or smart device tech question? I will do my best to answer your inquiry. Just send an email to contact@techsavvy.life. Please mention the device, app and version that you are using. To help us out, you can send screenshots of your data related to your question.