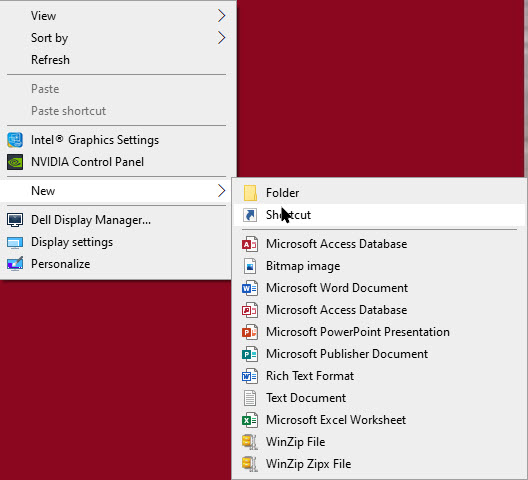
Are you frustrated by Edge loading at Windows 10 startup? Do you prefer using Chrome as your default browser? In Windows 10 Home edition, Edge is the default browser, even if you make Chrome the default; Edge seems to ignore the Chrome setting.
To disable Edge, we are going to use the Group Policy Editor (the gpedit.msc file). But, back in Windows 7, Microsoft quit making the Editor a part of its operating system, especially the Home editions. So, we are going to install the Editor, and use the utility to disable preloading of Edge at startup in Windows 10.
This is for Windows 10

Install Group Policy Editor
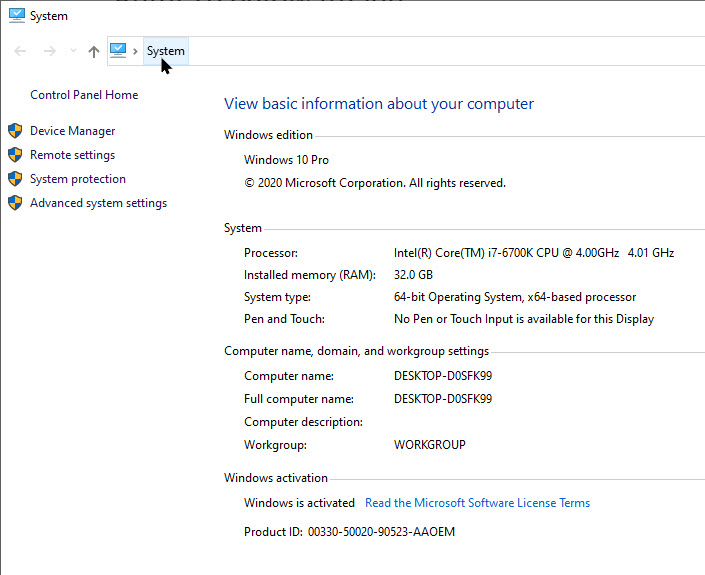
Note! You will only need to do this if you have Windows 10 Home edition. If you have the Pro edition, you can bypass this step.
First, download the GPEdit Enabler script from the link below:
GPEdit Enabler for Windows 10 Home Edition
and save the “gpedit-enabler.bat” file to your desktop. Now, right-click the file and select Run as Administrator. Refer to below image:
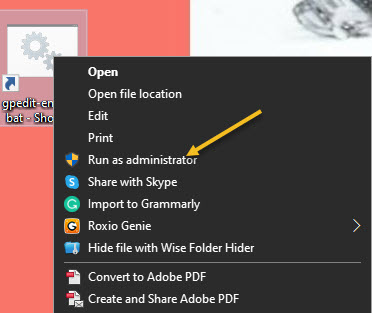
This will start the installation process. It may take some time depending upon your system performance. Once the process is complete, press any key to close the Command Prompt window. You may be prompted to download and install some Microsoft Net files; if so, allow permission to do so.
Although a restart is not required, if the policies are not working, you should restart your computer.
Run Group Policy Editor
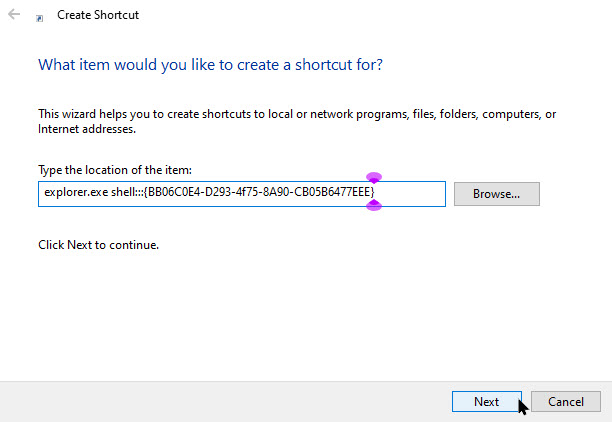
First, open the Run dialog by pressing the Windows+R keys. Type gpedit.msc and press the Enter or OK button. This should open gpedit in Windows 10 Home or Pro.
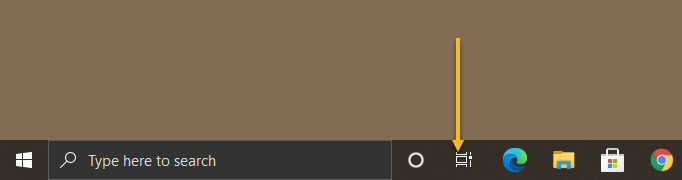
On Windows 10, Microsoft Edge loads some processes in the background during startup to improve the speed when launching the application. But, we want to disable this feature and use Chrome instead.
How to Disable Preloading Edge
In the Group Policy Editor, browse to the following path:
Computer Configuration > Administrative Templates > Windows Components > Microsoft Edge
Now, click on the Setting column to sort it alphabetical. On the right side, double-click the Allow Microsoft Edge to pre-launch at Windows startup, when the system is idle, and each time Microsoft Edge is closed policy. See below image:

Now, select the Disabled option. See following image:
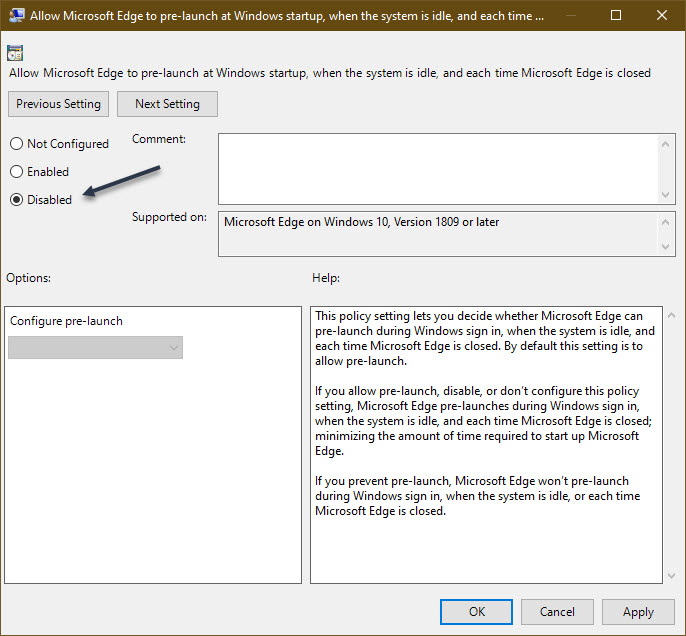
Next, click Apply, then OK.
Now, on the right side, double-click the Allow Microsoft Edge to start and load the Start and New Tab page at Windows startup and each time Microsoft Edge is closed policy. Refer to below image:

Next, select the Disabled option. See below image:

Next, click Apply, then OK.
Now, repeat the above steps substituting User Configuration for Computer Configuration.
Now, exit the Editor and save any open work. You must RESTART your computer for the changes to take effect.
The Edge browser will no longer pre-load processes freeing up resources for more important apps and services.
In the case you change your mind, you can roll back the previous settings using the same instructions, but instead of selecting Disabled, select the Not Configured option.
Make Chrome the Default Browser
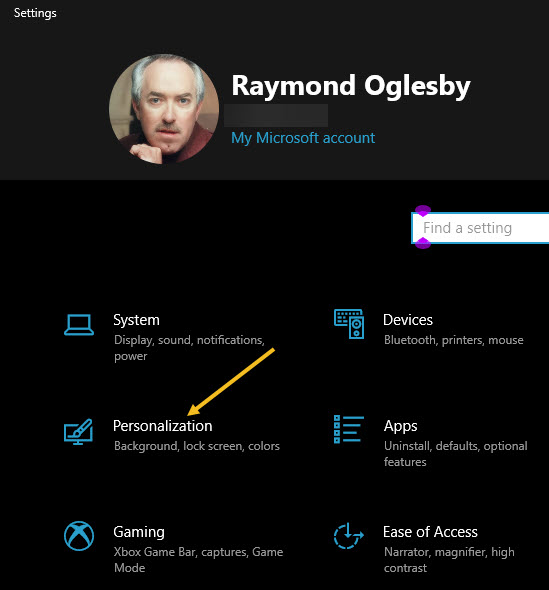
- Click Start then Settings (the gear icon)
- Click on Apps
- Click on Default apps
- Click on Web browser and select Google Chrome. See following image:

That’s it. You have disabled Edge for pre-loading and saving resources. Please feel free to share this post! One way to share is via Twitter.
Just click the Tweet icon below. This will launch Twitter where you click its icon to post the Tweet.
Check out TechSavvy.Life for blog posts on smartphones, PCs, and Macs! You may email us at contact@techsavvy.life for comments or questions.
Tweet
I Would Like to Hear From You
Please feel free to leave a comment. I would love hearing from you. Do you have a computer or smart device tech question? I will do my best to answer your inquiry. Just send an email to contact@techsavvy.life. Please mention the device, app and version that you are using. To help us out, you can send screenshots of your data related to your question.