RAYMOND OGLESBY @RaymondOglesby2
September 1, 2021
One of the upgrades to Accessibility in iOS and iPadOS 15 is a new Background Sounds feature that plays relaxing audio tracks to help you stay calm and focused, and to block out background distractions.
This is for iPhone and iPad

What Are Background Sounds
Background Sounds are like having a sound machine from your bedroom in your iPhone and iPad. The sounds can also be played over Bluetooth to external devices.
With thenew Background Sounds feature, you can play balanced, bright, and dark noise, as well as ocean, rain, and stream sounds to help you concentrate and relax when using your iPhone or iPad.
The feature may negate the need to purchase or subscribe to third-party background noise apps. Its not a dedicated app, but rather hidden away inside your device’s Accessibility settings.
It’s worth noting that at the current time, there is no way to load your own background sound. Note as well that they do not have a time limit. They will only turn off when you disable them. This is a glaring omission by Microsoft. I would like to turn on sound at night as I fall asleep and have it automatically turn off at a certain time. Anyway. let’s explore how to use this feature.
Background Sounds in Accessibility
Apple sees Background Sounds as a way to diversify its array of accessibility features by being more inclusive.
The company says in its official announcement of the feature that it targets “support of neurodiversity” and aims to mitigate “distracting, discomforting, or overwhelming” everyday noises. In other words, the feature can help you focus and relax during the day and mitigate distracting sounds that are bothering you.
That being said, the feature has the ability to appeal to many different people, so it’s interesting that Apple decided to stick with the accessibility angle instead of a more generalized approach.
Enable Background Sounds
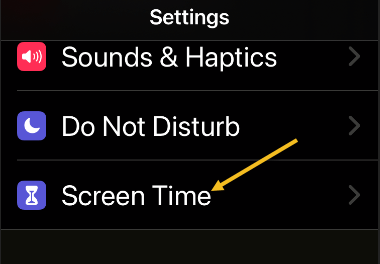
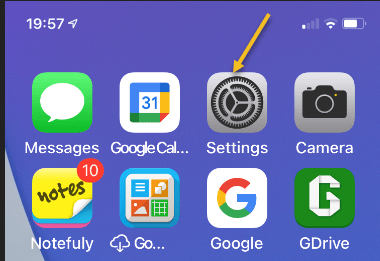
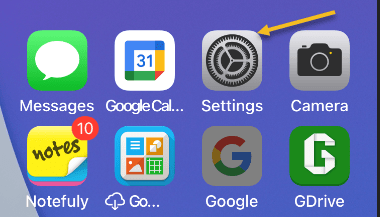
First, open the Settings app. Refer to below image:

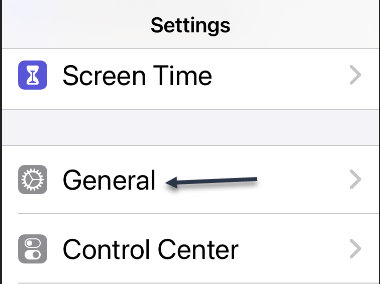
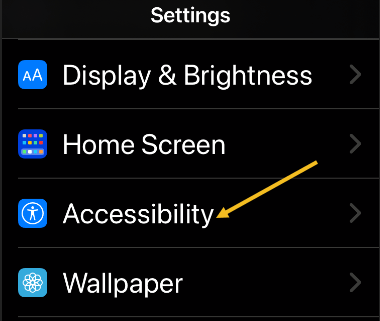
Next, scroll down and tap Accessibility. See below image:
Now, under the Hearing section, tap Audio/Visual. See following image:

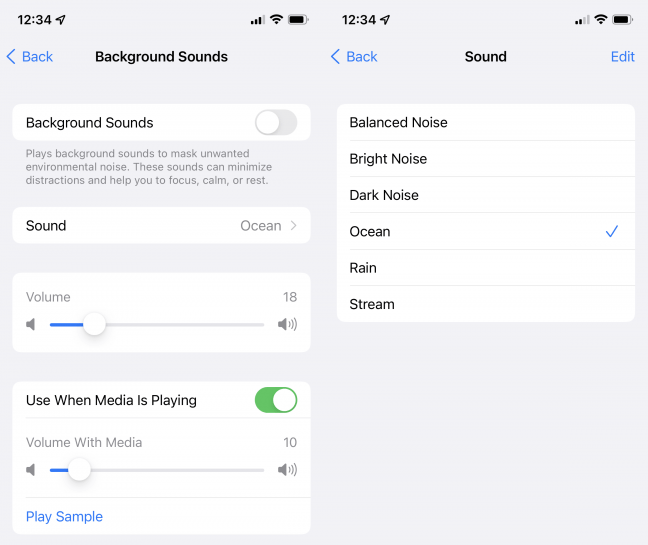
Next, tap Background Sounds. Refer to below image:

Now, you can toggle Background Sounds On and Off and choose which sound you would like. You can also adjust the volume of the sound as it plays over other media. If you do not want the background sound to play while, for example, listening to music, uncheck Use When Media Is Playing. See below image.
You are ready to listen to relaxing, distraction-free sound from your iPhone or iPad. If you want other particular sounds, consider trying out a third-party white noise app.
Quote For the Day
It’s not going to do any good to land on Mars if we’re stupid.
Ray Bradbury
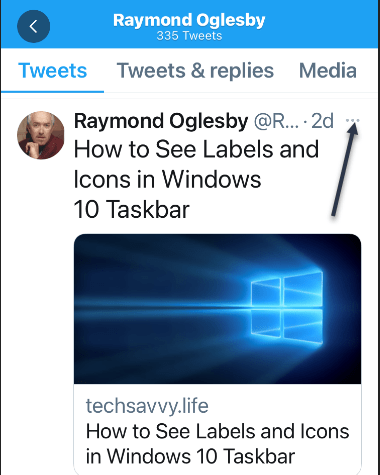
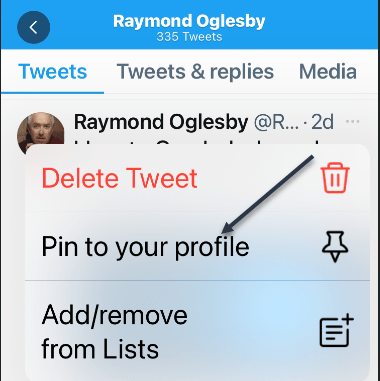
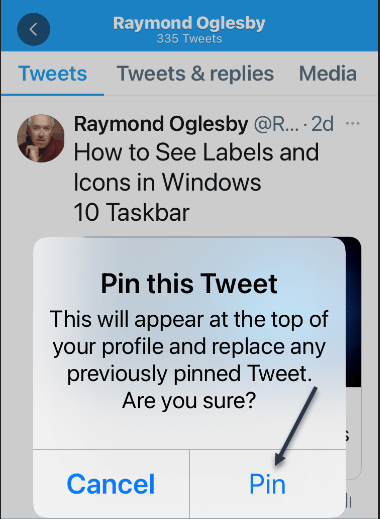
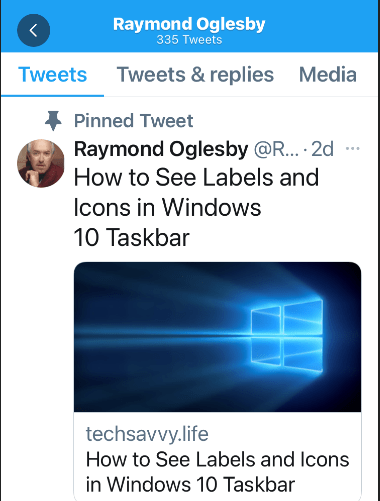
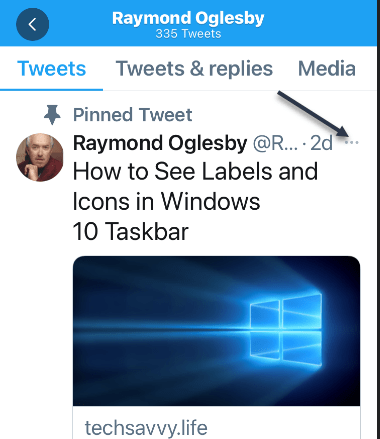
That’s it. Please feel free to share this post! One way to share is via Twitter.
Just click the Tweet icon below. This will launch Twitter where you click its icon to post the Tweet.
Check out TechSavvy.Life for blog posts on smartphones, PCs, and Macs. You may email us at contact@techsavvy.life for comments or questions.
Tweet
I Would Like to Hear From You
Please feel free to leave a comment. I would love hearing from you. Do you have a computer or smart device tech question? I will do my best to answer your inquiry. Just send an email to contact@techsavvy.life. Please mention the device, app and version that you are using. To help us out, you can send screenshots of your data related to your question.