RAYMOND OGLESBY @RaymondOglesby2
January 23, 2024
This is for the iPhone using the latest update for Google Drive. Screenshots are from iPhone 14 Pro running iOS 17+
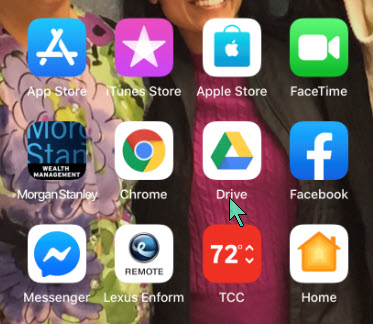
Google Drive users will be glad to know the cloud storage app has a new handy feature. The app lets you scan documents directly to your cloud storage on your iPhone. The feature is already available on Android; the same functionality has made its way to iPhone.
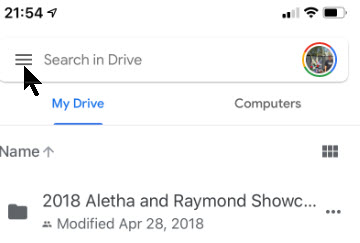
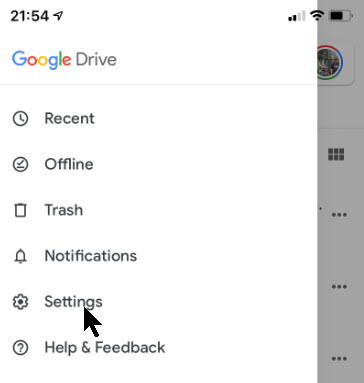
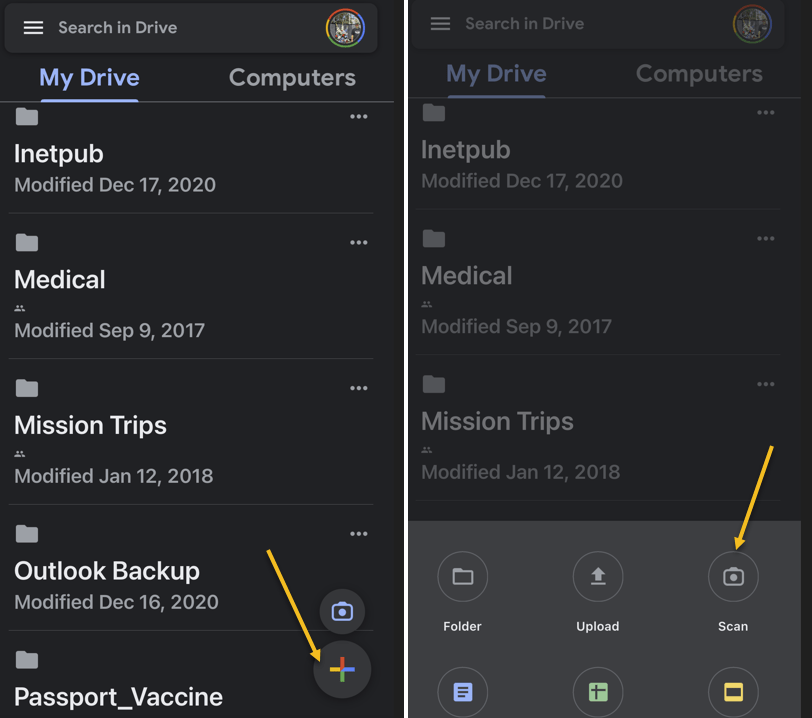
The new Google Drive redesign comes with a new Camera button above the “+” button in the lower right corner. Another option to start a scan from the Google Drive home page is to tap that “+” sign and choose the Scan option. Both will take you to the iPhone’s Camera. Refer to the below image:
Tap the button to initiate a document scan that will feel familiar. Just place the document or receipt from the Camera and take the photo.
The document-scanning feature lets you capture multiple images to scan a document with more than one page.
Once the photo is taken, you can perform the usual edits for such types of images. You can crop and rotate the image and change the color. That can be useful if you want your photo to look like a scanned document.
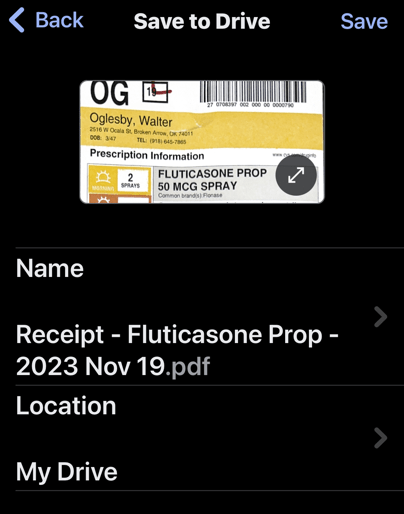
When you are ready to save the scan, press the Save button, and Google Drive will use machine learning to suggest a relevant title for the image or set of images that will be saved as a new PDF file. See the below image:
That’s another handy feature, as it will save you time and ensure you find and retrieve the scan with ease in the future.
As a reminder, your iPhone already has a built-in document scanner feature. You can scan documents directly into the Notes app with similar ease. If you sync Notes across iPhone, iPad, and Mac, you will always have the scanned document available.
However, the Google Drive alternative is also a great option. Some iPhone users might prefer scanning documents to Google’s cloud storage directly.
Disclaimer
Technology is always changing and rarely is there static tech for smartphones and desktops. Thus, the contents of this post are only valid at the time of writing. Blog posts older than six months may have directions incompatible with your device or OS. Hopefully, older post content will continue to work as advertised. Thank you for reading TechSavvy.Life for Technology at Work For You.
Quote For the Day
“Perfection is not attainable, but if we chase perfection we can catch excellence.”
Vince Lombardi
Tweet Info
You are finished. Please feel free to share this post! One way to share is via Twitter.
Just click the Tweet icon below. This will launch Twitter where you click its icon to post the Tweet.
Checkout TechSavvy.Life for blog posts on smartphones, PCs, and Macs! You may email us at contact@techsavvy.life for comments or questions.
Tweet
I Would Like to Hear From You
Please feel free to leave a comment. I would love to hear from you. Do you have a computer or smart device tech question? I will do my best to answer your inquiry. Just send an email to contact@techsavvy.life. Please mention the device, app, and version you are using. To help us out, you can send screenshots of your data related to your question.
Author’s E-Book
You can access the e-book from a Kindle device, the Kindle App for the desktop or smartphone, which is a free app.