
While changing your browser’s font may not be a pressing issue, sometimes it is fun to make a change. We going to explore how to change the default fonts in Google Chrome.
This is for devices running Google Chrome

Changing Chrome’s Fonts
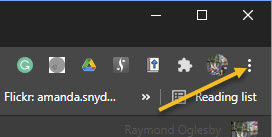
In order to change the fonts in Google Chrome, you will need to access your Customize Fonts section. First, open your Chrome browser. Next, click on the three 3-dot (hamburger icon) in the upper right-hand corner. Refer to below image:
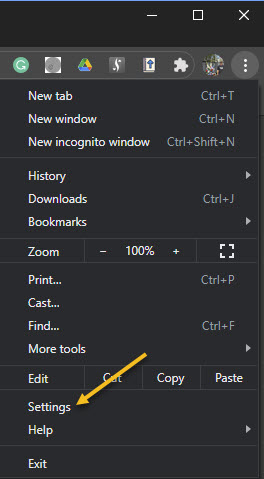
Now, click on Settings. See below image:
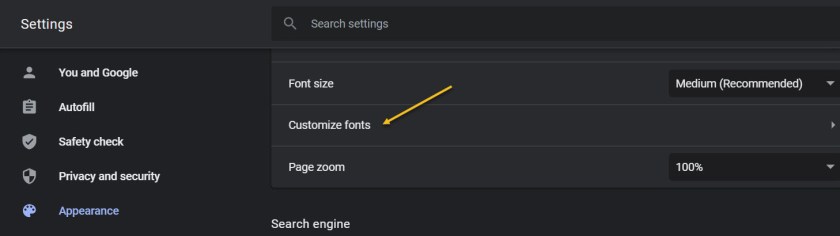
Next, click on the Appearance tab in the sidebar. Now, scroll down until you get to the Customize Fonts section and click on it. See following image:
Now, you can change all your font settings. Just click on each drop-down box and select a font from the listing. It is recommended you write down the default fonts in case you want to revert to the original ones. Refer to below image:

When finished, exit Settings and restart your Chrome browser for the changes to take effect.
Quote for the Day
If future generations are to remember us more with gratitude than sorrow, we must achieve more than just the miracles of technology. We must also leave them a glimpse of the world as it was created, not just as it looked when we got through with it.
Lyndon B. Johnson, Former President of the United States of America
That’s it. Please feel free to share this post! One way to share is via Twitter.
Just click the Tweet icon below. This will launch Twitter where you click its icon to post the Tweet.
Check out TechSavvy.Life for blog posts on smartphones, PCs, and Macs! You may email us at contact@techsavvy.life for comments or questions.
Tweet
I Would Like to Hear From You
Please feel free to leave a comment. I would love hearing from you. Do you have a computer or smart device tech question? I will do my best to answer your inquiry. Just send an email to contact@techsavvy.life. Please mention the device, app and version that you are using. To help us out, you can send screenshots of your data related to your question.
