Who you goin to call, Fact Checkers? A ‘play on words’ from the movie ‘Ghostbusters’.
Have you received the message “This post has been removed for misinformation… or deemed inappropriate….” on Facebook. Just who are these Facebook “Police”?
You will be surprised at the number of people who use ‘fact checker’ or ‘gate keeper’ as their name
Facebook has partnered with independent third-party fact-checkers globally who are certified through the non-partisan International Fact-Checking Network (ICFN). This fact-checking program launched in 2016, and has continued to expand it since then to cover more languages and countries.
The focus of this program is to address viral misinformation; provably false claims, particularly those that have the potential to mislead or harm.
Fact-checking partners are able to review content across both Facebook and Instagram, including organicand boosted posts. They can also review videos, images, links or text-only posts.
There are a lot of guides on the Internet that tell you to block ‘fact checker’ from the Facebook block user function. However, all this does is block users and pages that call themselves ‘fact checker’. Facebook does not actually disclose who and where the ‘fact checker’ actually are, so blocking random pages named ‘fact checker’ won’t really do much. The same goes for ‘gate keeper’.
So, this post is just for fun and informational. You are unable to actually block a Facebook ‘fact checker’ or ‘gate keeper’. With that said, let’s explore how to block people who call themselves ‘fact checker’ or ‘gatekeeper’.
This is for devices running Facebook
Who Are Fact Checkers
Source: Facebook
Since we do not believe that a private company like Facebook should be the arbiters of truth, we rely on independent fact-checkers to identify and review potential misinformation, which enables us to take action.
- Identify: We identify potential misinformation using a variety of signals, and our fact-checking partners can also proactively identify content on their own.
- Review: Fact-checkers review and rate the accuracy of stories through original reporting, including interviewing primary sources, consulting public data, and conducting analyses of media, including photos and video.
- Act: Once we have a rating from a fact-checking partner, we take action by ensuring that fewer people see that misinformation by surfacing fact-check articles to users across our platforms and showing labels on top of false stories.
Who Are Gate Keepers
Source: Slate
Facebook Oversight Board is their gatekeeper. A gatekeeper decides what is free speech or not. The board will act much like a court of appeals for the platform, and it will take on cases regarding how to handle controversial content on Facebook and Instagram. The board will also act in an advisory capacity, giving policy recommendations to the company.
Block a Fact Checker
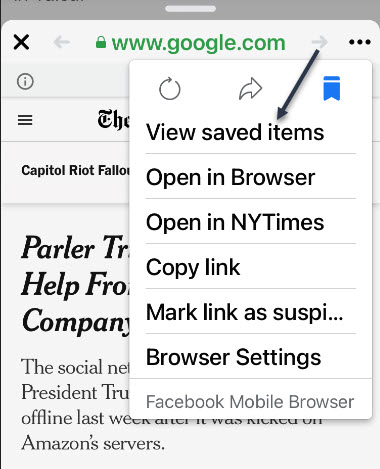
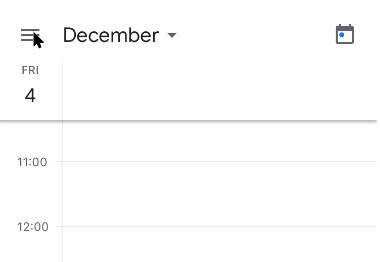
First, launch Facebook and tap the Menu icon. Refer to below image:
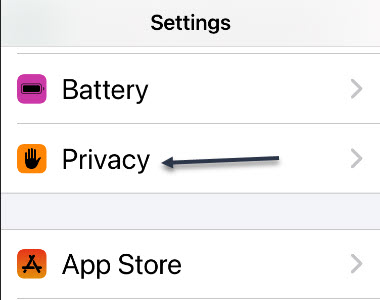
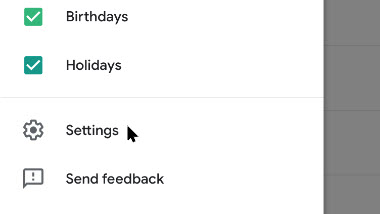
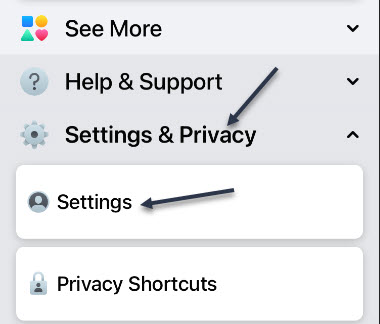
Now, scroll down and open the Settings and Privacy section and tap Settings. See below image:
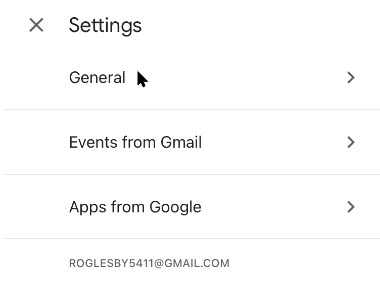
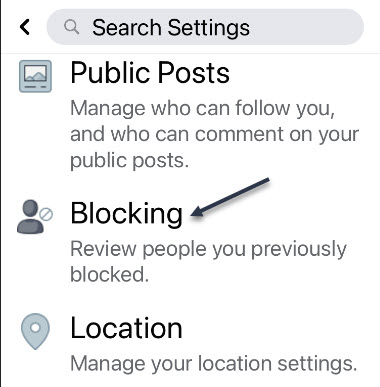
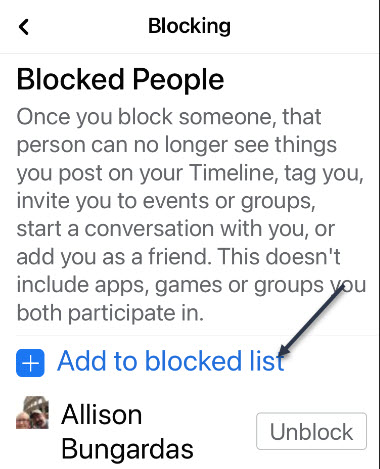
Next, scroll down to the Blocking section and tap it. See following image:
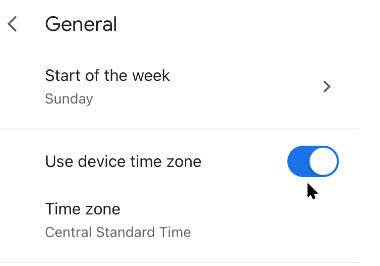
Next, tap the link Add to blocked list. Refer to below image:
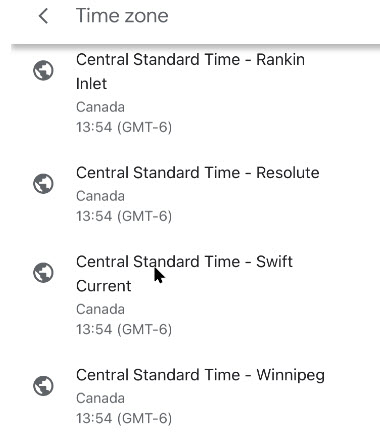
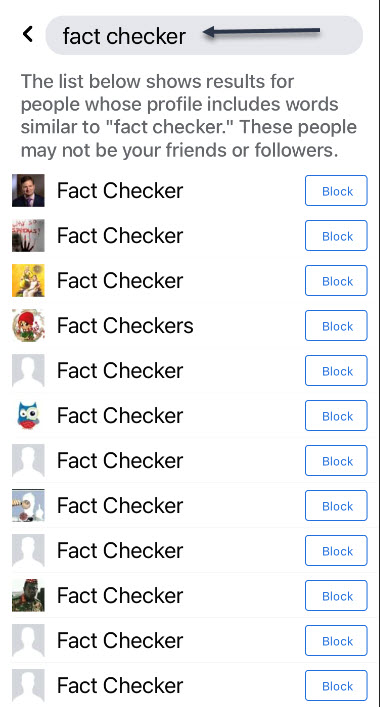
At the top of the page, in the Search box, type in: fact checker. Here you will see a long list of people using the name of ‘fact checker’. See below image:
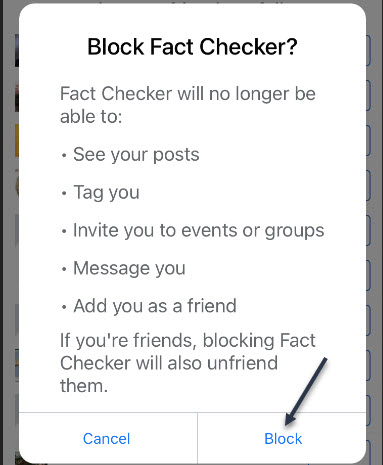
Next, tap a listing or the Block icon and you will be given a dialog box to Block or Cancel. Tap the Block icon. That person will be added to your Blocked People list. See following image:
Now, repeat the above for each ‘fact checker’ person you want to block. Next, in the Search box, type in: fact checkers. Here you will see another long list of people using the name of ‘fact checkers’. Next, tap a listing or the Block icon. Tap the Block icon and repeat for each person in the list as needed.
Block a Gate Keeper
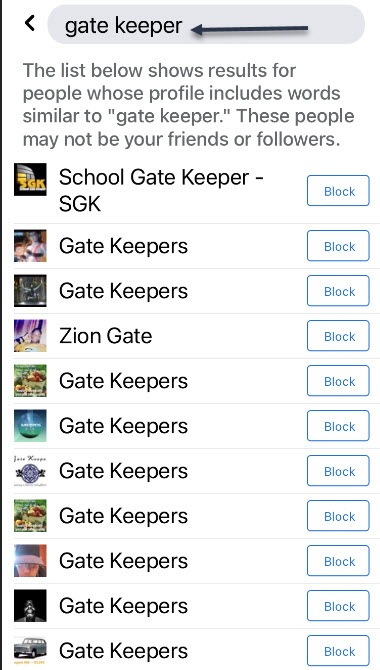
Go back to the Search box and type in: gate keeper. Here you will see a long list of people using the name of ‘gate keeper’. Refer to below image:
Next, tap a listing or the Block icon you will be given a dialog box to Block or Cancel. Tap the Block icon. See below image:
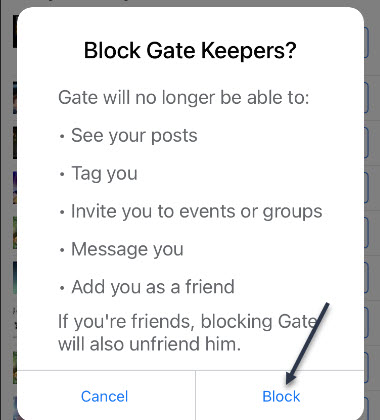
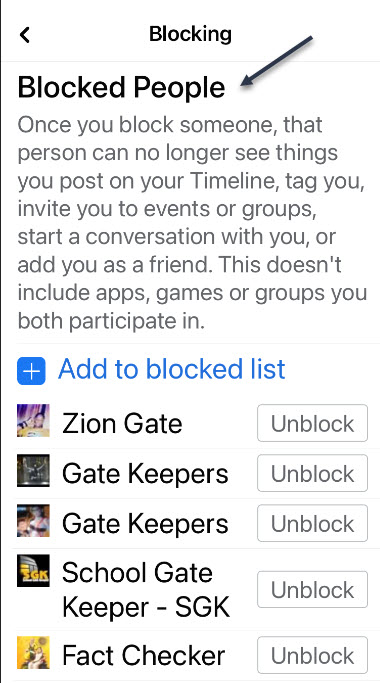
Repeat the above for a search of ‘gate keepers’ and block as needed. Next, tap the back button to see your Blocked People list that includes ‘fact checker’, ‘fact checkers’, ‘gate keeper’ and/or ‘gate keepers’. Why do people use such names? See following image:
Now, tap all the way back using the Back button and exit Facebook.
I hope you learned something about the Facebook ‘Police’. We did. Well, that’s it. Please feel free to share this post! One way to share is via Twitter.
Just click the Tweet icon below. This will launch Twitter where you click its icon to post the Tweet.
Check out TechSavvy.Life for blog posts on smartphones, PCs or Macs! You may email us at contact@techsavvy.life for comments or questions.
Tweet
I Would Like to Hear From You
Please feel free to leave a comment. I would love hearing from you. Do you have a computer or smart device tech question? I will do my best to answer your inquiry. Just send an email to contact@techsavvy.life. Please mention the device, app and version that you are using. To help us out, you can send screenshots of your data related to your question.