RAYMOND OGLESBY @RaymondOglesby2
September 30, 2025 –4 minutes read time
Overview
We usually only remember to add salt to our Grocery List when we are using the last of it at dinner. That means, by the time we are writing our shopping list, we have usually forgotten all about it! Fortunately, we can ask Siri to add items to our Grocery List in the Reminders app without interrupting what we are doing! If you want the reminder added to a different list, that’s possible too. You just have to phrase your request a little differently.
Using Siri to add items to specific lists is pretty handy, as it’s faster than manually opening the Reminders app and adding them yourself. We like to use Siri to quickly add items to our Grocery List when we notice we are running low on something. Let’s explore how to use Siri to add reminders to specific lists.
Why You Will Like This Tip
- Quickly add items to your Grocery list in Reminders hands-free.
- Build your list without having to open the app.
- Add items to lists on the go, so you do not forget by the time you’re sitting down to write your shopping list.
System Requirements
This tip was run on an iPhone 14 Pro using iOS 18.6.
Click here to learn how to update your iPhone to the latest iOS version.
Using Siri to Add Items to Your Grocery List
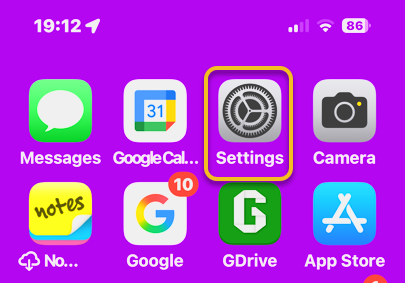
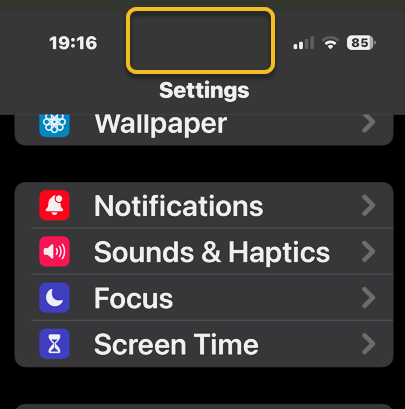
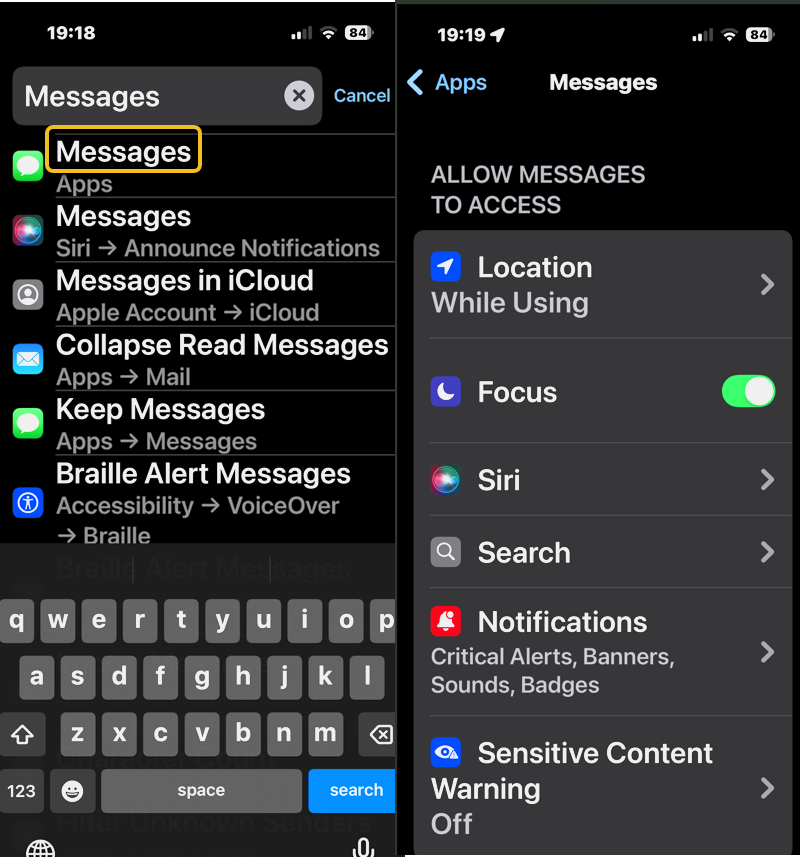
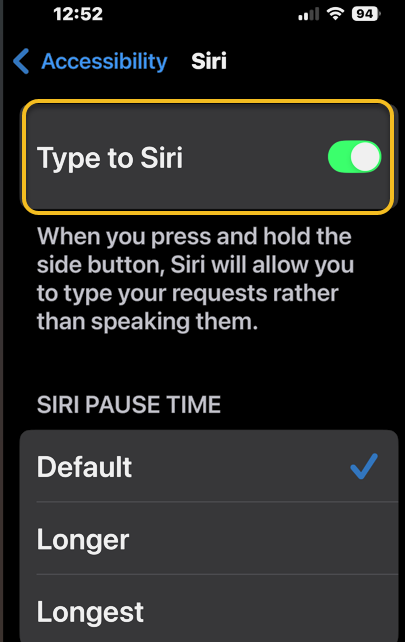
First, to type in a response to Siri, you need to enable the feature. Head to:
Settings > Accessibility > Siri
and turn the toggle Type to Siri to the ON position. Refer to the image below:
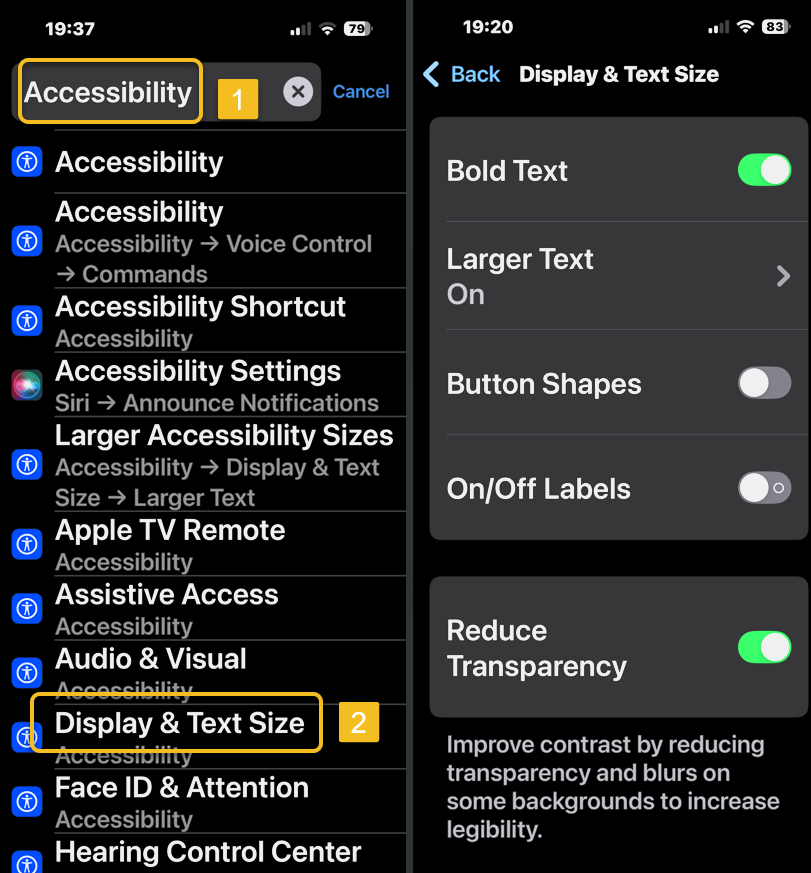
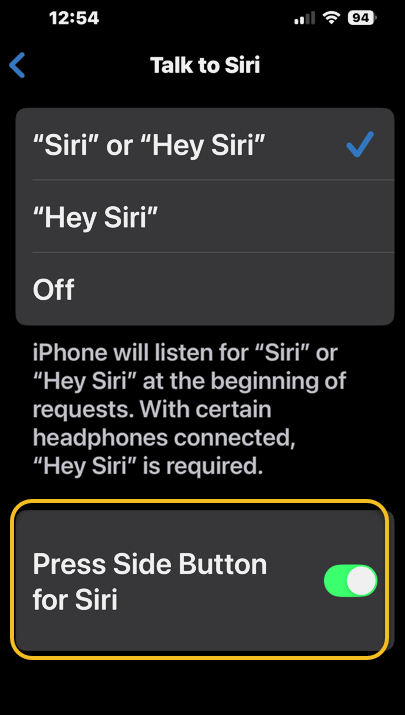
Next, lets enable the Side button to activate Siri. Head to:
Settings> Siri > Talk to Siri
and turn the toggle Press Side Button for Siri to the ON position. See the image below:
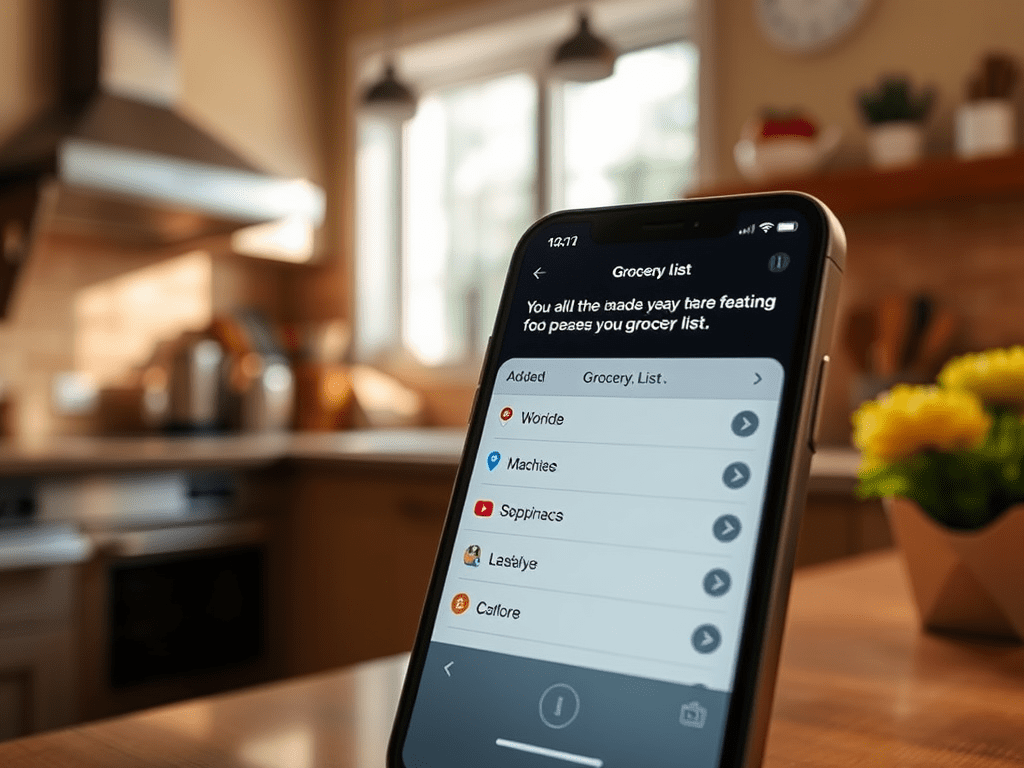
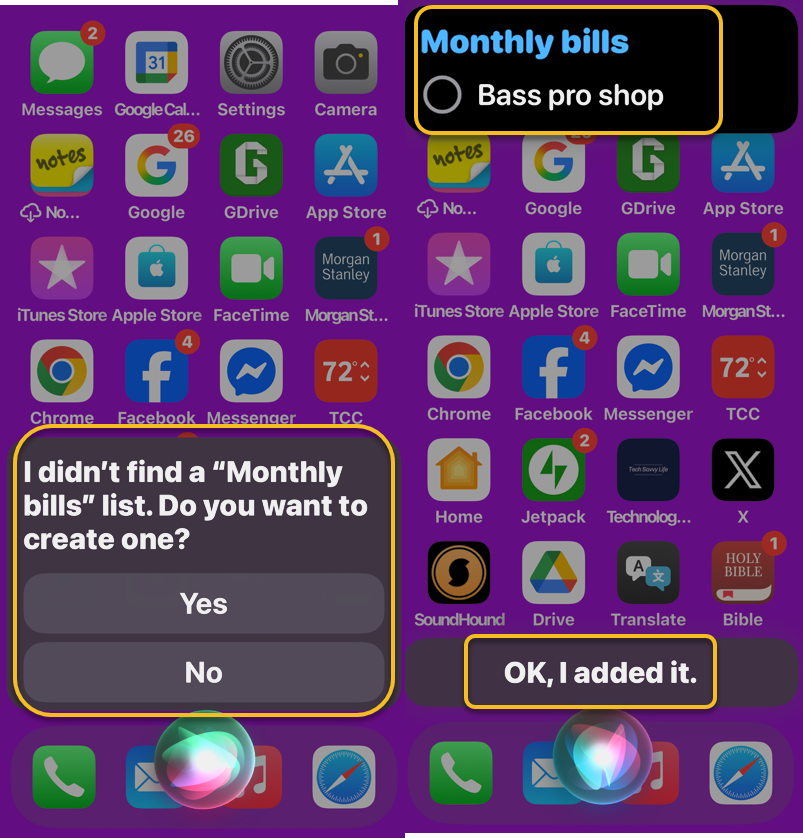
Now, activate Siri by saying “Siri”/”Hey Siri,” or by pressing and holding the Side button. Then, simply say or type, “Add [item] to [list name].” For example, we told Siri, “Add eggs to grocery list.” Once the item has been added, a confirmation window will appear. You can tap the confirmation window to open the list and manually make any desired changes. See the following image:

This also works with more than just grocery lists. If you want the reminder added to a specific Reminders list, instead of saying, “Hey Siri, remind me to grocery shop,” say something like,
- “Siri add grocery shopping to my Personal Reminders list,” or
- “Add Bass pro shop to my Monthly bills list,” instead.
Note! If the list does not exist, Siri will prompt you to create it. In our example, if the Monthly bills list does not exist, you can make it, and then the item will be added.
Refer to the image below:
Next, open your Reminders app to view your Grocery and Monthly bills lists. See the image below:
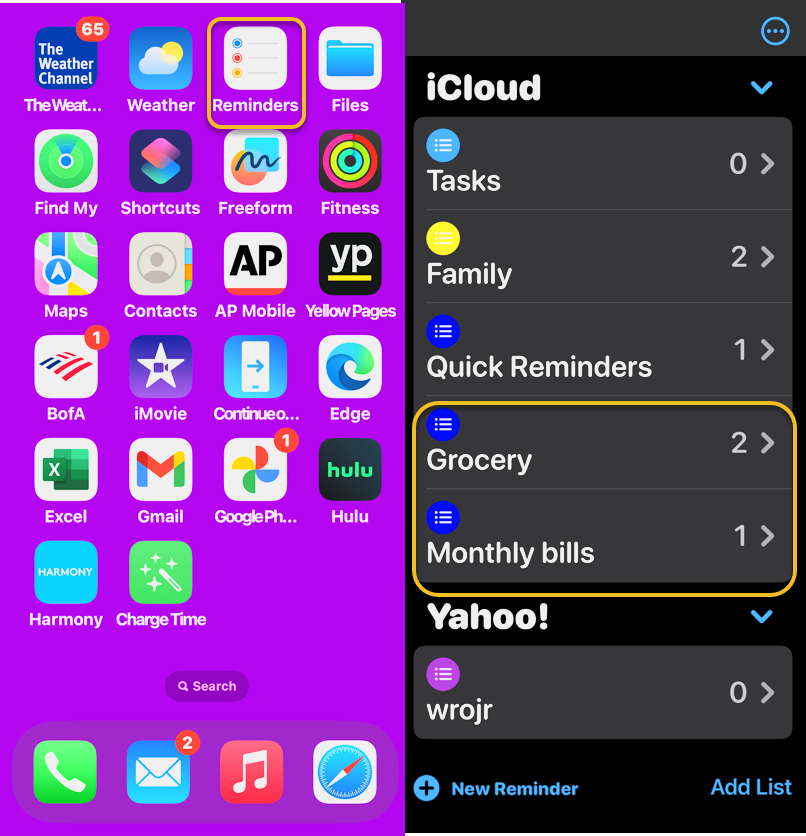
If you have multiple reminders list that you like to keep organized, quickly using Siri to add reminders to a list is a great way to do that.
Disclaimer
Technology is constantly evolving, and smartphone and desktop tech rarely remains static. Therefore, the information in this post is only accurate as of the date it was written. Blog posts that are older than six months may contain instructions that are no longer compatible with your device or operating system. We hope that the content from previous posts continues to function as intended. Thank you for reading TechSavvy.Life, where technology works for you.
Quote For the Day
“The best minds of my generation are thinking about how to make people click ads.”
– Jeff Hammerbacher, Data Scientist and Co-founder of Cloudera
(X) Twitter Info
You are finished. Please feel free to share this post! One way to share is via Twitter.
Just click the Tweet icon below. This will launch Twitter where you click its icon to post the Tweet.
Checkout TechSavvy.Life for blog posts on smartphones, PCs, and Macs! You may email us at contact@techsavvy.life for comments or questions.
Tweet
I Would Like to Hear From You
We value your feedback! Was this post helpful? Please share your comments with us. If you have a tech question related to your computer or smart device, feel free to reach out. Just send an email to contact@techsavvy.life, and be sure to include the device, app, and version you are using. To assist us further, you can also attach screenshots related to your inquiry.
The author’s Vietnam eBook on the “Battle for Tra Bong Vietnam: Events and Aftermath” can be accessed from a Kindle device or the Kindle App for a desktop or smartphone. The apps are free.