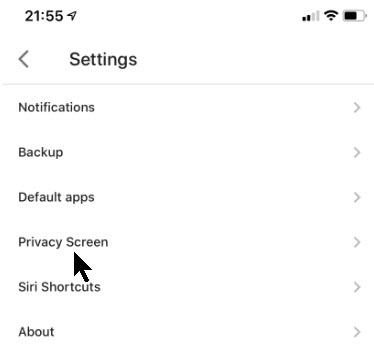
Want to checkout your iPhone or Android with diagnostics? Maybe you are wanting to sell the device and need to see if the device is working properly. Or you just wish to checkout the performance of your device. Whatever the reason, let’s explore a couple of apps from Apple’s or Google’s App Store.
The apps are TestM and Phone Diagnostics. Both apps are free but come with ads. You can remove the ads for Phone Diagnostics for a small fee. The apps run similar diagnostic tests for touch screen, audio, video, camera, microphone, sensors and other components on your phone.
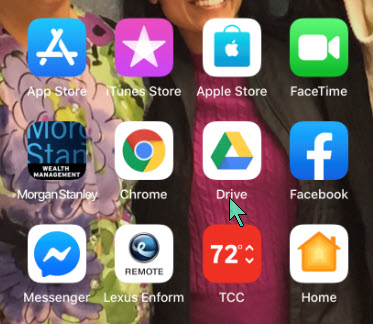
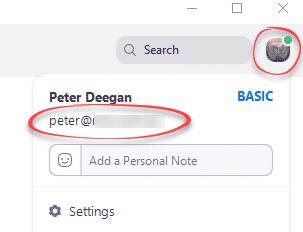
After you have installed these apps, their associated icons will appear on your Home screen (see left bottom corner) like the image below:
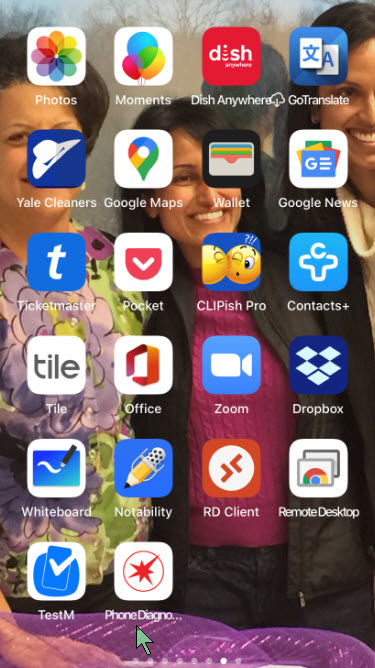
This is for the iOS and Android devices. Screenshots are for the iPhone

Check out TechSavvy.Life for similar blog posts!
Tweet
TestM App for iPhone and Android
Designed for iOS and Android, the free TestM app can run diagnostics on your phone’s touch screen, sound, camera, sensors, network connectivity and other hardware.
The app gives you full control over the tests you want to run. Opt for a quick test to check three key features: touch screen, earpiece audio and high-frequently audio; or commit to a full test to check out all supported features. Otherwise, you can test just one specific feature, like the accelerometer, Bluetooth connectivity, camera flash and Face ID on an iPhone.
Most of the tests are interactive. The touch-screen test asks you to draw on the screen, the microphone test asks you to speak, the audio test prompts you to tap the numbers you hear and the camera test requests that you pose for a picture. One of the nifty tests is the Internet Speed Test to measure your phone’s upload and download speed.
After you’ve completed your testing, TestM compiles a report that reveals the key stats of your phone along with the outcome of the tests you ran. Each individual feature tested receives a green checkmark for good or a red checkmark for bad.
Any features that flunk can be re-tested from the report screen. You can share the report with someone else via email, messaging, or another app or service. TestM can even generate a list of local repair shops that might be able to fix whatever hardware ailment is affecting your phone. Refer to below image:

Phone Diagnostics for iPhone
Available for the iPhone, the Phone Diagnostics app offers a range of tests you can run one after the other. The app can check your touch screen, multi-touch capabilities, camera, flash, speaker, microphone, Wi-Fi, cellular access, sensors and other components. Just tap the button for the test you wish to run. Alternatively, tap the Play button in the middle of the screen to run all the tests one after the other. Unlike TestM, you can remove ads by paying a small fee.
The multi-touch test asks you to place three fingers on the screen. The camera test snaps photos using the front and rear cameras, while the video record test shoots a quick video using the rear camera. The motion test asks you to move your phone around, and the GPS test verifies your location on a map.
The app doesn’t generate any reports or results, but each successful test paints its button in green, while a failed or interrupted test appears in red. The app also attempts to steer you to a repair shop should your iPhone need to be fixed. See below image:

I have found TechSavvy.Life blog posts extremely helpful. Check them out for posts on smart phone apps, Macs and PCs!
Tweet
I Would Like to Hear From You
Please feel free to leave a comment. I would love hearing from you. Do you have a computer or smart device tech question? I will do my best to answer your inquiry. Please mention the device, app and version that you are using. To help us out, you can send screenshots of your data related to your question.