RAYMOND OGLESBY @RaymondOglesby2
March 10 2026 – 4 minutes read time
Overview
You can use multiple search terms to find specific pictures in the Photos app. We use this time-saving feature to search for specific pictures from vacations, entering a date and location to see all videos and photos from each trip.
With iOS 18, Apple completely revamped the Photos app, introducing a brand-new search function. Previously, you could use search terms from one or more of the following categories: date, location, business name, events, people, pets, captions, and type of photo. Now, you can do an image search on your iPhone for objects or text that show up in your photos. For example, we often forget our license plate number when paying for public parking. We know we have photos of it, so we can just go into the Photos app, type “license plate,” and our phone will show me all the photos of our license plate. Let’s explore how to image search on your iPhone and iPad using multiple keywords.
Key Tskeaways
- Learn how to search photos on your iPhone and iPad to find Photos of nearly anything.
- Do an iPhone photo search to find objects or text that appear in your photos.
System Requirements
This tip works on iPhones running iOS 18 or later, but was tested on an iPhone 17 Pro running iOS 26.3.
Click here to learn how to update your iPhone to the latest iOS version.…
Searching Photos
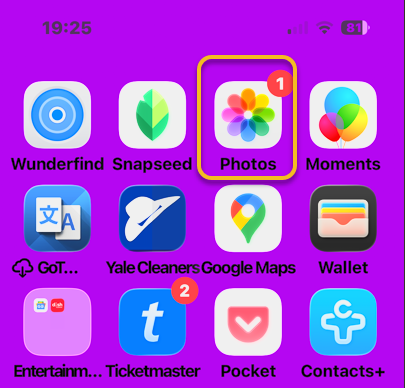
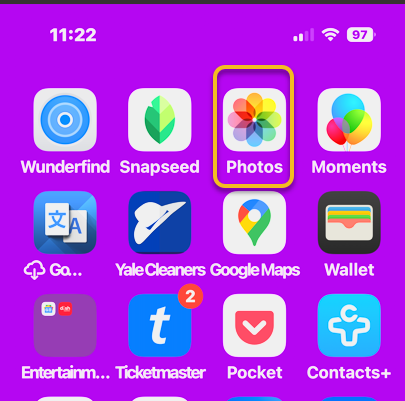
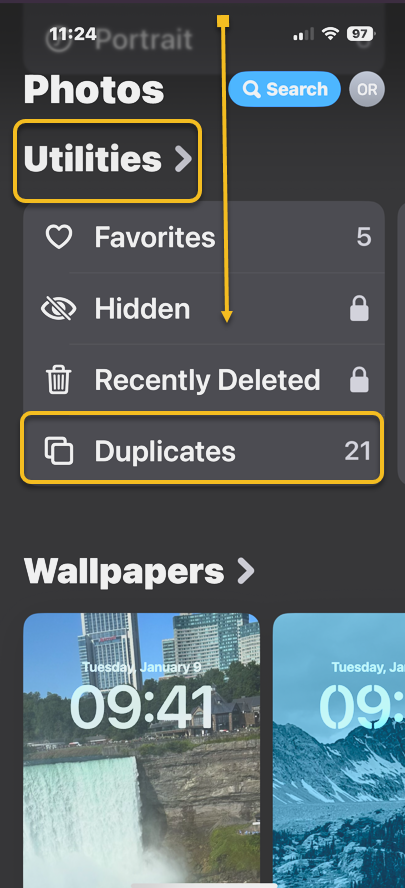
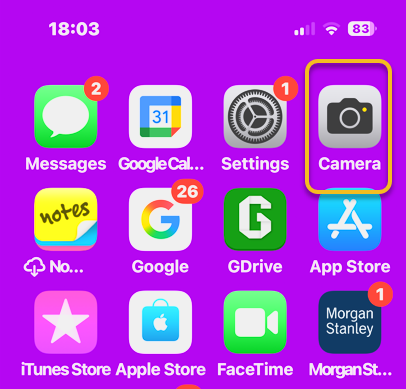
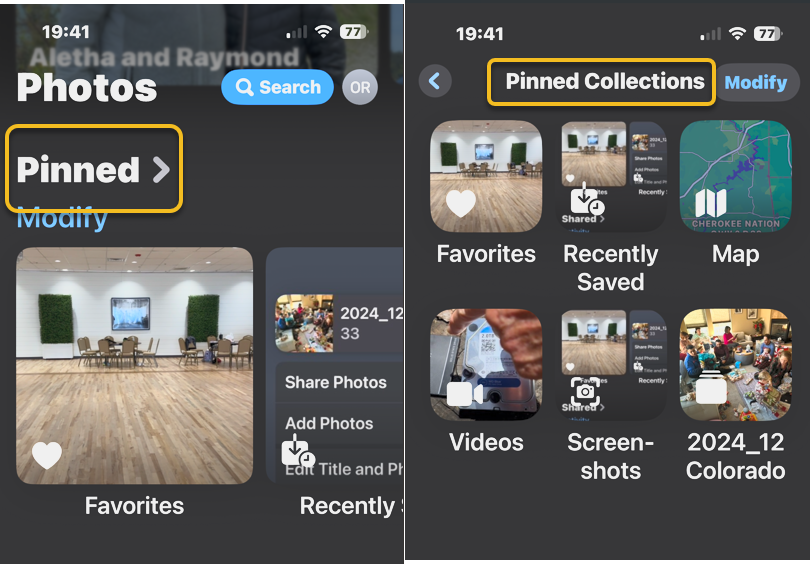
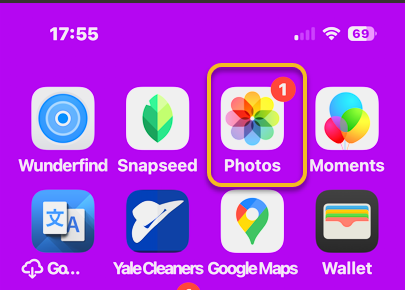
First, open the Photos app. Refer to the image below:

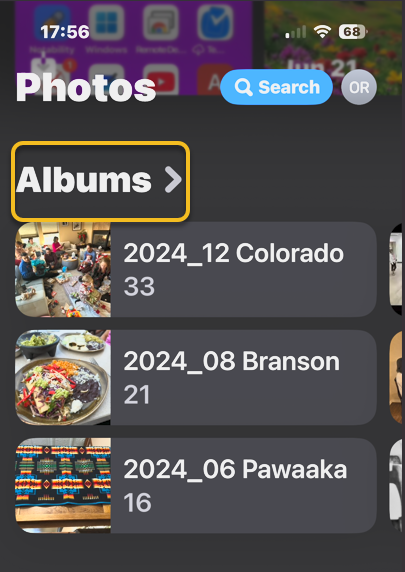
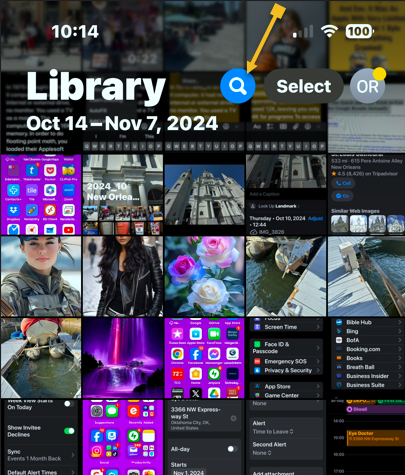
Next, tap the Search icon. See the image below:

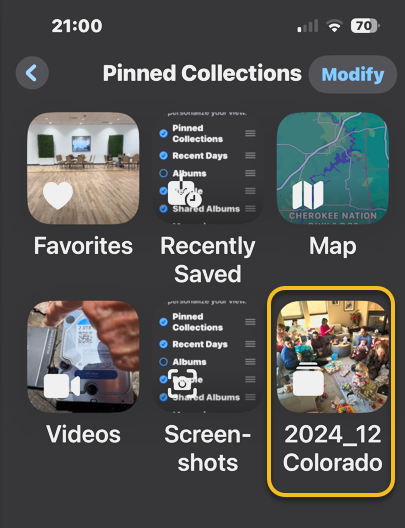
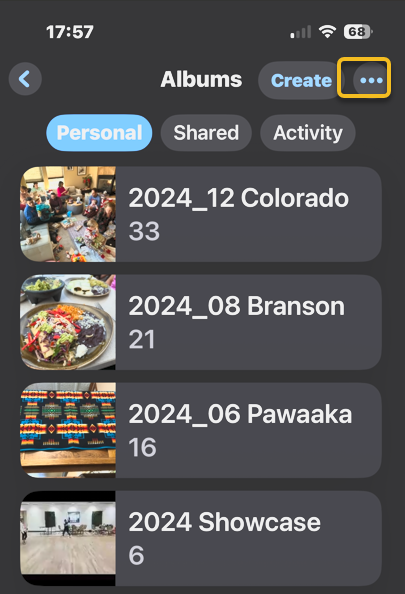
Now, you will see some personalized suggestions, which you can tap. Or you can tap the Search bar to type in your own search terms. See the following image:

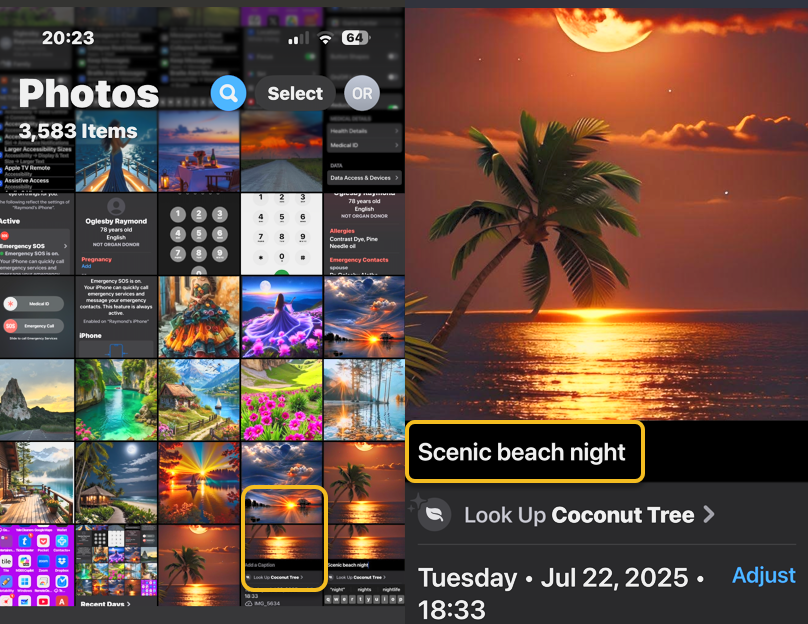
Next, once you enter a search term, you will see all the photos in your library that match. For example, we searched “Raymond December 2025”, and now we can see all my photos of myself, Raymond, from December 2025. Notice that it found blurred text and rotated images. Refer to the image below:

That’s how to search photos on the iPhone or iPad. Try it out yourself! Put in a few search terms and see what you get. It’s super easy to find the exact photo you are looking for every time.
Disclaimer
Technology is constantly evolving, and smartphone and desktop tech rarely remains static. Therefore, the information in this post is only accurate as of the date it was written. Blog posts that are older than six months may contain instructions that are no longer compatible with your device or operating system. We hope that the content from previous posts continues to function as intended. Thank you for reading TechSavvy.Life, where technology works for you.
Quote For the Day
The art challenges the technology, and the technology inspires the art.
. – John Lasseter
X (Twitter) Info
That’s it. Please feel free to share this post! One way to share is via Twitter.
Just click the Tweet icon below. This will launch Twitter where you click its icon to post the Tweet.
Checkout TechSavvy.Life for blog posts on smartphones, PCs, and Macs! You may email us at contact@techsavvy.life for comments or questions.
Tweet
I Would Like to Hear From You
We value your feedback! Was this post helpful? Please share your comments with us. If you have a tech question related to your computer or smart device, feel free to reach out. Just send an email to contact@techsavvy.life, and be sure to include the device, app, and version you are using. To assist us further, you can also attach screenshots related to your inquiry.
The author’s Vietnam eBook, “Battle for Tra Bong Vietnam: Events and Aftermath,” is available on Kindle devices and the Kindle App for desktop, laptop, and smartphone. The apps are free.