Six Best Shortcuts for iPhone

RAYMOND OGLESBY @RaymondOglesby2
October 3, 2023

This is for the iPhone. Screenshots are from iPhone 14 Pro running iOS 16+

Since the release of iOS 13, the Shortcuts app has come preinstalled on compatible devices, hosting useful automation and timesaving techniques ranging from automating texts to organizing your photos.

Making the most of these shortcuts can, however, feel a little foreign to first-time users. A lot of Apple device owners do not even know what the app is. It comes with a fairly extensive library of pre-existing shortcuts, but beyond this lies a world of user-generated shortcuts.

In principle, iOS Shortcuts are fairly simple, considering they are based on IFTTT (If This Then That) automation; trigger results in an action. However, in practice it is not always so simple; there are multitudes of triggers, and the debugging is entirely nonexistent.

The learning curve is staggeringly high. To help you get started, here are some of the most useful, easy-to-use Shortcuts you should have on your device, plus they are free.
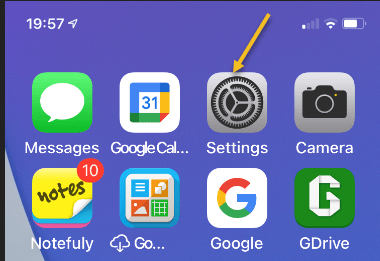
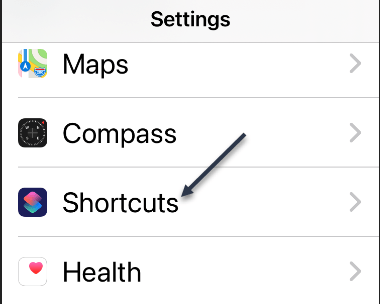
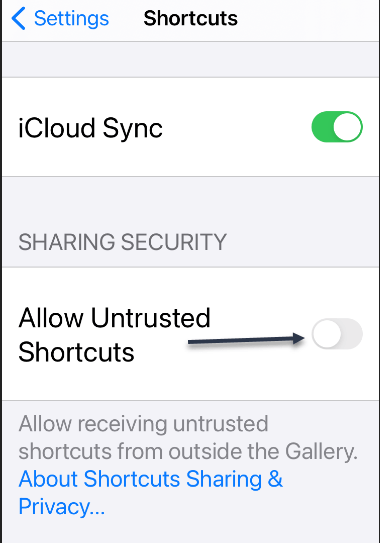
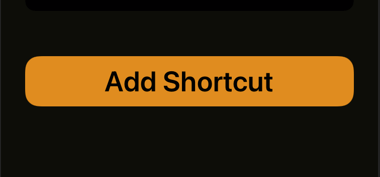
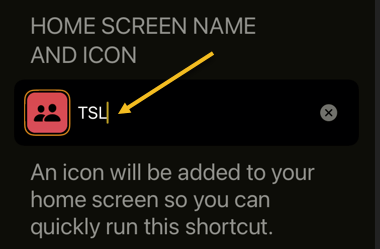
Installing shortcuts has become simplified over the years. Previously, you had to go to the Settings app on your iPhone and allow to install shortcuts from third-party links. Now, there’s no such need. Just click on the download links we have provided and use the Add Shortcut button to add the shortcut to your library. You may be asked to set certain options for the Shortcuts to function, if so, just follow the shortcut instructions. Not mentioned in this post, is another favorite, Charge Time shortcut which can be opened in the link below.

Charge Time

If you do not want your iPhone or iPad to die at the most unfortunate times, Super-Low Battery v2.0 is the shortcut you should use. While the low-power mode on iOS devices does well enough job for normal days, sometimes you need that extra hour or two of usage off your iPhone, and the low-power mode does not cut it. Enter the Super-Low Battery v2.0 shortcut.

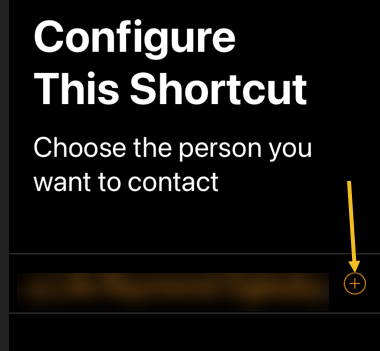
Using the Super-Low Battery v2.0 shortcut you can enable super low-power mode. When run, it not only stops background processes and activates native low-power mode, but also turns off WiFi, and Mobile Data. It also turns on Airplane Mode and sets both Brightness and Volume to 0.  It’s best to use when your iPhone’s battery falls below 10%. After running it, you should have a few hours left. If you want, you can make a call or send a text, deactivate it by running the shortcut, make that call or send a text, and run it again. Click this link to Download Super-Low Battery v2.0. Refer to the below image:
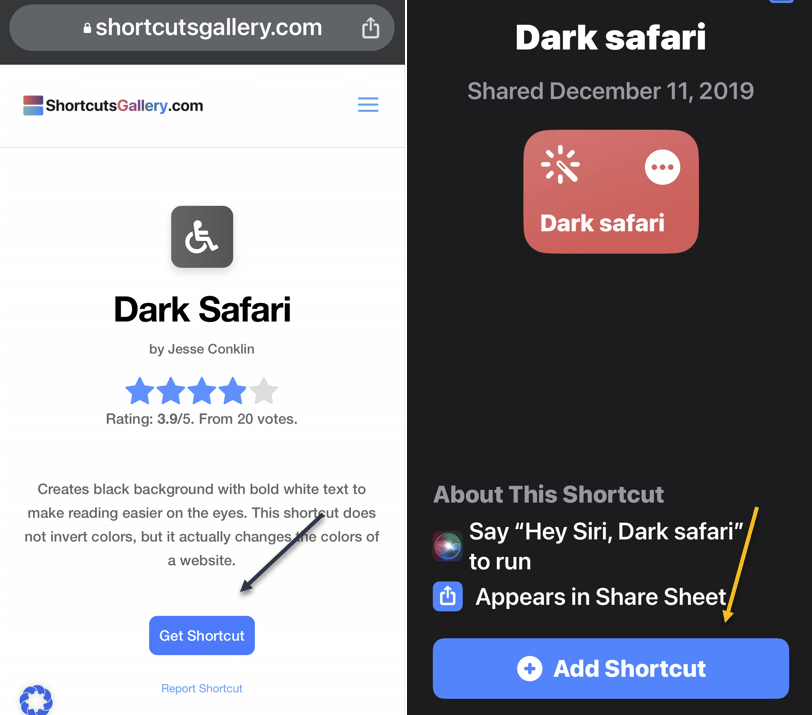
Best Shortcut 1
Super-Low Battery v2.0 shortcut

Another favorite to share is Dark Safari. Since the introduction of Dark Mode on iOS 13, it’s helpful at night. It reduces strain on your eyes and ensures you are not blinded by bright light when you open an app. That said, when reading articles on Safari, the dark mode fails. This shortcut will help you solve this problem.

It creates a black background with bold white text to make reading easier on the eyes. Unlike other similar shortcuts, it does not invert the colors, but rather actually changes the colors of a website. This will improve your late-night reading. Click this link to Download Dark Safari. See the below image:
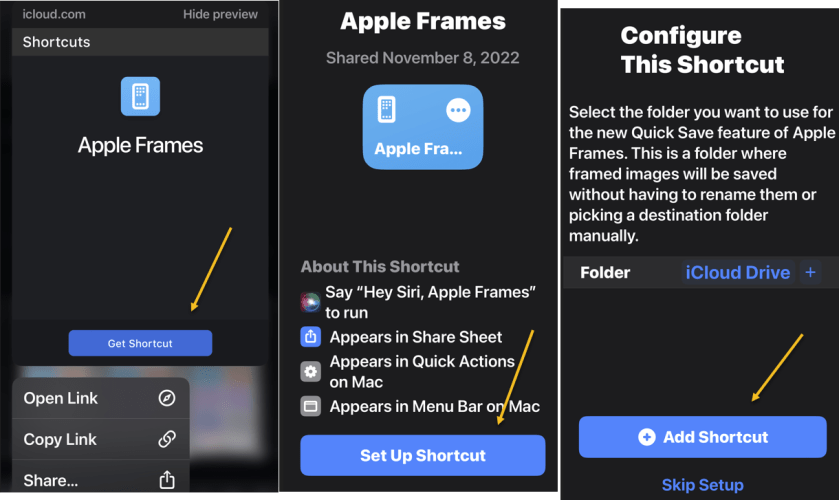
Best Shortcut 2
Dark Safari shortcut

Another powerful shortcut created by Federico is Apple Frames. It allows you to apply frames to your iOS screenshots. I know most people will not need it, but if you are a writer, blogger, or content creator using screenshots, this is for you. (As for our blog posts, we use a subscription-based third-party screen capture program on the desktop). Click this link toDownload Apple Frames. See the following image:
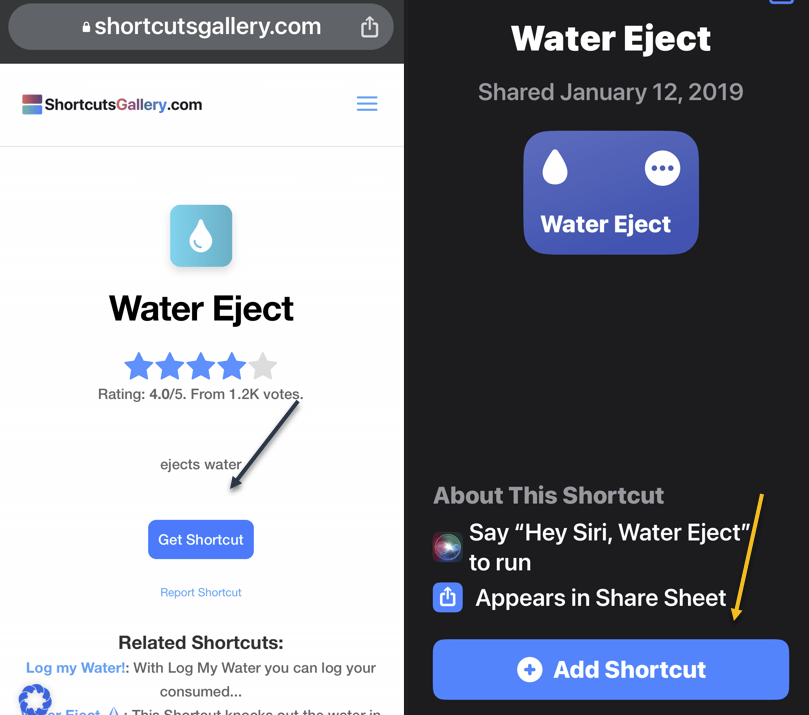
Best Shortcut 3
Apple Frames shortcut

The iPhone has become water resistant since the iPhone 7, but your iPhone can get water damage. Sometimes water can get stuck inside the speakers and microphone grills of the iPhone, compromising the audio quality of the microphone speakers. You can solve this issue by using the Water Eject shortcut. When you tap the shortcut it plays a series of sounds that can eject water from the speaker grills. Click this link to Download Water Eject. Refer to the below image:

Best Shortcut 4
Water Eject shortcut

Calculating the tip on a bill is always harder than it should be, especially if you are in a hurry at the end of the meal. After running this shortcut, you simply enter the bill and choose the tip percent, such as 12%, 15%, 18%, or 20%. You will immediately see the tip amount and final bill total including the tip. Click this link to Download Calculate Tip. See the below image:

Best Shortcut 5
CalculatSe Tip shortcut

Ever since Apple integrated Shazam into iOS, it has been easy to find the name of whatever song is playing around you. But Shazam++ takes that a step further; this shortcut will use Shazam to identify the song and then offer you a menu of options that include sharing the song or playing it in your favorite music player such as Spotify or Apple Music.

Shazam++ presents a small yet significant addition to the tool, presenting you with various actions once it’s identified the song, including sharing the song or playing it directly in the music streaming service, from where you can easily add it to your playlists. Click this link to Download Shazam ++. See the following image:

Best Shortcut 6
Shazam ++ shortcut

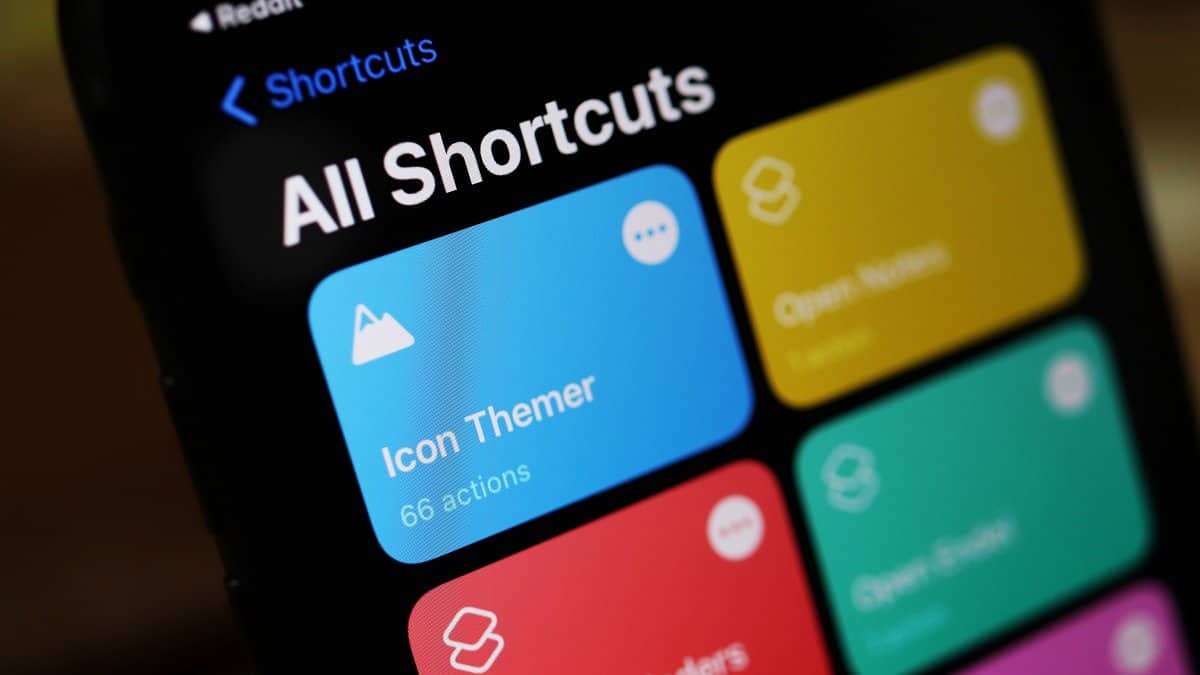
Open your Shortcuts app and head to My Shortcuts gallery where your six shortcuts will be displayed as shown below:

Best Shortcut 7
Your shortcuts gallery

Disclaimer

Technology is always changing and rarely is there static tech for smartphones and desktops. Thus, the contents of this post are only valid at the time of writing. Blog posts older than six months may have directions incompatible with your device or OS. Hopefully, older post content will continue to work as advertised. Thank you for reading TechSavvy.Life for Technology at Work For You.

The only thing worse than starting something and failing is not starting something.

Seith Godin

You are finished. Please feel free to share this post! One way to share is via Twitter.

Just click the Tweet icon below. This will launch Twitter where you click its icon to post the Tweet.

Checkout TechSavvy.Life for blog posts on smartphones, PCs, and Macs! You may email us at contact@techsavvy.life for comments or questions.

Please feel free to leave a comment. I would love to hear from you. Do you have a computer or smart device tech question? I will do my best to answer your inquiry. Just send an email to contact@techsavvy.life. Please mention the device, app, and version you are using. To help us out, you can send screenshots of your data related to your question.

You can access the e-book from a Kindle device, the Kindle App for the desktop or smartphone, which is a free app.

The author’s Vietnam eBook on the Battle for Tra Bong Vietnam: Events and Aftermath

How to Stop Edge From Putting a Shortcut on Your Desktop

Does Microsoft Edge keep placing its shortcut on your desktop without you telling it to do so? Your frustration will soon be over, as we will show you how to stop Microsoft’s web browser from creating its shortcut and cluttering your desktop.

RAYMOND OGLESBY @RaymondOglesby2
September 26, 2023

This is for the desktop running Edge. Screenshots are from Windows 10

Does Microsoft Edge keep placing its shortcut on your desktop without you telling it to do so? Your frustration will soon be over, as we will show you how to stop Microsoft’s web browser from creating its shortcut and cluttering your desktop. Let’s find out how this is done.

The most reliable way to prevent Edge from making its shortcut on your desktop is by tweaking a value in your Windows registry. This value tells Edge whether to make the shortcut and once you set it to OFF, the browser will not make any shortcuts.

Note: Making accidental incorrect changes in your Windows registry can make your PC unstable. So, be very careful while editing the values in your registry.

First, open the Run dialog box by pressing Windows+R. In the box, type the following and press Enter.

regedit

Next, in the User Account Control prompt, select Yes.

Now, in the Registry Editor, using the options on the left, navigate to the following path:

HKEY_LOCAL_MACHINE\SOFTWARE\Policies\Microsoft\EdgeUpdate

Next, if you do not see the EdgeUpdate path, create it manually by right-clicking Microsoft in the left sidebar, choosing

New > Key, using “EdgeUpdate

as the key name, and click Enter. Refer to the below image:

Edge Update 1
Editing the Registry

Now, on the right pane, click anywhere blank and select

New > DWORD (32-bit Value)

See the below image:

Edge Update 2
Accessing the DWORD option

Next, use CreateDesktopShortcutDefault as the entry name and press Enter. Then, double-click the entry to open it. In the open box, click the Value Data field and type “0”. Then, choose OK. See the following image:

Edge Update 3
Setting the DWORD

Now, close the Registry Editor and restart your PC. You will notice that Edge does not create its shortcut anymore.

If for some reason the registry edit above does not work for you, you can also work to stop Edge from automatically launching on your PC’s boot. If you remove the program from your startup list, it will not be able to make the shortcut.

First, right-click your Start menu icon and choose Task Manager. Refer to the below image:

Edge Update 4
Accessing the Task Manager

Next, in the Task Manager, access the Startup Apps section. Here, right-click msedge or Microsoft Edge and choose Disable. See the below image:

Edge Update 5
Disable Edge

Now, Windows stops Edge from automatically launching on boot, preventing it from making its desktop shortcut.

If you have set Edge as the default web browser, make it the non-default browser to prevent it from creating a desktop shortcut. You should use this method if the above methods have failed to work for you.

Ensure you have at least one non-Edge web browser installed on your PC. You have various web browsers to choose from, including Chrome, Firefox, and Brave.

First, navigate to

Settings > Apps > Default Apps

Next, in the Web Browser section, click Microsoft Edge and choose another web browser to make it the default. Refer to the following image:

Edge Update 6
Setting Chrome as the default browser

Now, restart your PC, and that’s it.

Disclaimer

Technology is always changing and rarely is there static tech for smartphones and desktops. Thus, the contents of this post are only valid at the time of writing. Blog posts older than six months may have directions incompatible with your device or OS. Hopefully, older post content will continue to work as advertised. Thank you for reading TechSavvy.Life for Technology at Work For You.

Don’t worry about failure; you only have to be right once.

Drew Houston

That’s it. Please feel free to share this post! One way to share is via Twitter.

Just click the Tweet icon below. This will launch Twitter where you click its icon to post the Tweet.

Checkout TechSavvy.Life for blog posts on smartphones, PCs, and Macs! You may email us at contact@techsavvy.life for comments or questions.

Please feel free to leave a comment. I would love to hear from you. Do you have a computer or smart device tech question? I will do my best to answer your inquiry. Just send an email to contact@techsavvy.life. Please mention the device, app, and version you are using. To help us out, you can send screenshots of your data related to your question.

You can access the e-book from a Kindle device, the Kindle App for the desktop or smartphone, which is a free app.

The author’s Vietnam eBook on the Battle for Tra Bong Vietnam: Events and Aftermath

Using the Ctrl+Shift+V Shortcut

Tired of pasting and getting weird fonts and formatting in Windows 10 or 11? Avoid using Notepad as an intermediary. Try Ctrl+Shift+V shortcut and you will get only the text you want.

RAYMOND OGLESBY @RaymondOglesby2
August 11, 2022

Tired of pasting and getting weird fonts and formatting in Windows 10 or 11? Avoid using Notepad as an intermediary. Try Ctrl+Shift+V shortcut and you will get only the text you want. Here’s why.

This is for Windows 10/11 and Mac. Screenshots are from Windows 10

Dilbert and Metaverse
Copyright Scott Adams, Inc./Distributed by Universal Uclick for UFS

Paste Without Formatting

By default, when you normally Copy with Ctrl+C and Paste with Ctrl+V in Windows, the clipboard captures not only the text you have selected but also the styling that goes with it. That includes font style, text color, attributes such as bold and italics, and even bulleted lists.

Fortunately, there’s an easy way to avoid it. The next time you want to paste only the text without any formatting or style information, press Ctrl+Shift+V on your keyboard in Windows 10/11. (On a Mac, you can press Option+Shift+Command+V for a similar result).

Microsoft Word Fix

In Microsoft Word, Ctrl+Shift+V does not work. Instead, you will need to use a special option in the ribbon menu. To do so, switch to the Home tab and click Paste, then select the icon that looks like a clipboard with an “A” on it (Keep Text Only) which will paste without formatting. Refer to the below image:

Word Shortcut 1
Selecting the Keep Text Only option

You can also change the default behavior in Word to always paste without formatting. To do so, navigate to

File > Options

In the Options menu that opens, click Advanced in the sidebar, then choose Keep Text Only in the Cut, Copy, and Paste drop-down menus. This way, you can make Ctrl+V always paste as Keep Text Only in Word. See the below image:

Word Shortcut 2
Selecting the Keep Text Only option for Pasting within the same document

Quote For the Day

Our business is about technology, yes.But its also about operations and customer relationships.

Michael Dell

Tweet Info

That’s it. Please feel free to share this post! One way to share is via Twitter.

Just click the Tweet icon below. This will launch Twitter where you click its icon to post the Tweet.

Checkout TechSavvy.Life for blog posts on smartphones, PCs, and Macs! You may email us at contact@techsavvy.life for comments or questions.

I Would Like to Hear From You

Please feel free to leave a comment. I would love to hear from you. Do you have a computer or smart device tech question? I will do my best to answer your inquiry. Just send an email to contact@techsavvy.life. Please mention the device, app, and version you are using. To help us out, you can send screenshots of your data related to your question.

Author’s E-Book

You can access the e-book from a Kindle device, the Kindle App for the desktop or smartphone, which is a free app.

The author’s Vietnam eBook on the Battle for Tra Bong Vietnam: Events and Aftermath

How to Make Text Shortcuts on iPhone

Typing things out on an iPhone keyboard can be tiresome, but it does not have to be that way for everything. You can make custom text shortcuts to automatically be replaced with longer words or phrases. It’s a super handy feature.

RAYMOND OGLESBY @RaymondOglesby2
August 9, 2022

Typing things out on an iPhone keyboard can be tiresome, but it does not have to be that way for everything. You can make custom text shortcuts to automatically be replaced with longer words or phrases. It’s a super handy feature. Let’s explore how to set up text shortcuts.

This is for the iPhone. Screenshots are from iPhone XR running iOS 15.6+

Dilbert and Fired
Copyright Scott Adams, Inc./Distributed by Universal Uclick for UFS

There’s a lot you can do with the iPhone’s Text Replacement feature. One example is included on every iPhone by default; omw is automatically replaced with On my way. You can use that same idea for anything. All you need is a shortcut and a phrase to go with it.

Note: The Text Replacement feature only works with the default iPhone keyboard, not third-party keyboards from the App Store.

First, open the Settings app on your iPhone (this is also available on iPad). Refer to the below image:

Text 1
Selecting the Settings app

Next, go to the General section. See the below image:

Text 2
Selecting the General option

Now, select the Keyboard settings. See the following image:

Text 3
Selecting the Keyboard option

Next, go to Text Replacement. Refer to the below image:

Text 4
Selecting the Text Replacement option

Now, tap the “+” icon in the top right-hand corner. See the below image:

Text 5
Selecting the add icon

Next, enter a Phrase and a Shortcut. The Phrase will replace the Shortcut. Tap Save when you are done. See the following image:

Text 6
Entering a Phrase and Shortcut

Now, your shortcut will be added. Refer to the below image:

Text 7
Your added shortcut

Next, you are ready to use it! We are using the Notes app for our example. Simply type the shortcut and you will see the full phrase appear above the keyboard. You can tap the phrase to insert it or continue typing by tapping the spacebar or return and it will automatically be inserted. Tap Done to finish in the Notes app. See the below image:

Text 8
Using your new text shortcut

This is a great time-saving feature for typing out longer phrases. One handy tip is to use your name as a shortcut for your entire address.

Quote For the Day

Technology should improve your life… not become your life.

Billy Cox

Tweet Info

You are finished. Please feel free to share this post! One way to share is via Twitter.

Just click the Tweet icon below. This will launch Twitter where you click its icon to post the Tweet.

Checkout TechSavvy.Life for blog posts on smartphones, PCs, and Macs! You may email us at contact@techsavvy.life for comments or questions.

I Would Like to Hear From You

Please feel free to leave a comment. I would love to hear from you. Do you have a computer or smart device tech question? I will do my best to answer your inquiry. Just send an email to contact@techsavvy.life. Please mention the device, app, and version you are using. To help us out, you can send screenshots of your data related to your question.

Author’s E-book

You can access the e-book from a Kindle device, the Kindle App for the desktop or smartphone, which is a free app.

The author’s Vietnam eBook on the Battle for Tra Bong Vietnam: Events and Aftermath

How to Add an iPhone Contact to Your Home Screen

iPhones are awesome communication devices. So it makes sense that you would want to put the people you talk to the front and center.

Surprisingly, Apple does not make it clear that it’s even possible to do this. The functionality is buried in the powerful Shortcuts app.

RAYMOND OGLESBY @RaymondOglesby2
September 8, 2021

iPhones are awesome communication devices. So it makes sense that you would want to put the people you talk to the front and center.

Surprisingly, Apple does not make it clear that it’s even possible to do this. The functionality is buried in the powerful Shortcuts app. Let’s explore how this is done.

This is for the iPhone and iPad

Dilbert and Talking
Copyright Scott Adams, Inc./Distributed by Universal Uclick for UFS

There are basically two different actions that can be associated with contact Shortcuts. You can have the Shortcut give you the option of how you want to contact the person; Message, Call, FaceTime; or it can jump straight into one of those. We will be covering the first option.

Create the Shortcut

First, open the Shortcuts app on your iPhone or iPad. Refer to below image:

Shortcuts 1
Accessing your Shortcuts app

Next, go to All Shortcuts See below image:

Shortcuts 2
Find All Shortcuts

Now, switch to the Gallery tab in the bottom bar. See following image:

Shortcuts 3
Open the Gallery of Shortcuts

Add the Contact

Next, do a search for Contact, and select the Contact on Home Screen shortcut. Refer to below image:

Shortcuts 4
Search for a contact

Now, tap the Add Shortcut button. See below image:

Shortcuts 5
Add contact Shortcut

On the next screen is where you will select a person for the Shortcut. Tap the “+” button. See following image.

Shortcuts 6
Selecting to add a contact

Now, find the person you want to use for the Shortcut in your contacts list. Refer to below image:

Shortcuts 7
Locate a contact

Next, tap Done to finish. See below image:

Shortcuts 8
Finish the setup

View the Newly Added Shortcut

Now, go back to the My Shortcuts tab, and you will see the newly added Shortcut. Touch and hold to bring up some options. See following image:

Shortcuts 9
View your Shortcut

Next, select Details from the menu. Refer to below image:

Shortcuts 10
Accessing Details for the Shortcut

Add to Home Screen and Customize

Now, select Add to Home Screen. See below image:

Shortcuts 11
Add contact Shortcut to your Home screend

Next, tap the text to enter the name that you would see under the icon on the Home screen. See following image:

Shortcuts 12
Label the Shortcut icon

Now, select the icon to choose a photo for it or the other two options. Refer to below image:

Shortcuts 13
Select a photo for the contact

Next, once you are done customizing the icon, tap Add in the top right-hand corner. See below image:

Shortcuts 14
Finish customizing

Now, the icon will be added to your Home screen. When you tap it, a menu with communication choices will appear. Simply do this for all of your favorite people! See following image:

Shortcuts 15
Your Shortcut in action

Quote For the Day

It doesn’t matter how beautiful your theory is, it doesn’t matter how smart you are. If it doesn’t agree with experiment, it’s wrong.

Richard P Feynman

Pretty nifty feature. It’s like having a person on speed dial. Please feel free to share this post! One way to share is via Twitter.

Just click the Tweet icon below. This will launch Twitter where you click its icon to post the Tweet.

Check out TechSavvy.Life for blog posts on smartphones, PCs, and Macs! You may email us at contact@techsavvy.life for comments or questions.

I Would Like to Hear From You

Please feel free to leave a comment. I would love hearing from you. Do you have a computer or smart device tech question? I will do my best to answer your inquiry. Just send an email to contact@techsavvy.life. Please mention the device, app and version that you are using. To help us out, you can send screenshots of your data related to your question.

The author’s Vietnam eBook on the Battle for Tra Bong Vietnam: Events and Aftermath

How to Find and Install Third Party Shortcuts on iPhone and iPad

The Shortcuts app that comes pre-installed on iOS and iPadOS devices has proven to be incredibly useful especially with the release of iOS & iPadOS 14. There are so many things that you can do now with the Shortcuts app, Although you have access to a set of suggested shortcuts, you are not limited to using those alone. In fact, third-party shortcuts created by the community can be installed on your device too.

The Shortcuts app that comes pre-installed on iOS and iPadOS devices has proven to be incredibly useful especially with the release of iOS & iPadOS 14. There are so many things that you can do now with the Shortcuts app, Although you have access to a set of suggested shortcuts, you are not limited to using those alone. In fact, third-party shortcuts created by the community can be installed on your device too. Let’s explore how to do this.

This is for the iPhone and iPad

Dilbert and Zoom
Copyright Scott Adams, Inc./Distributed by Universal Uclick for UFS

There are several shortcuts websites to chose from. We will be focused on using the Shortcuts Gallery, one of the largest repositories of shortcuts. It includes proper descriptions, steps, and download links. Shortcuts are also sorted by category, so it’s easy to find what you want.

Enable Untrusted Shortcuts

Before you can start installing third-party shortcuts, you have to enable the feature. By default, shortcuts downloaded from the web are blocked because they have not been verified by Apple.

First, tap your Settings app on your iPhone or iPad. Refer to below image:

hortcuts 1
Accessing Settings

Next, scroll down and tap Shortcuts. See below image:

Shortcuts 2
Accessing Shortcuts

Now, toggle to On the Untrusted Shortcuts option. (Note! If you see a message saying you must first run a shortcut, then download a Shortcut from your Shortcut app and run it.) See following image:

Shortcuts 3
Enabling Untrusted Shortcuts

Next, in the pop-up message that appears, tap Allow. Refer to below image:

Shortcuts 4
Allow Untrusted Shortcuts

Next, enter your device’s passcode to verify that you own this iPhone or iPad. See below image:

Shortcuts 5
Entering your Passcode

You are ready to go to install third-party shortcuts.

Install Third-Party Shortcuts

 In our example, we will install the Clipboard shortcut from the Shortcuts Gallery website. Open the website in your browser on your iPhone or iPad. Now, tap the shortcut you want to download. See following image:

Shortcuts 6
Finding a Shortcut

Next, tap the Get Shortcut button. Refer to below image:

Shortcuts 7
Get the chosen Shortcut

Now, the shortcut in the Shortcuts app will open. Scroll to the bottom, and then tap Add Untrusted Shortcut. See below image:

Shortcuts 8
Adding the Untrusted Shortcut

Your new shortcut will be at the top of the list in your My Shortcuts. Just tap it to start using it. See following image:

Shortcuts 9
Your newly added Shortcut

After you have downloaded more shortcuts, you can organize them in folders. This will make it easier to launch them from an iPhone Home screen Widget.

Quote For the Day

We cannot solve our problems with the same thinking we used when we created them.

Albert Einstein

That’s it. Please feel free to share this post! One way to share is via Twitter.

Just click the Tweet icon below. This will launch Twitter where you click its icon to post the Tweet.

Check out TechSavvy.Life for blog posts on smartphones, PCs, and Macs! You may email us at contact@techsavvy.life for comments or questions.

I Would Like to Hear From You

Please feel free to leave a comment. I would love hearing from you. Do you have a computer or smart device tech question? I will do my best to answer your inquiry. Just send an email to contact@techsavvy.life. Please mention the device, app and version that you are using. To help us out, you can send screenshots of your data related to your question.

The author’s Vietnam eBook on the Battle for Tra Bong: Events and Aftermath