

Congratulations! You are reading my 100th WordPress blog post. Thank you for reading and even sharing. I started blogging after Thanksgiving 2019. It has been a fun learning experience about smart devices and Windows. Please keep reading and leaving comments and/or Tweets.
By default, Windows 10 displays checkboxes whenever you select a file. This was designed for easy file management on a touch screen. You might prefer the classic approach without the checkboxes. Let’s explore how to enable/disable this feature using two methods.
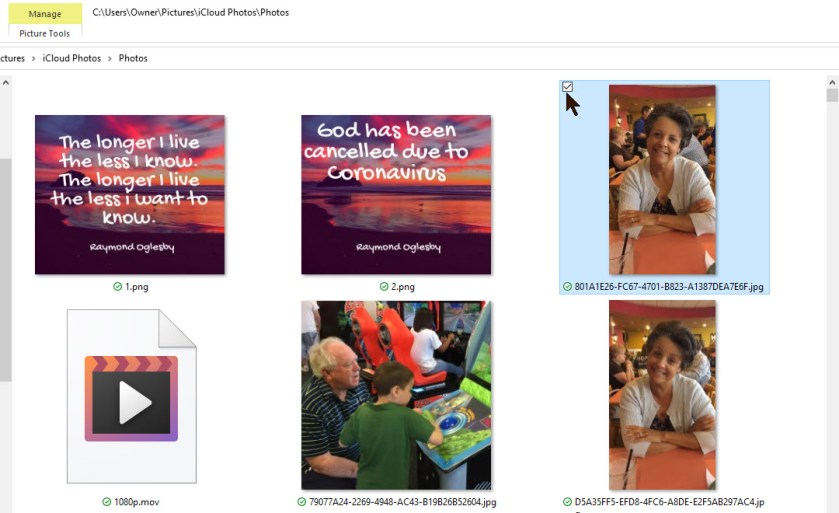
When enabled, a small square appears beside each file icon, thumbnail or file name. They appear in every File Explorer layout mode.
This feature first appeared in Vista and became enabled by default in Windows 8.
This is for Windows 10 operating system

This is my 100th blog post. Click to tweet on how you like TechSavvy.Life!
Tweet
Access File Explorer
First, open File Explorer by pressing Windows + E or click the pinned File Explorer folder icon in your Taskbar. You may also click Start to locate the File Explorer. Refer to below image:
Method 1: Enable/Disable Checkboxes
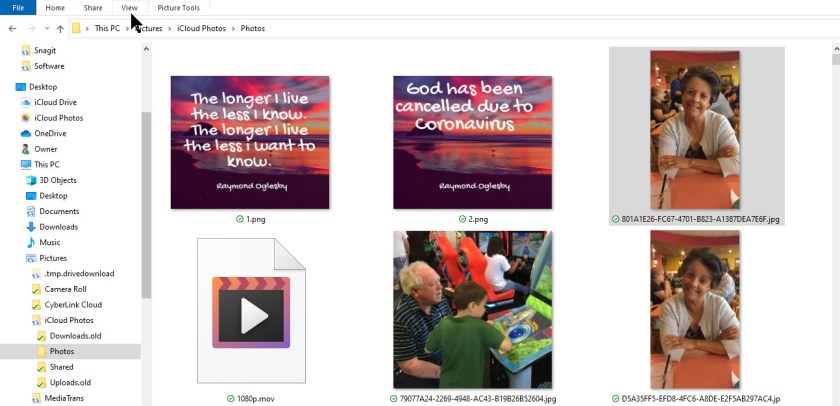
Once there, in the ribbon tab, click the View tab. See below image:
Locate the option Item check boxes. Toggle the box to show or hide checkboxes. Your change is immediately applied. Refer to below image:

Method 2: The Folder Options
Access the File Explorer as mentioned above and click on the View tab.
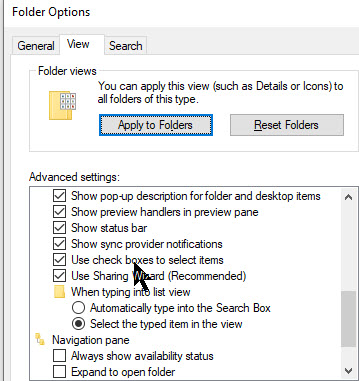
Next, click the Options button and select Change folder and search options to open the Folder options window. Now, select the View tab
Scroll down the list till you see Use check boxes to select items. Toggle the box to show or hide checkboxes. Click Apply to save your choice, then click OK. See following image:
This is my 100th blog post. Click to tweet if you find TechSavvy.Life blog posts extremely helpful. Check them out for posts on smart phone apps, Macs and PCs!
Tweet
I Would Like to Hear From You
Please feel free to leave a comment. I would love hearing from you. Do you have a computer or smart device tech question? I will do my best to answer your inquiry. Please mention the device, app and version that you are using. To help us out, you can send screenshots of your data related to your question.
