RAYMOND OGLESBY @RaymondOglesby2
August 11, 2021
The Reminders app has seen significant improvements with iOS 13 and iOS 14. Earlier it was a simple application with basic functionalities. Now, Reminders is laden with robust features that let you add subtasks, images, and more! iOS 14.5 even lets you print reminders and sort them accordingly. Let’s explore some basic features.
This is for iPhone and iPad

Before You Begin: Make sure iCloud Reminders are set up so that everything syncs across all your Apple devices.
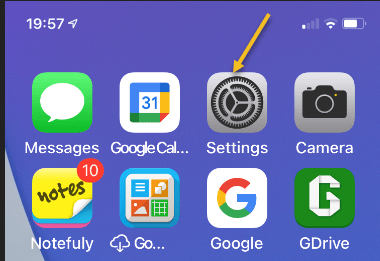
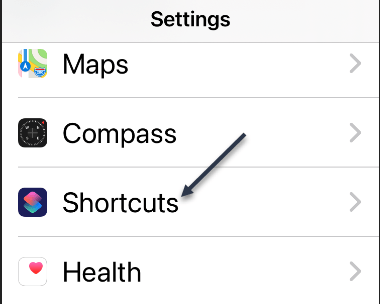
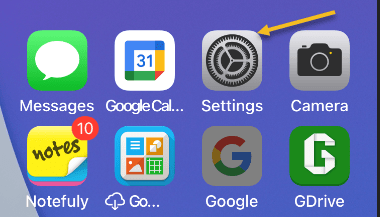
On iPhone and iPad: Open:
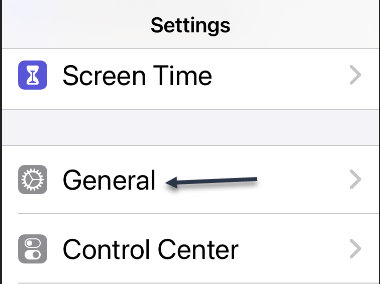
Settings app → your name from the top → iCloud
and make sure the switch for Reminders is turned ON.
Add a List
First, open your Reminders app or use Spotlight Search (your very first screen) to locate it and open. Next, tap the Add List blue link in lower right-hand corner. Refer to below image:

Now, give the list a name and tap Done. See below image:

Add a Reminder
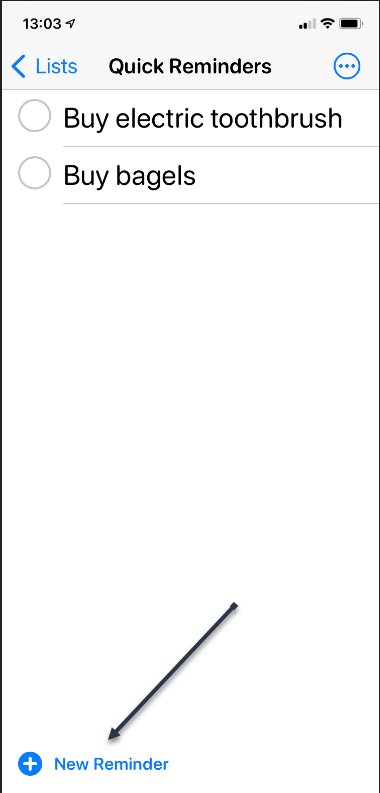
First, tap the New Reminder blue link at the bottom or tap a blank area on your screen and enter your reminder text. See following image:
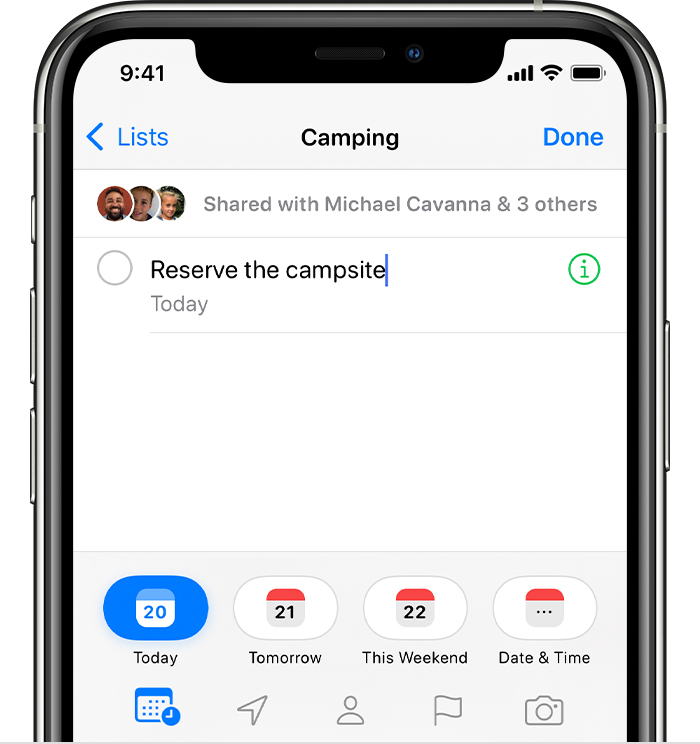
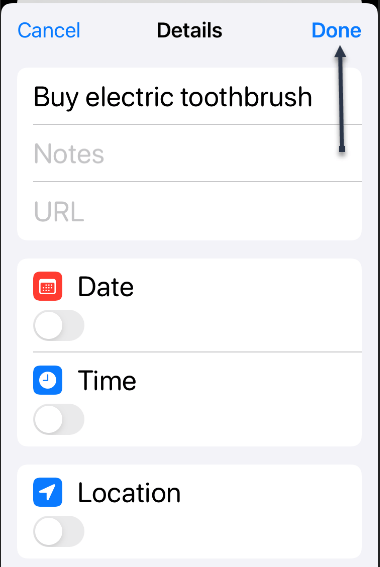
Next, tap the Reminder, then tap the Info Circle icon to set your optional Details for the reminder. Refer to below image:

Now, after you have set your optional details like Date, Time, Location, and more, tap Done. See below image:
Delete a Reminder
Tap the circle next to the reminder text and tap Done. A unique way to do this is just tap the circle, wait a moment, and your Reminder disappears. See following image:

View Your Reminders
Tap your Reminders icon, then tap your newly created list to view your Reminders. Refer to below image:

Quote For the Day
There is a cult of ignorance in the United States, and there has always been. The strain of anti-intellectualism has been a constant thread winding its way through our political and cultural life, nurtured by the false notion that democracy means that my ignorance is just as good as your knowledge.
Isaac Asimov
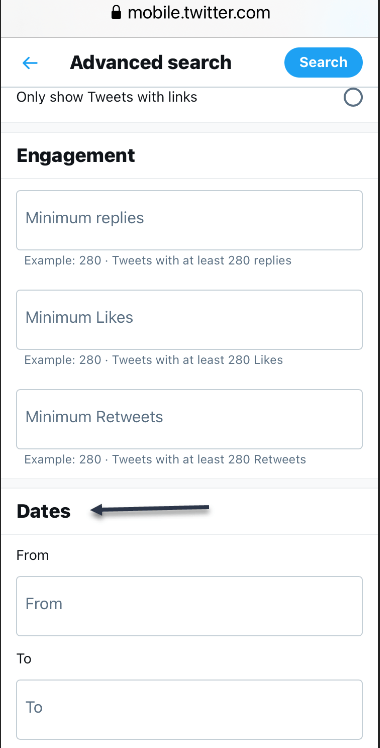
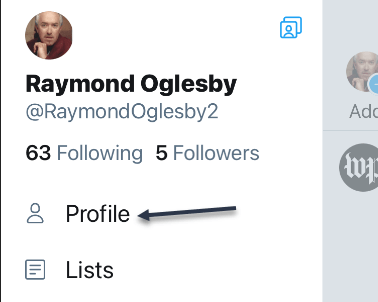
You are finished. Please feel free to share this post! One way to share is via Twitter.
Just click the Tweet icon below. This will launch Twitter where you click its icon to post the Tweet.
Check out TechSavvy.Life for blog posts on smartphones, PCs, and Macs! You may email us at contact@techsavvy.life for comments or questions.
Tweet
I Would Like to Hear From You
Please feel free to leave a comment. I would love hearing from you. Do you have a computer or smart device tech question? I will do my best to answer your inquiry. Just send an email to contact@techsavvy.life. Please mention the device, app and version that you are using. To help us out, you can send screenshots of your data related to your question.