Starting with iOS 14, you can choose whether to place downloaded apps either on the Home Screen or in the App Library on your iPhone. The latter option can help you keep the Home Screen uncluttered. Let’s explore how this is done.
This is for the iPhone running iOS 14

To Tweet about this post, click the Tweet icon below to launch Twitter, then click its Tweet icon to post.
Check out TechSavvy.Life for their blog posts on smartphone apps, PCs. and Macs!
Tweet
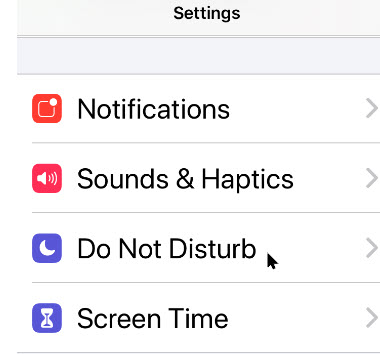
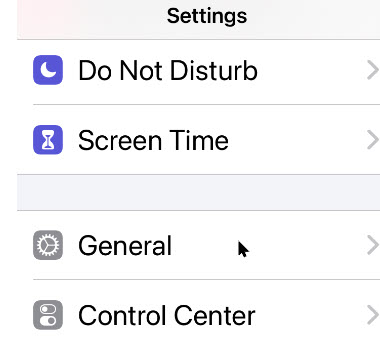
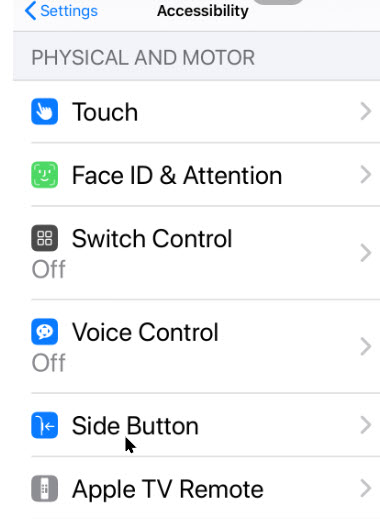
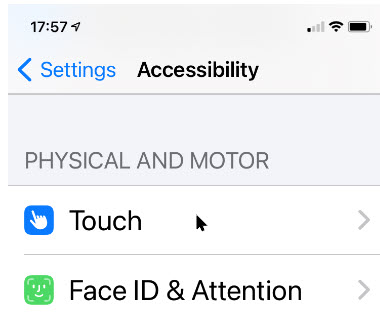
First, launch Settings (the gear icon). Refer to below image:

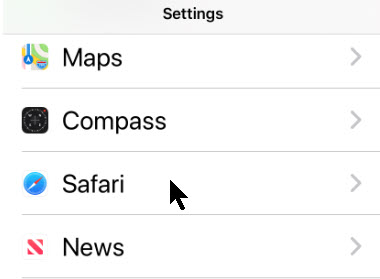
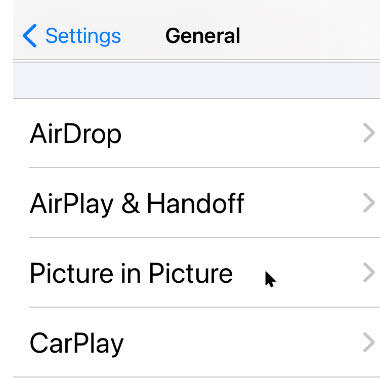
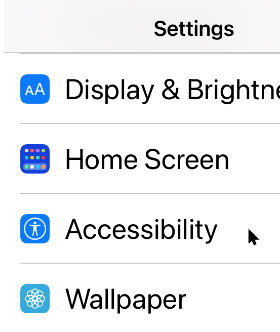
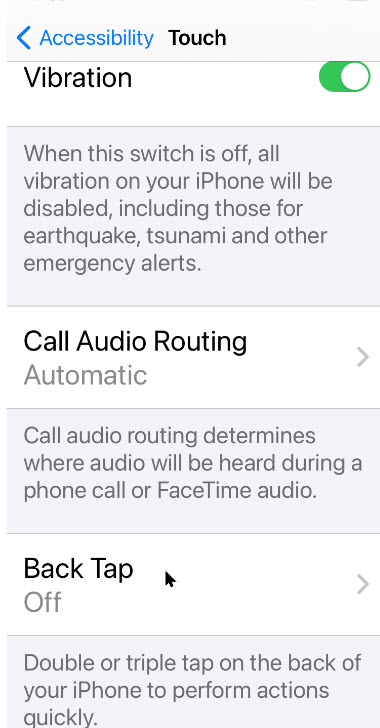
Now, scroll down to the Home Screen option and tap it. See below image;

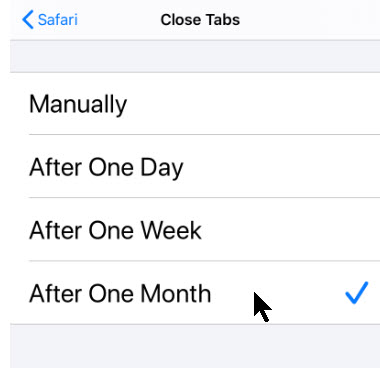
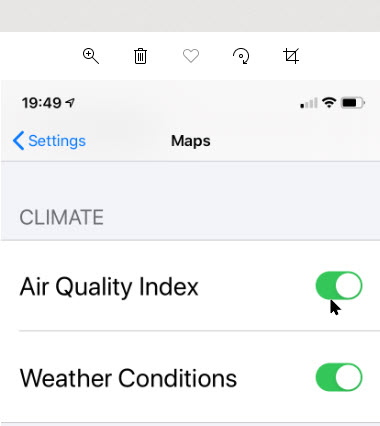
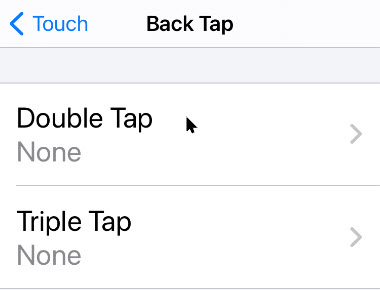
Locate the Newly Downloaded Apps section. There, you will find the two choices:
Add to Home Screen – If you want new apps you download to appear on the Home Screen (the default behavior prior to iOS 14). Apps will also appear in the App Library.
App Library Only – If you want new apps to appear only in the App Library. You can get to the App Library by swiping right through all of your Home Screen pages or swiping on the Dots Bar at bottom of your screen.
Regardless of what method you chose, your new app will appear in the App Library.
It appears that Apple is wanting to move away from the outdated Home Screen page(s) to the new App Library feature.
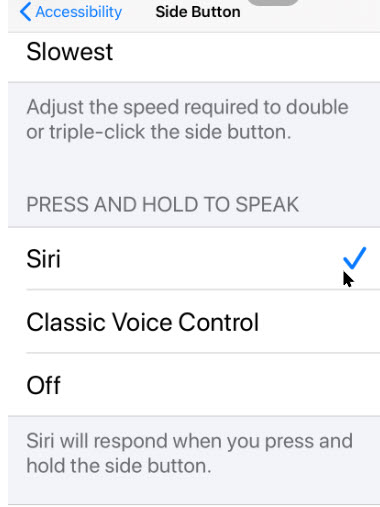
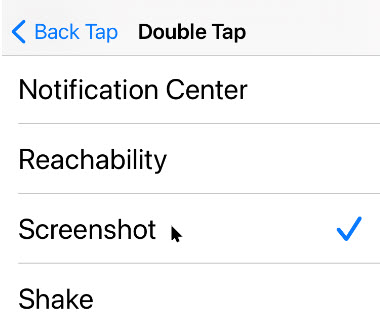
See following image:
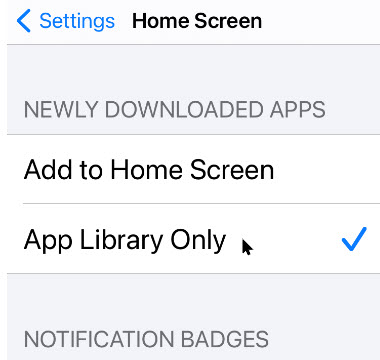
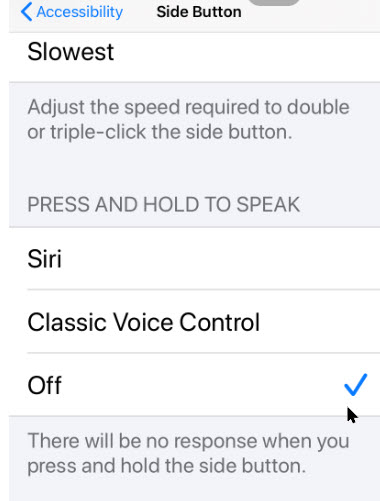
After you have made your selection, a checkmark will appear beside your choice.
Tap Settings and make sure your change has been saved. From now on, whenever you download a new app, it will appear in the location you have chosen.
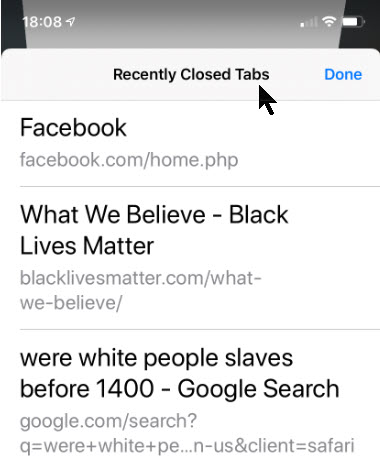
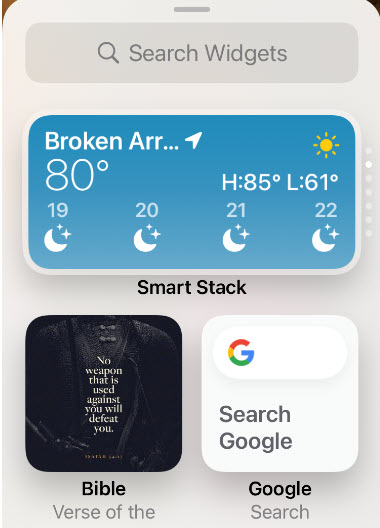
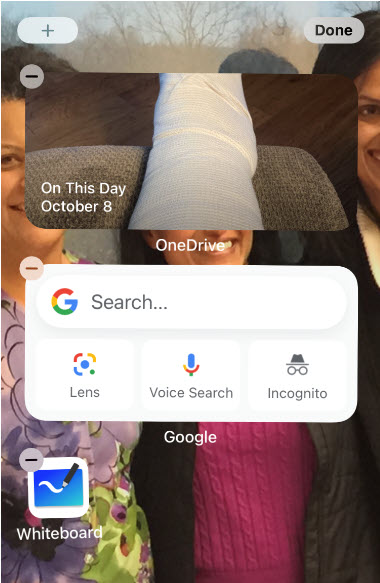
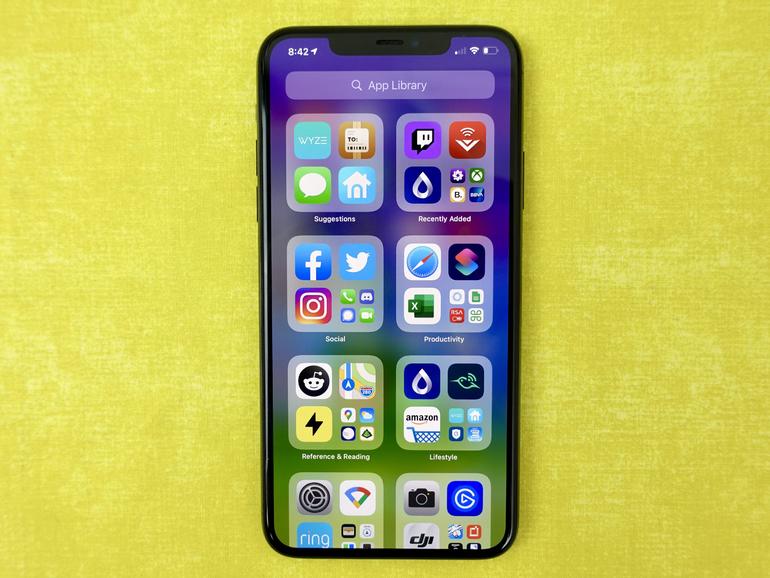
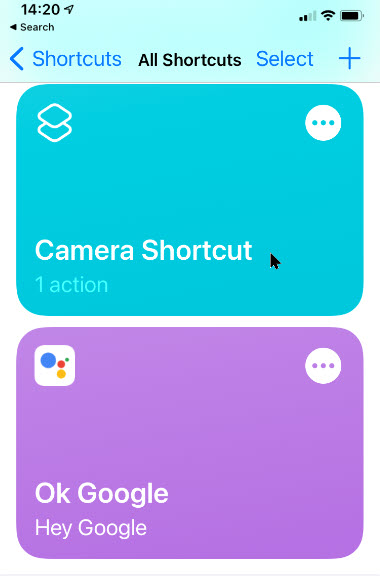
If you have chosen App Library Only, you can find your new apps in the Recently Added section of the App Library. Refer to below image:

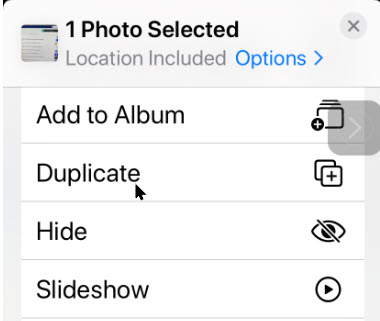
To move an app from the App Library to the Home Screen, simply hold and press down its icon, then tap Add to Home Screen in the menu that appears.
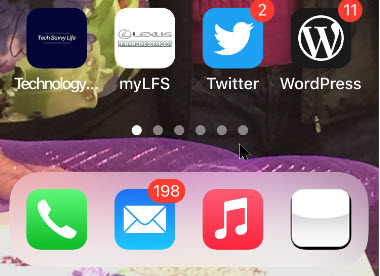
If you have chosen Add to Home Screen, newly downloaded apps will appear in the first blank spot on one of your Home Screen pages.
Related
How to Move iPhone Apps From App Library to Home Screen in iOS 14
You can also move apps from the Home Screen to the App Library. To do so, just tap and hold a blank area of the Home Screen until the icons start to jiggle. Next, tap the app you want to move. Next, tap Remove App, then tap Move to App Library.
Related
How to Move iPhone Apps From Home Screen to App Lonrary in iOS 14
That’s it. I find the new App Library feature clunky and cumbersome to use. For now, you are unable to create new groupings or move apps between groupings. Apple has more work to do to make the App Library an easy to use feature.
I hope you have found this post helpful. If so, click the Tweet icon below. This will launch Twitter where you click its icon to post the Tweet.
I have found TechSavvy.Life blog posts extremely helpful. Check them out for posts on smart phone apps, Macs and PCs!
Tweet
The following is a previous Twitter feed so you can view how a Tweet will be displayed.
I Would Like to Hear From You
Please feel free to leave a comment. I would love hearing from you. Do you have a computer or smart device tech question? I will do my best to answer your inquiry. Please mention the device, app and version that you are using. To help us out, you can send screenshots of your data related to your question.