With iOS 12 or later, or iPadOS, you can have your device automatically download and install updates overnight while it is charging. There is a single automatic updates toggle to turn on which is not enabled by default.
But what if you just wanted to download the updates but did not want to install them right away? You would have to dismiss the prompts and reminders for updates on an almost daily basis. This can be quite annoying.
Fast forward to iOS 13.6, or iPadOS. You can now choose not to install software updates automatically. There is now a second toggle just for installing the update. Let’s explore this feature.
This is for the iPhone and iPad

Check out TechSavvy.Life for their blog posts on smartphone apps, PCs. and Macs!
Tweet
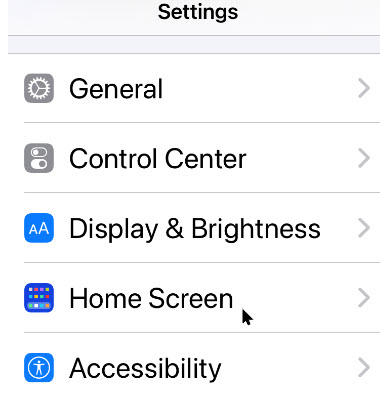
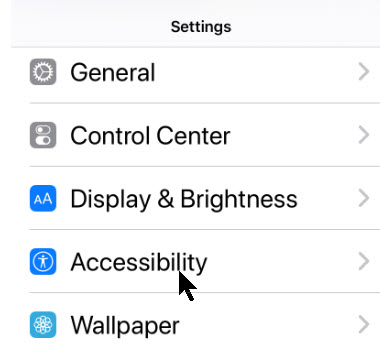
First, open the Settings app on your iPhone or iPad and then go to the General section. Refer to below image:

Next, chose the Software Update option. See below image:

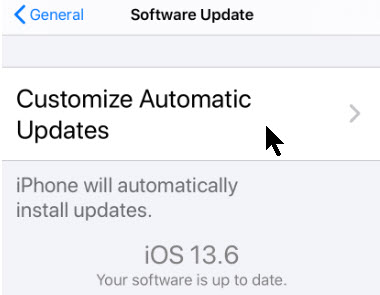
Next, tap the Customize Automatic Updates option. See following image:
Now, tap the toggle Download iOS/iPadOS Updates option. Refer to below image:

A new toggle labeled Install iOS/iPadOS Updates will appear. If you want to automatically install iOS, or iPadOS, updates overnight, tap the toggle to enable the feature. In our example, we have set the second toggle to off, meaning we will install the updates at our convenience. See below image:

Even if you do enable the feature, you will still get a notification before the updates are installed overnight (just like before iOS 13.6, or iPadOS).
Now, you can have the best of both worlds. New iOS and iPadOS updates will always be downloaded and ready to go. Simply navigate to the Software Update section and install them whenever you are ready (without waiting to download them first).
If you do not want to enable automatic updates, you can still update your iPhone or iPad whenever you want.
I have found TechSavvy.Life blog posts extremely helpful. Check them out for posts on smart phone apps, Macs and PCs!
Tweet
I Would Like to Hear From You
Please feel free to leave a comment. I would love hearing from you. Do you have a computer or smart device tech question? I will do my best to answer your inquiry. Please mention the device, app and version that you are using. To help us out, you can send screenshots of your data related to your question.