Normally, we chose an adjacent range of cells with headers for printing in Excel. However, there are occasions we want to print nonadjacent cell ranges. There are some of us who didn’t realize you could do this in a single print area. Let’s see how this is done.
This is for Excel for Office 365 Windows and Mac versions. Other versions of Excel will be similar.
First Method of Selecting Cells
One method is holding down the “Cntl” key while selecting the range of cells you want in your Print Area.
- Select your first range of cells
- Press and hold the “Cntl” key
- Select additional ranges of cells
- Release the “Cntl” key
- Click the Page Layout tab
- Click Print Area
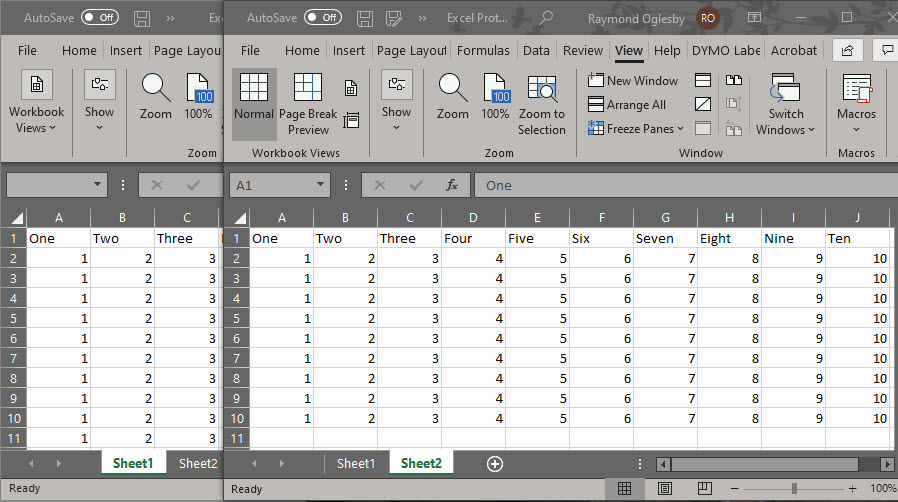
- Click Set Print Area. See following image for my selection of nonadjacent cells in Print Area:
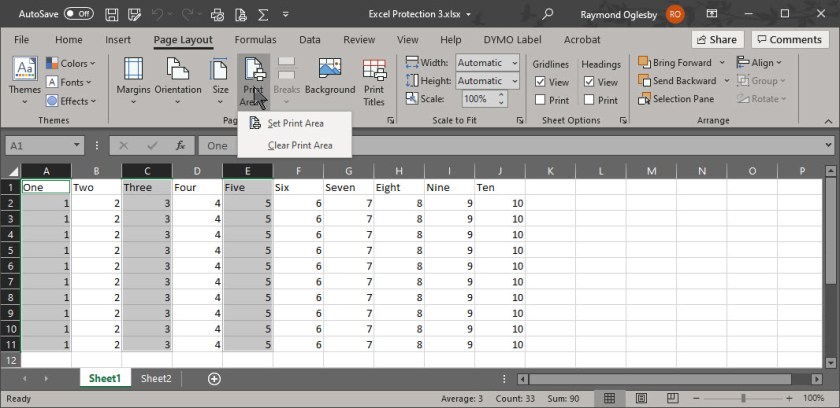
Please note that each range you selected will print on a separate page in the same order that you selected regardless of cells location. Also, your current page settings will apply to all your pages. For example, you are unable to mix Landscape and Portrait printing.
Second Method of Selecting Cells
Another method is adding nonadjacent cells to an existing Print Area.
- Select a range of cells you want to add to your Print Area
- Click the Page Layout tab
- Click Print Area
- Click Add to Print Area. Refer to below image:
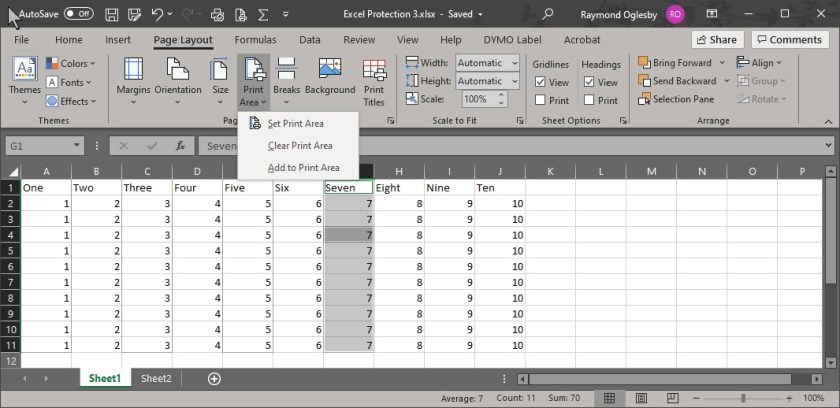
As with the first method, each range will print on a separate page in the order selected and with the same print settings.
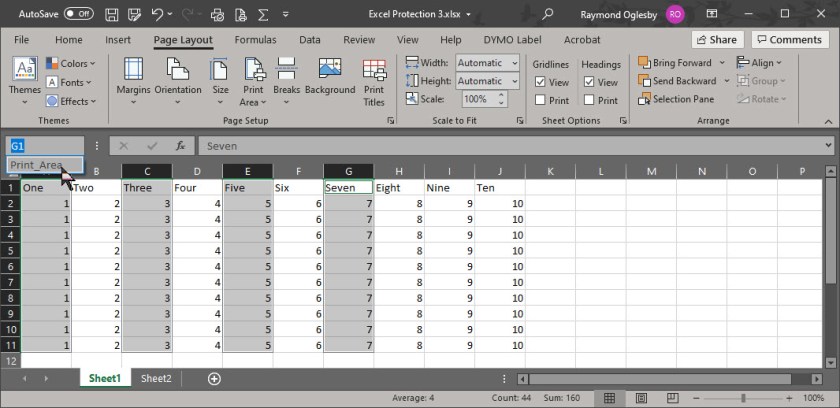
Locate the Print Area
In the Name box to the left of the Formula bar, click it’s drop down arrow and select Print_Area. See following image:
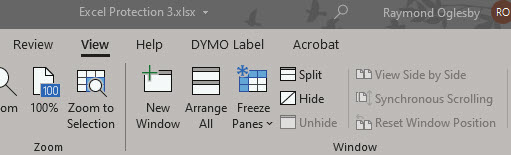
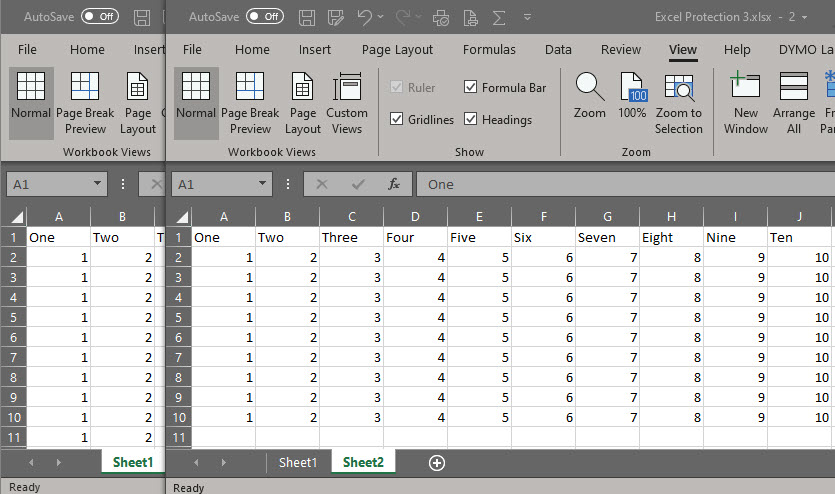
Alternatively, from the View tab, click Page Break Preview in the workbook Views group to see the Print Area.
Click Normal to return to default Excel view.
Two Methods on Printing Your Ranges
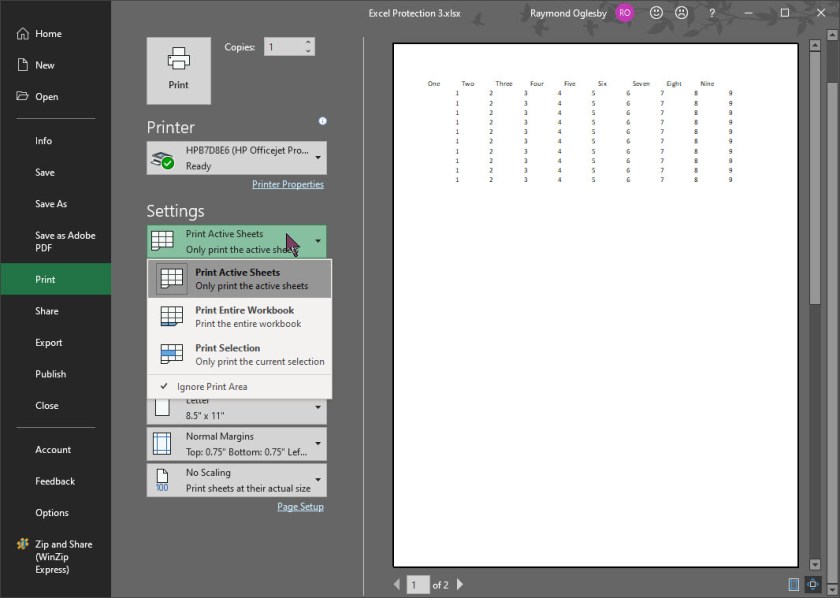
You may not want each nonadjacent cell range printed on a separate page. You have two options:
- Move the cell ranges adjacent to each other and reset your Print Area
- Before printing, select the option to Ignore Print Area. The Active Sheet is now ready for printing. Your Print Area is still saved, you are just ignoring it. Refer to following image:
I Would Like to Hear from You
Please feel free to leave a comment. I would love hearing from you. Do you have a computer or smart device tech question? I will do my best to answer your inquiry. Please mention the device, app and version that you are using. To help us out, you can send screenshots of your data related to your question.