There is a good chance you will see a “COVID-19 Exposure Notifications Are Available” pop-up on your iPhone sometime soon; if you have not already seen it. Apple and Google launched this feature in May 2020 for the iPhone.
This is for the iPhone

The contact-tracing feature is dependent on apps from your local health authority that take advantage of it. In the USA, this means your state government generally has to roll out its own contact-tracing app. Not all state governments have done this yet.
You will see this notification when your local health authority rolls out its app if it has not already done so. If you travel between states or countries, you may see the notification when you arrive in a location that has such an app, too.
Contact-tracing is not enabled by default, and it does not do anything unless you choose to enable it. Also, it is just an API that your local public health authority; for example, your state government health agency; can use. If your local public health authority has not released an app that takes advantage of the API, there is no way to use it. Additionally, other people must be using the app for contact-tracing to work.
Turn On Exposure Notifications
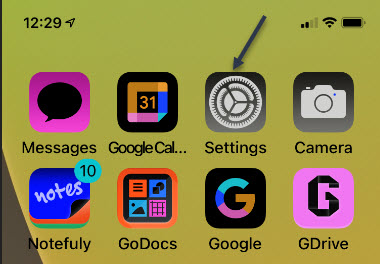
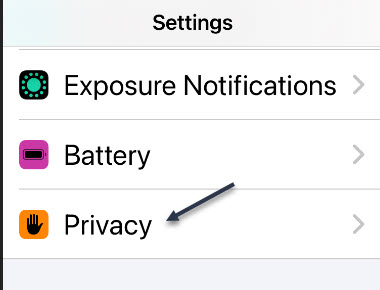
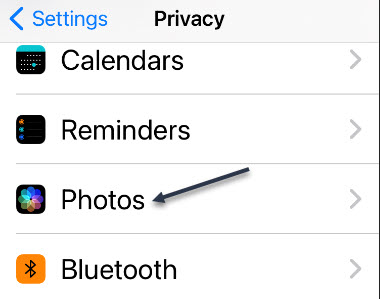
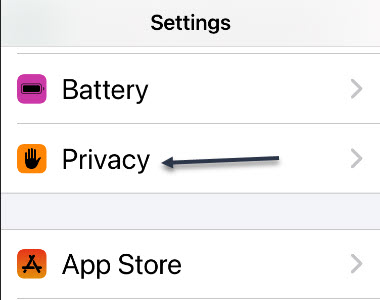
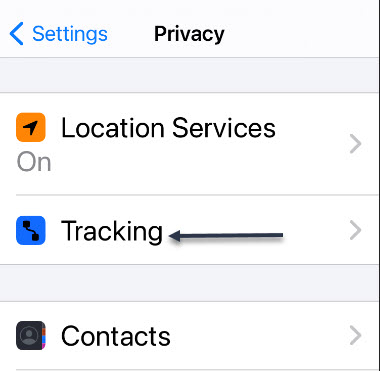
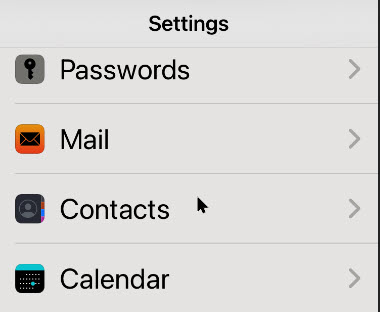
You can choose to activate exposure notifications through Settings. First, open Settings (the gear icon), scroll down and tap Exposure Notifications to enable it. Refer to below image:

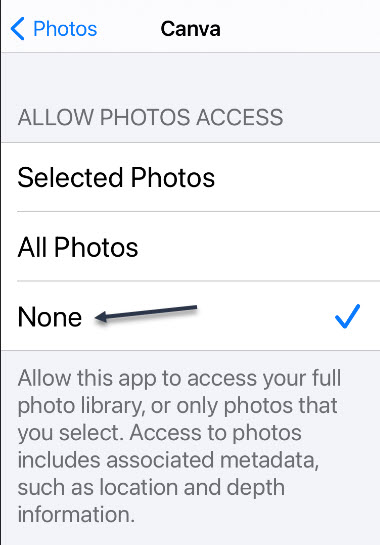
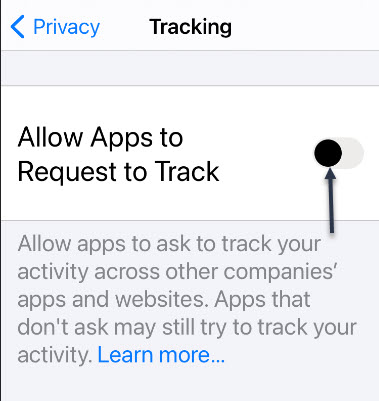
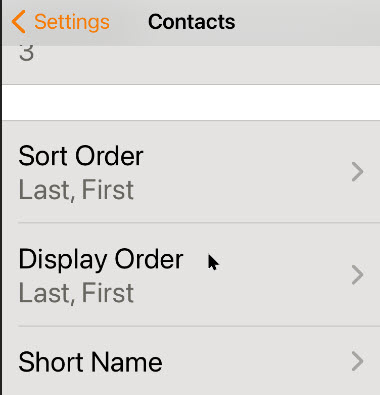
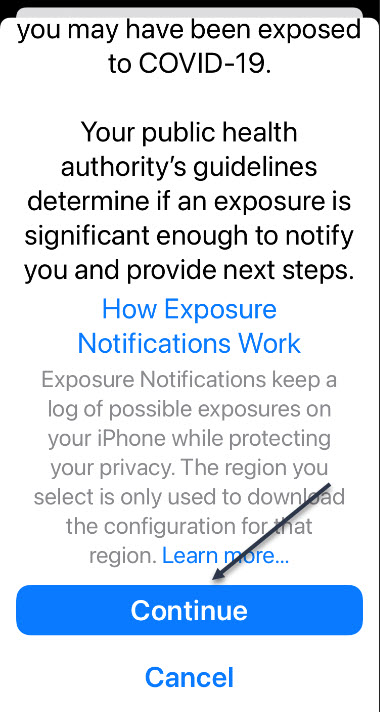
Now, tap on the Turn On Exposure Notifications link. Also, enable the toggle Availability Alerts to On. See below image:

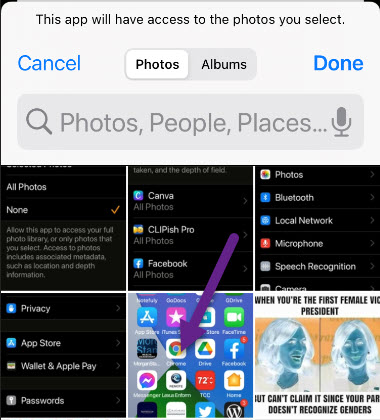
If you want the notifications, scroll down and tap Continue and you will be prompted to install the app from your local public health authority, if not already installed. See following two images:

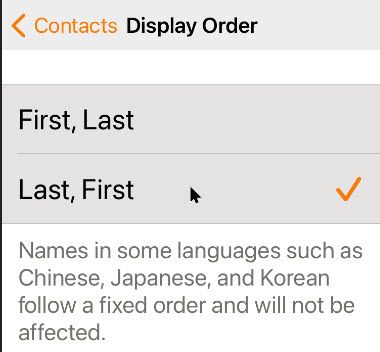
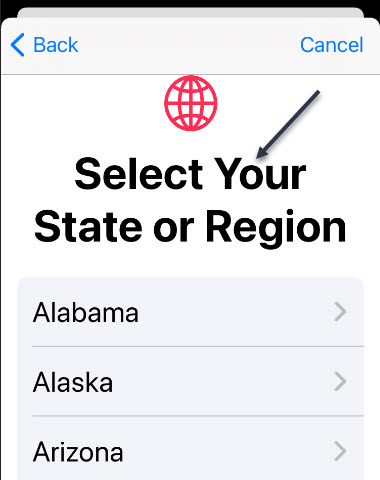
Next, scroll and select your your Country. See below image:

Now, scroll and select your your State (for USA). See following image:
You will be shown a screen whether Exposure Notifications is available or not. In our case, we selected our state, Oklahoma, where Exposure Notifications is NOT available. Next, click Done. Refer to below image:

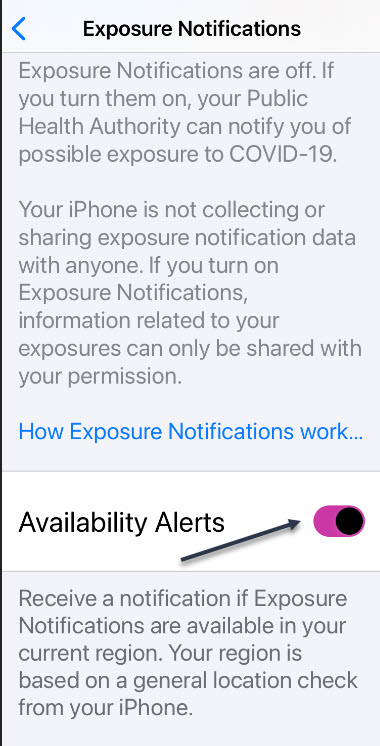
Turn Off Exposure Notifications
If you do not want to see availability alerts when a COVID-19 tracking app is available in your area, head to
Settings > Exposure Notifications
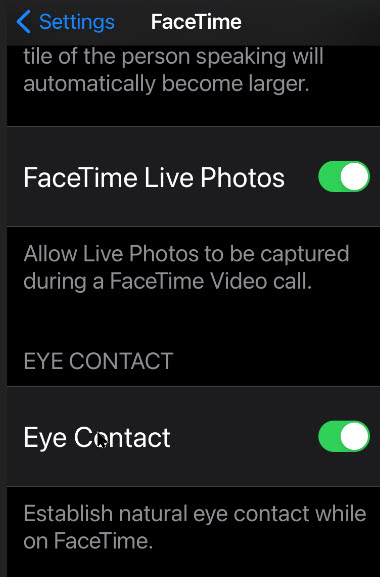
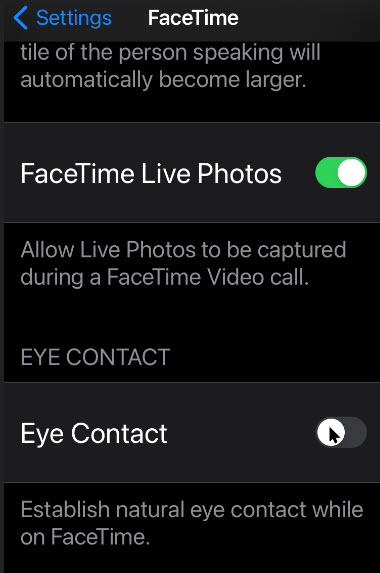
And switch the Availability Alerts toggle to Off. See below image:
Now, exit Settings. You are finished. Please feel free to share this post! One way to share is via Twitter.
Just click the Tweet icon below. This will launch Twitter where you click its icon to post the Tweet.
Check our TechSavvy.Life for blog posts on smartphones, PCs, and Macs! You may email us at contact@techsavvy.life for comments or questions.
Tweet
I Would Like to Hear From You
Please feel free to leave a comment. I would love hearing from you. Do you have a computer or smart device tech question? I will do my best to answer your inquiry. Just send an email to contact@techsavvy.life. Please mention the device, app and version that you are using. To help us out, you can send screenshots of your data related to your question.