Sounds Almighty? God Mode is a special option long available in Windows that gives you quick access to most of the applets and commands from Control Panel. As such, God Mode is a useful time-saver that can spare you from having to hunt through different windows and screens to find the Control Panel command you want.
Since Microsoft no longer offers a convenient shortcut for Control Panel in Windows 10, God Mode can be a fast and easy way to access all of its core commands.
First, lets make sure you’re signed in to your Windows 10 computer with an account that has administrative privileges. By default, your own account should have the necessary rights.
This is for Windows 10 operating system
Checking Administrator Rights
To double-check:
- Type Settings in the Cortana search bar
- Click on Settings at the top of screen
- Select Accounts
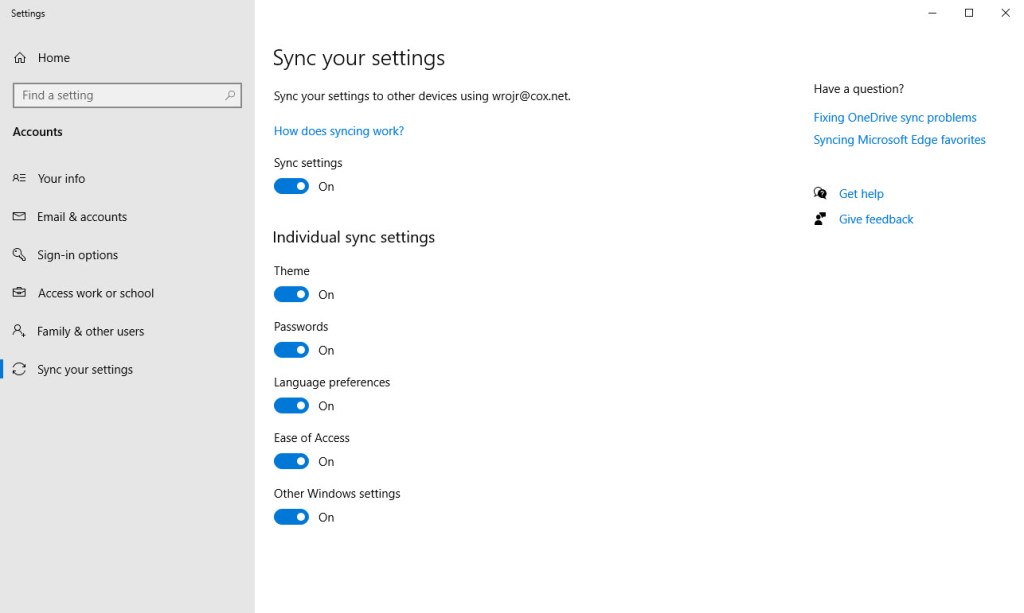
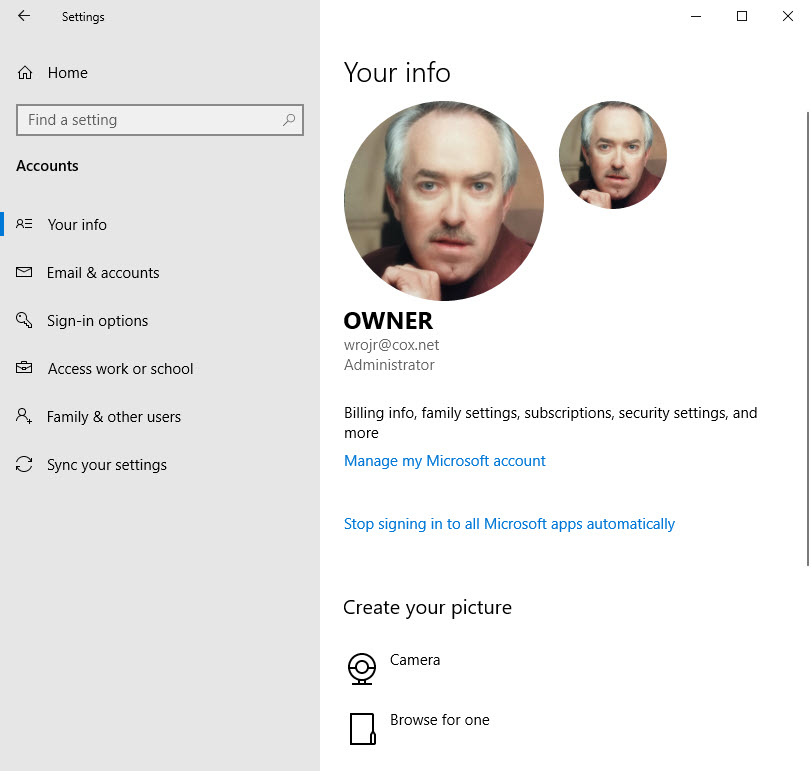
- Select Your Info to make sure your account is designated as Administrator. See the below example:
Setup Folder Shortcut
- Right click on an empty area of your Desktop/Laptop
- Select New
- Select Folder
- Right click on the New folder and rename it to “GodMode.{ED7BA470-8E54-465E-825C-99712043E01C}” without the quotes. Its best to copy and past this key into the Rename field. Note! There is a period after the word GodMode. See below image for an example:

- Click or double click the icon to run
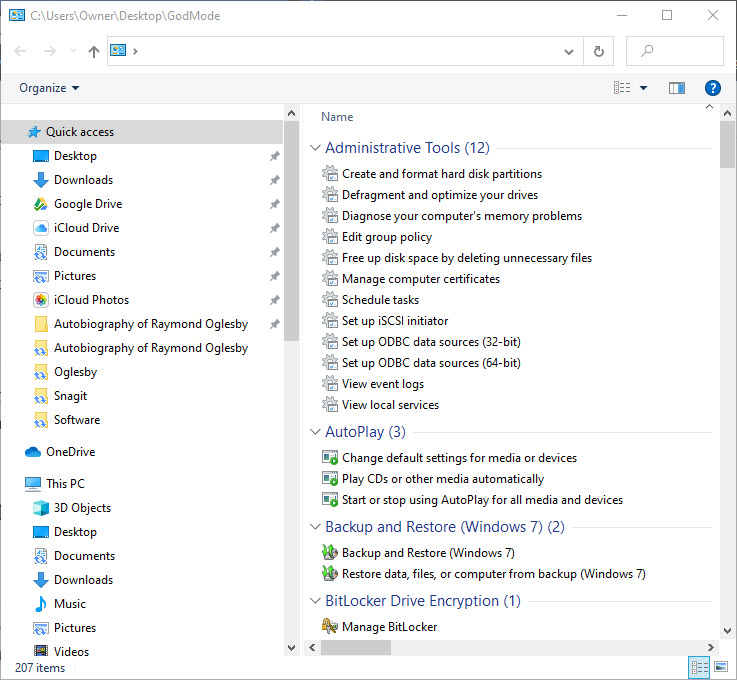
A window will open with all the accessible commands. The commands are organized by the Control Panel applet. You will see such commands as Administrative Tools, AutoPlay, Backup and Restore, and many more. See below screenshot for an example:
Some Tips
You can also Search for keywords using the Search box. Once you have located a command, double click to launch it. If you accidentally click the “X”next to the Search box, the Search will no longer be available.
Its best to leave the icon on the desktop. If you try to rename it, the God Mode may no longer work, especially in Windows 10.
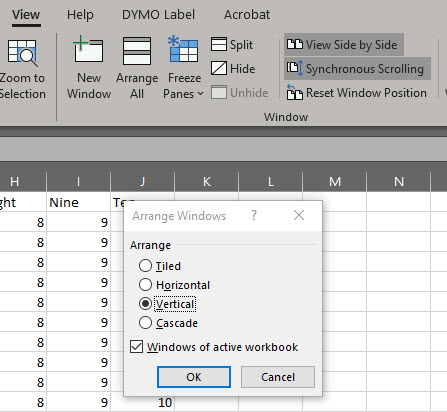
You can click the More options drop down box to present a different view of the listing. In the following example, I have chosen to list the commands with a small icon in front of the command description.
I Would Like to Hear from You
Please feel free to leave a comment. I would love hearing from you. Do you have a computer or smart device tech question? I will do my best to answer your inquiry. Please mention the device, app and version that you are using. To help us out, you can send screenshots of your data related to your question.