Storing important and or sensitive documents in Google Drive isn’t the most secure way to protect your data, but if you are, your iPhone and iPad can help keep everything safe. Let’s see how to protect this cloud storage mobile app using Face ID or Touch ID.
Your mobile device may already be setup to use Face ID or Touch ID. You may ask, why set this up for a particular app, the Google Drive? A friend may ask to see your device. What if they accessed your documents via Google Drive without your knowledge? There is nothing to stop them because you already unlocked your device. So, we are going to add another layer of protection. Of course, enabling two factor authentication for your Google account is the best way to keep prying eyes out of your cloud files.
Note! To follow this guide, you will need the Passcode for your device. The screenshots are for an iPhone.
This is for iPhone and iPad devices
Open Google Drive
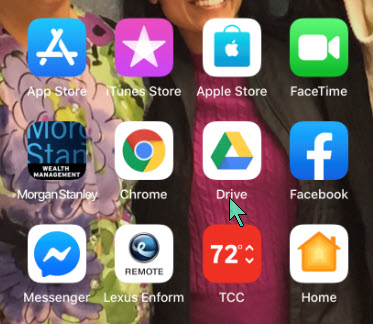
Start by opening the Google Drive app. Use Apple’s built-in Spotlight Search if you can’t find it on your Home screen. Refer to below image:
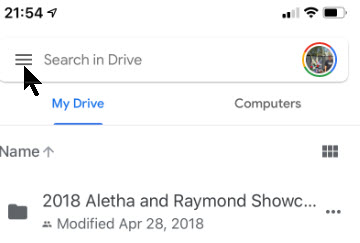
Next, tap the Hamburger icon in upper left of the screen. See following image:
Open the Settings
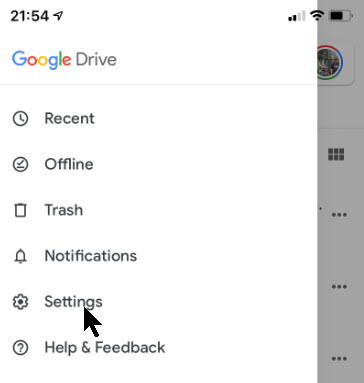
From the slide out menu that appears, select the Settings option. See below image:
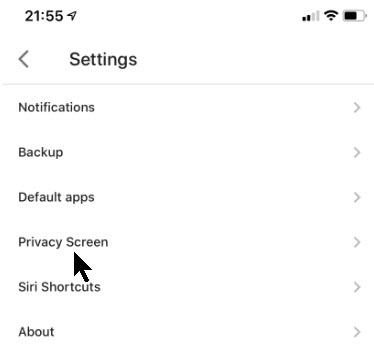
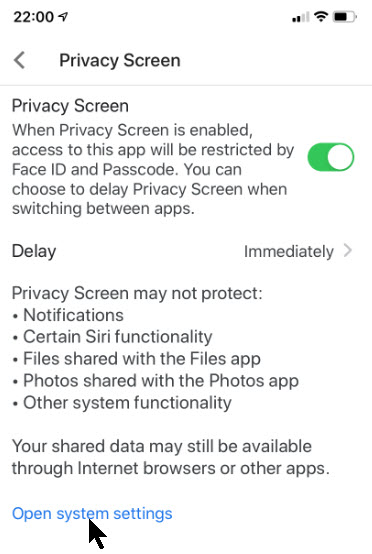
Next, tap on the Privacy Screen option. Refer to below image:
Set the Privacy Option
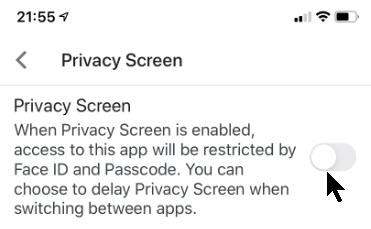
From here, toggle on the Privacy Screen option. See following image:
Allow Permission
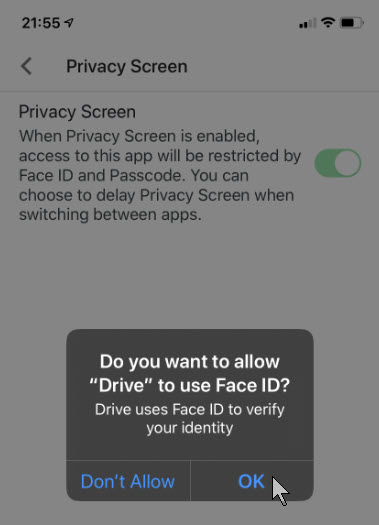
Now, your iPhone or iPad will display a pop-up box asking for permission to access Face ID or Touch ID. Tap the OK button to allow permission. Refer to below image:
The next time you exit and reopen Google Drive, you will be presented a screen for your face or fingerprint to access your cloud storage.
Now that the Privacy Screen setting is enabled, you will see several new options to customize the feature further.
Set Privacy Screen Delay
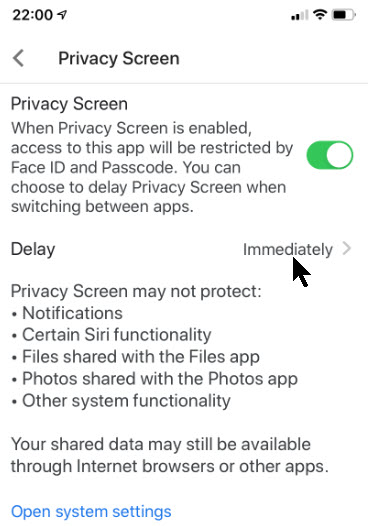
By default, the Privacy Screen feature locks the Drive app the moment you lock your iPhone’s or iPad’s display or leave the app. If you want to add a time delay, tap on the option that corresponds to the Delay listing. See below image:
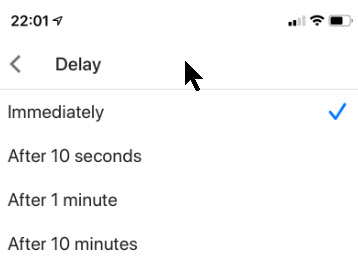
You have four options to choose from:
- Immediately (the default)
- After 10 seconds
- After 1 minute
- After 10 minutes
Once you have checkmarked your selection, tap the Back arrow. By default, the Immediately option is selected and is the recommended setting. Refer to below image:
Using the Passcode Method
You have the option of using your Passcode to protect your files instead of your Face ID or Touch ID. This feature offers a more secure method of accessing Google Drive.
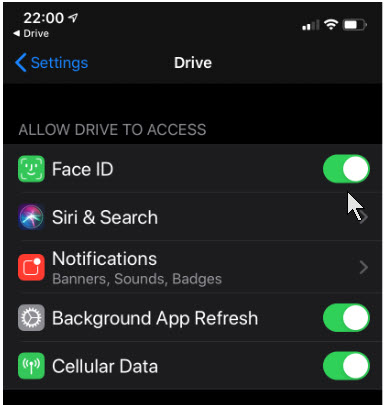
To do this, let’s go back to the Privacy Screen settings menu, then tap the Open System Settings blue link. See following image:
You are taken to the Drive’s section for your iPhone or iPad Settings menu. Here, just toggle off permission to use Face ID or Touch ID. See below image:
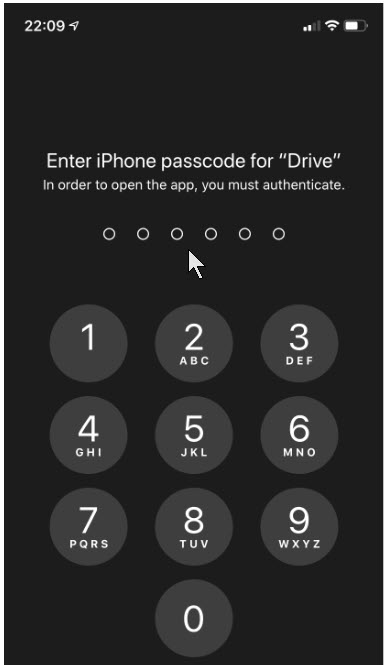
Now, the next time you open the Google Drive app,you will be required to enter your device’s lock screen Passcode. Refer to below image:
You have successfully locked your Google Drive app either using your Face ID/Touch ID or your Passcode. That’s it.
I Would Like to Hear From You
Please feel free to leave a comment. I would love hearing from you. Do you have a computer or smart device tech question? I will do my best to answer your inquiry. Please mention the device, app and version that you are using. To help us out, you can send screenshots of your data related to your question.
I