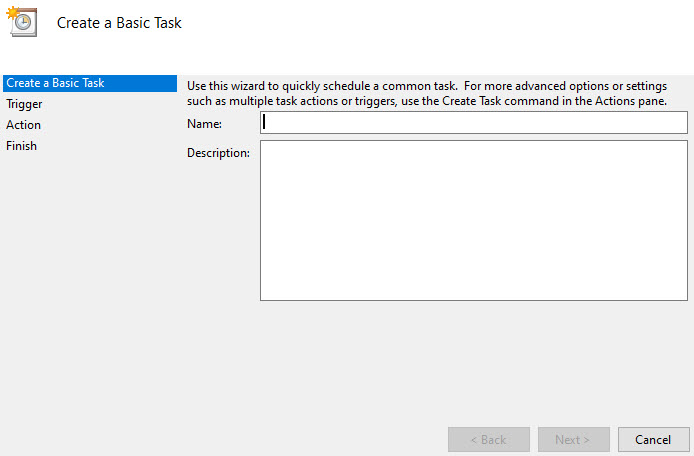
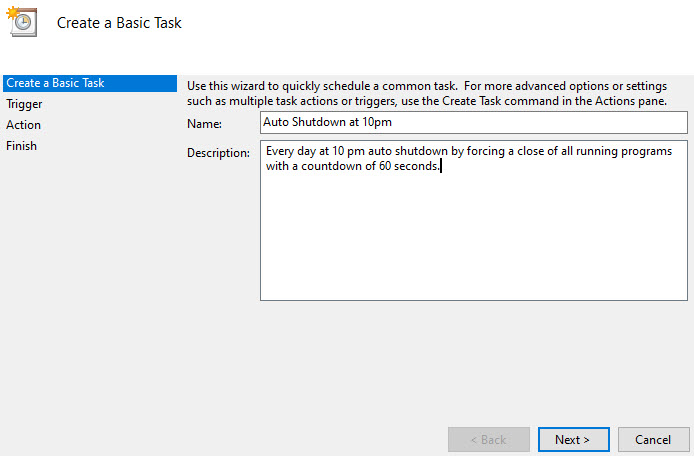
This is for iOS, Android, Mac and PC devices
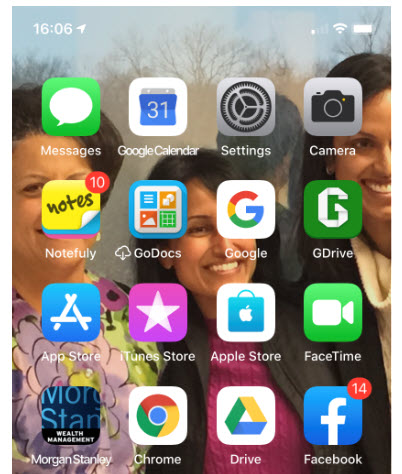
We all have our favorite smart device apps. This would include Facebook, Twitter, Instagram, LinkedIn, Tumblr, Reddit and others. What happens when you turn off your device, power off or shutdown? These apps are still active and readily available when your device is turned back on.
These apps offer you convenient access by keeping you logged in. When you log into a financial institution, say Bank of America or Morgan Stanley, you are logged out within two minutes of no activity.
Our favorite apps should do the same. By staying logged in, the apps are more subjective to hacks by others.
Of course, by logging out, means you have to reenter a UserID, Password and Passcode, if using Two Factor Authentication, to gain access. And that can be a pain but it’s worth it.
If you are selling or disposing a smart device, you should log out all apps. Also, you may consider erasing all data and/or resetting your device. Only do this if you no longer need the device.
I would like the app industry to follow the same logging out protocol as financial entities. What do you think? Please take the one question survey.
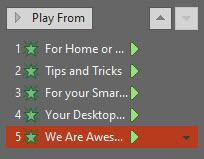
I Would Like to Hear from You
Please feel free to leave a comment. I would love hearing from you. Do you have a computer or smart device tech question? I will do my best to answer your inquiry. Please mention the device, app and version that you are using. To help me out, you can send screenshots of your data related to your question.