If you know the right keyboard shortcut and the right commands, the Windows 10 Run command can be a powerful tool. Lets explore 12 Run commands everyone should know.
With a simple keyboard shortcut and a few keystrokes, you can reach your destination before other users can click their mouse on the right icon.
The key is learning and knowing these common Run commands.
The examples are for Windows 10 operating system. Also works for Windows 7 and Windows 8.

Open the Run Command Dialog Box
To use these commands we need to bring up the Run command dialog box. There are two comman ways of doing this as follows:
1. Right click the Start menu icon and select the Run command from a list
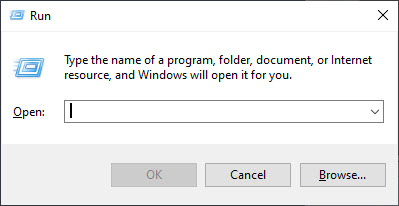
2. Use the keyboard shortcut by selecting and holding the Window icon button and press the “R” key. See following image:
You will simply enter your Run command and press the Enter key or press OK.
The Run Commands
Note! The quotation marks are for emphasis only; they are not part of the command itself and should not be included in the Run command box. Also, the Run remembers your command(s).
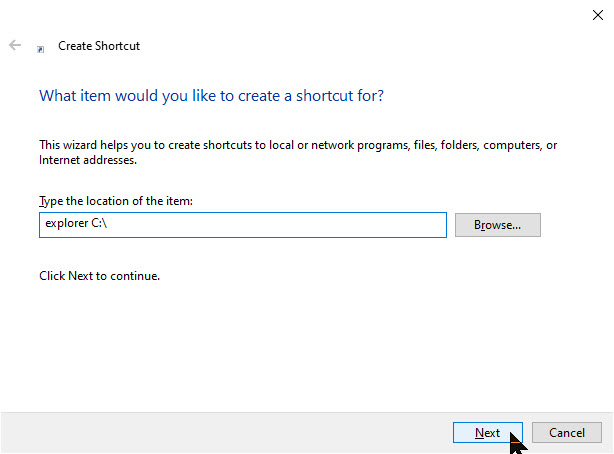
1.“\” – Open the default drive, usually drive “C“
This will display the contents of your default configuration to include your Quick Access library. The presumption is that this is where your documents, photos and other files can be most easily found. At times you may just want to open File Explorer to the main hard drive root folder.
2. “.” – Open the Home folder of the current user
This command will open the Home folder for the current user.
3. “..” – Open the Users folder
Typing two periods (“..”) will open File Explorer in the Users folder, giving quick access to all the user’s folders, providing you have the proper credentials. This is a good command for performing system administrative tasks.
4. “control” – Open the Control Panel
Windows 10 has placed many of the common configuration settings into an area known as Settings, which can be found as an entry in the Start menu. While this is fine for many configuration settings, there are times when you have to load the full Windows 10 Control Panel. On those occasions, type control into the Run command box. Refer to below image:

5. “msconfig” – Open System Configuration
The System Configuration app is a holdover from previous versions of the Windows operating system, but it is still useful for Windows 10. This command will open an app that grants you access to boot variations including certain startup services during the boot sequence. Also, their are many options to view, add or change under the Tools tab. See following image:

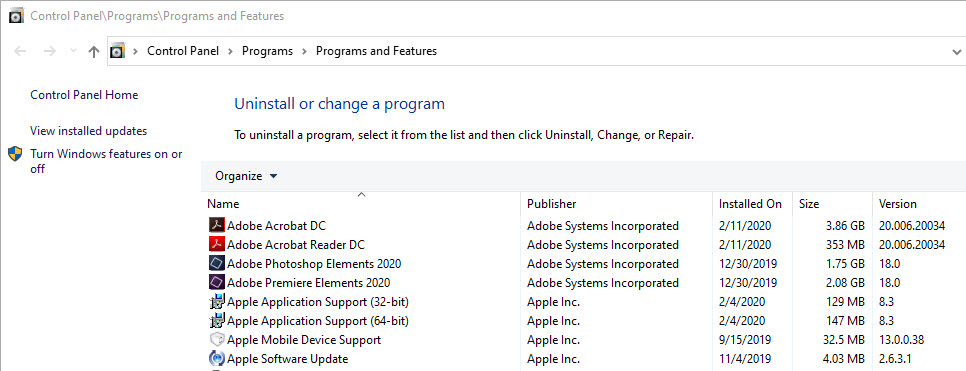
6. “appwiz.cpl” – Open Programs and Features
Lets say you want to uninstall a program; you may use this command to do so. Although you can use the Control Panel command to accomplish this task, using this command is much faster. See below image:
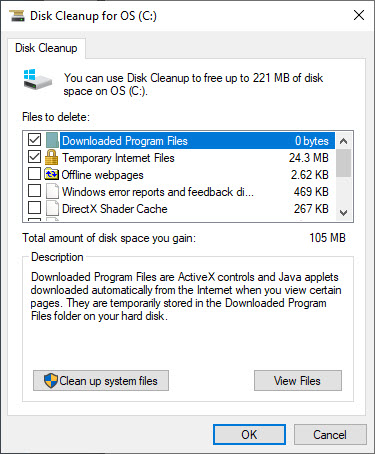
7. “cleanmgr” – Open Disk Cleanup utility
Another holdover from previous versions of Windows is the Disk Cleanup utility. Most disk cleanup processes in Windows 10 are handled automatically behind the scenes, but there are occasions where you may want to perform disk cleanup manually. Refer to below image:
Related
Wise Disk Cleaner is a much better utility for cleaning your Windows device
8. “resmon” – Open Resource Monitor
A utility app that most users ignore, but really shouldn’t, is the Windows 10 Resource Monitor. If your PC starts lagging or the hard drive seems to be spinning up without cause, run this command and troubleshoot the problem. See below image:

9. “calc”, “notepad”, “mspaint”, etc – Open common apps
Another good use for the Run command is to start basic Microsoft applications that you may not use every day and don’t want on your desktop or taskbar but that you still use from time to time.
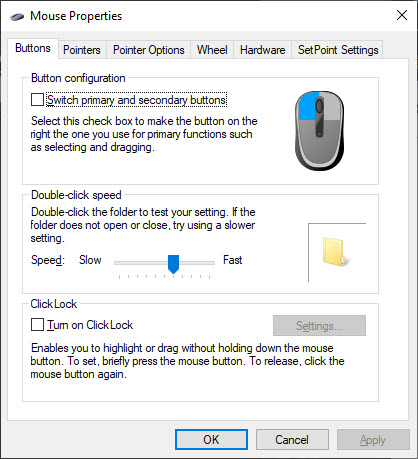
10. “main.cpl” – Adjust your mouse settings
One of the first things you need to adjust on a new Windows 10 PC are the mouse settings. A mouse cursor that is too small or moves too slowly across the screen can be frustrating. This is fastest way to get to those settings. Refer to below image:
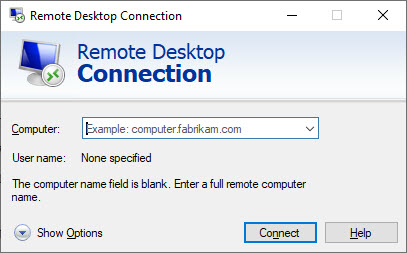
11. “mstsc” – Open Remote Desktop
A modern workforce is a mobile workforce, which means many of us have to access our workstation PCs remotely using the Windows 10 Remote Desktop app. See following image:
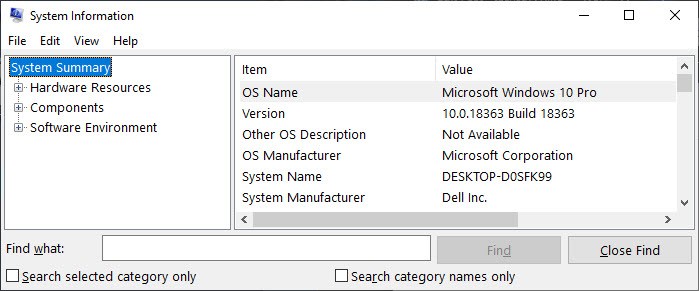
12. “msinfo32” – Access System Information
While troubleshooting problems with help desks, it is not uncommon for the technician to ask for detailed system information. Rather than clicking through several different screens, use this Run command. Refer to below image:
You Don’t Have to Remember the Commands
Tip: As you try these Run commands, you will notice that your previous entry is displayed. You can scroll through all previous commands by using the up and down arrow keys or click the drop down arrow to see your entries. This allows less keystrokes, faster access and best of all, you don’t have to memorize these Run commands. They are available even if you Shutdown or Restart your device.
For more Run commands, click here
I Would Like to Hear from You
Please feel free to leave a comment. I would love hearing from you. Do you have a computer or smart device tech question? I will do my best to answer your inquiry. Please mention the device, app and version that you are using. To help us out, you can send screenshots of your data related to your question.